
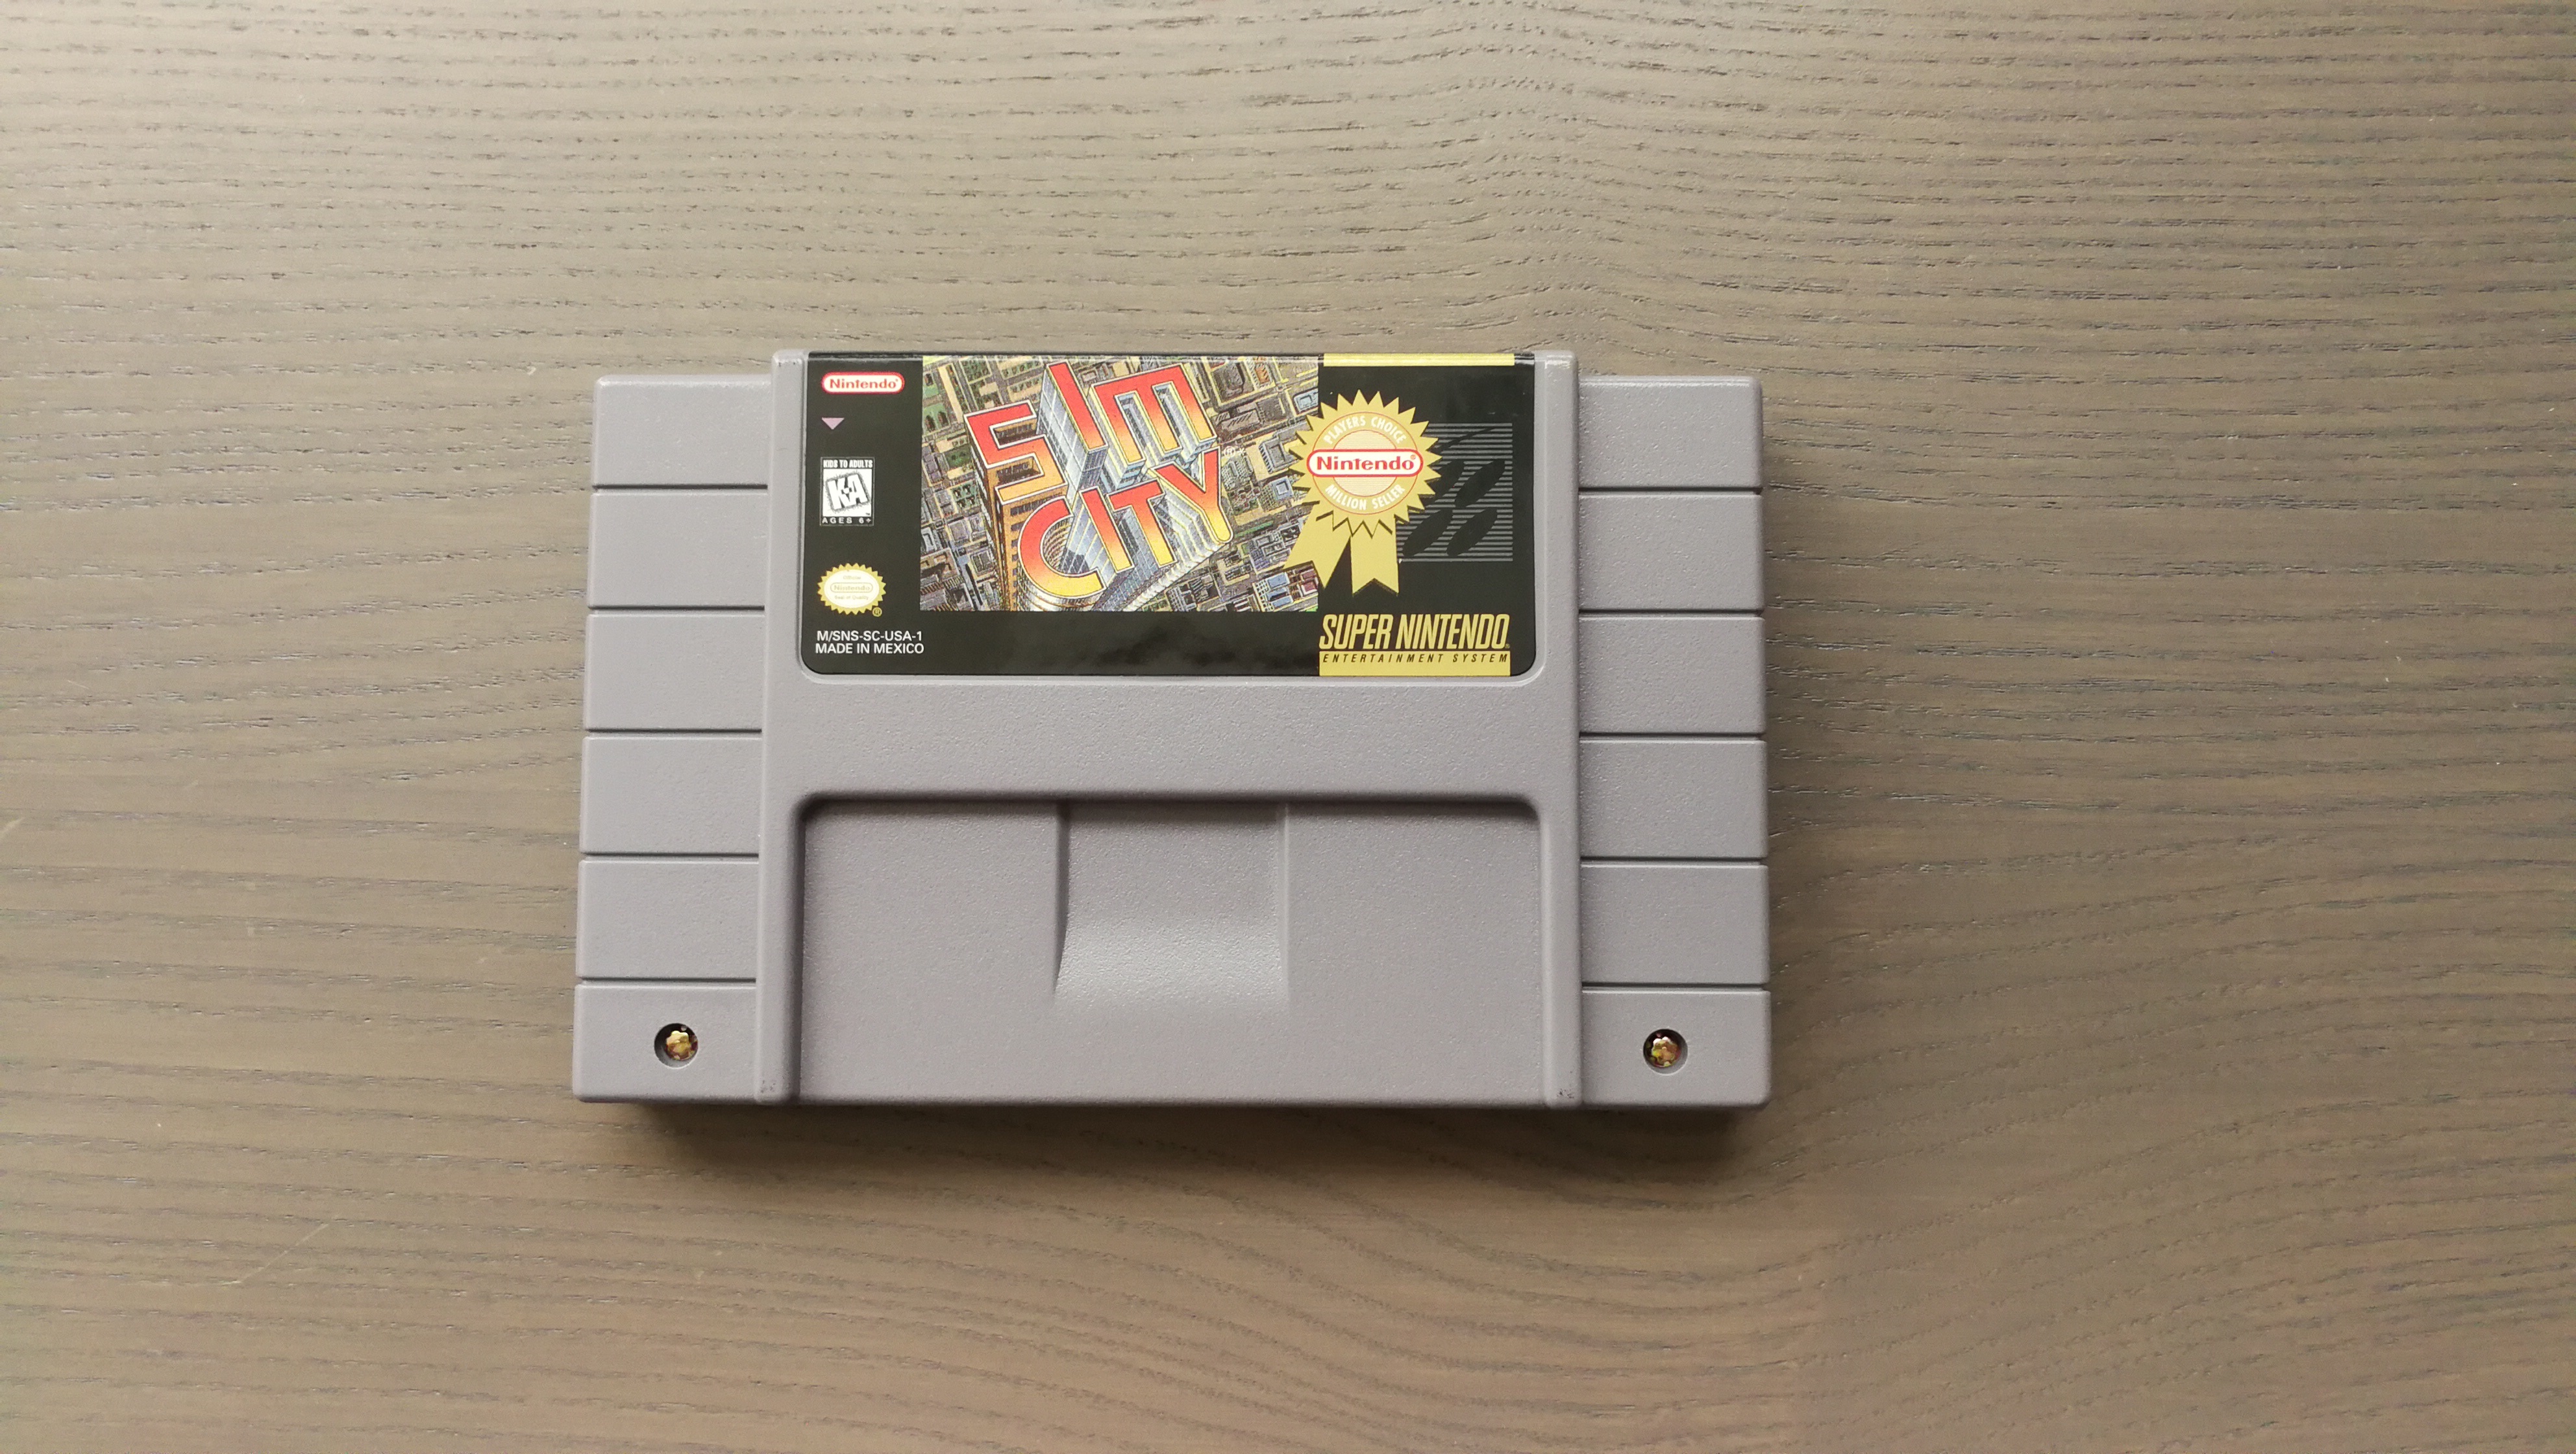
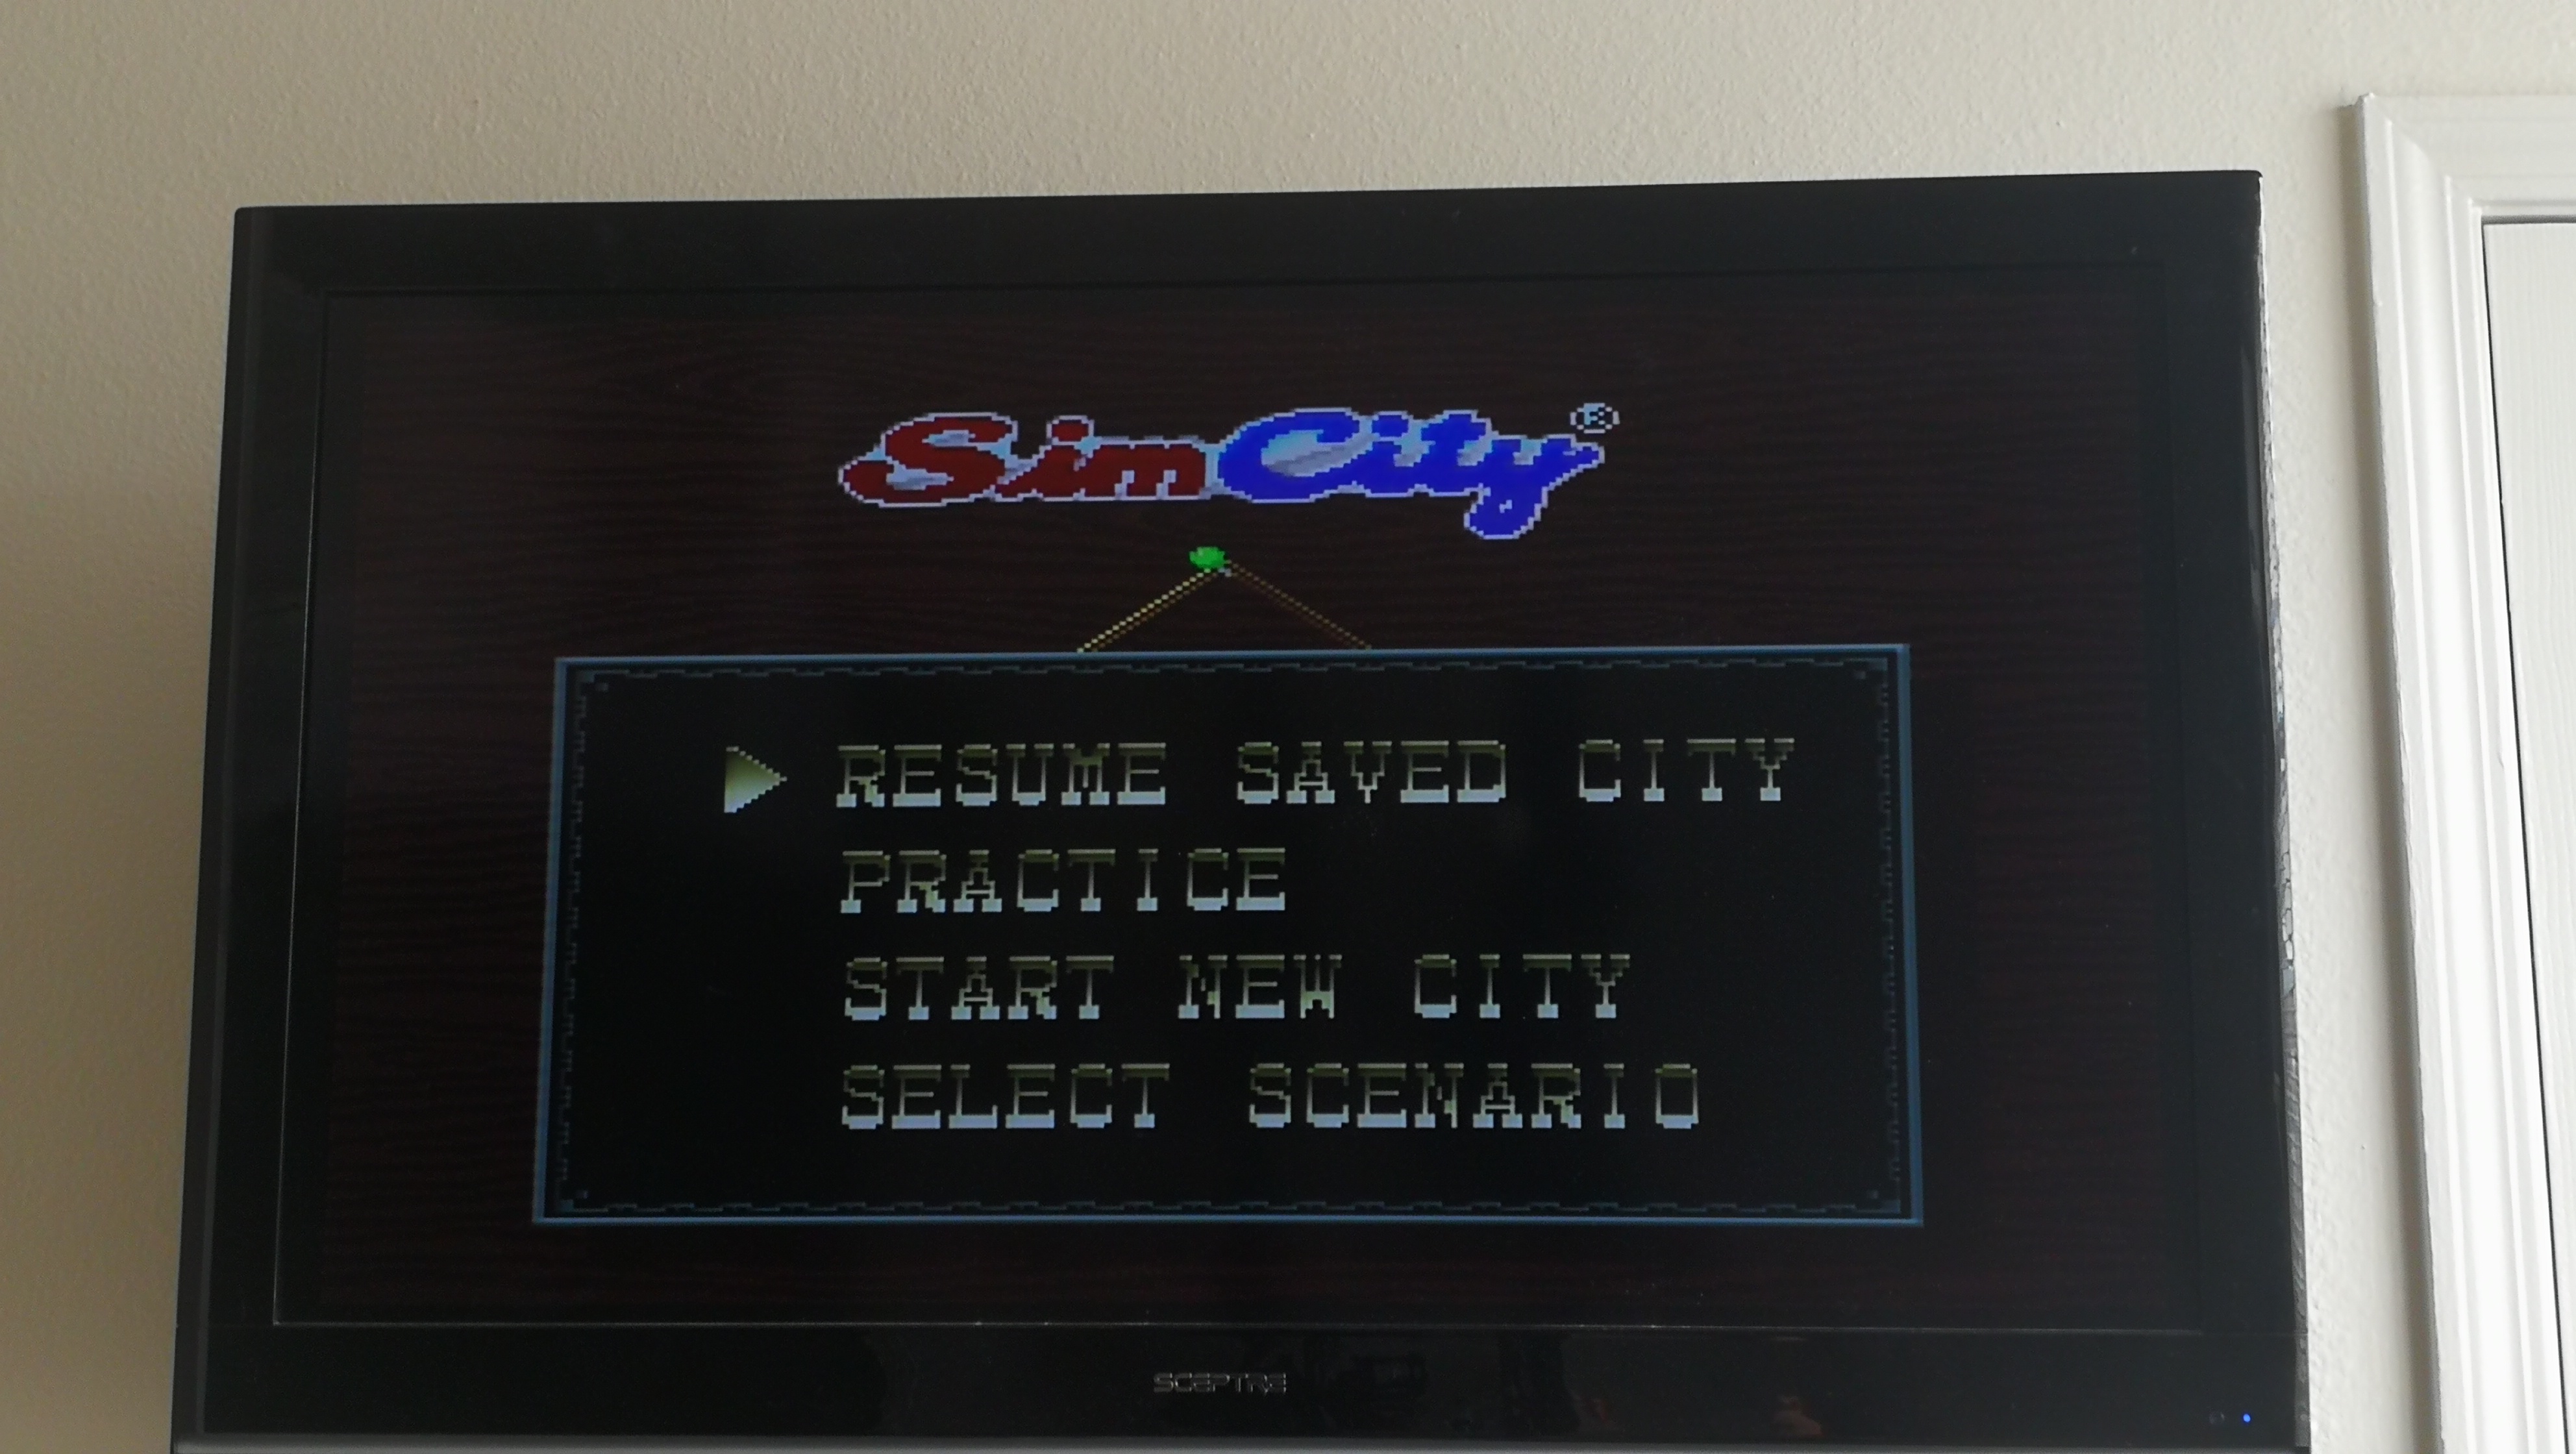
It seems like I just can't catch a break with anything Super Nintendo related. I had been playing Sim City and developing a nice little metropolis. However, yesterday when I turned my Super Nintendo on, the Sim City menu did not offer any option to resume a saved game. In other words: there was no longer a saved game on the cartridge! A hundred thousand little Sim people simply vanished. Why would something like this happen? Battery failure.
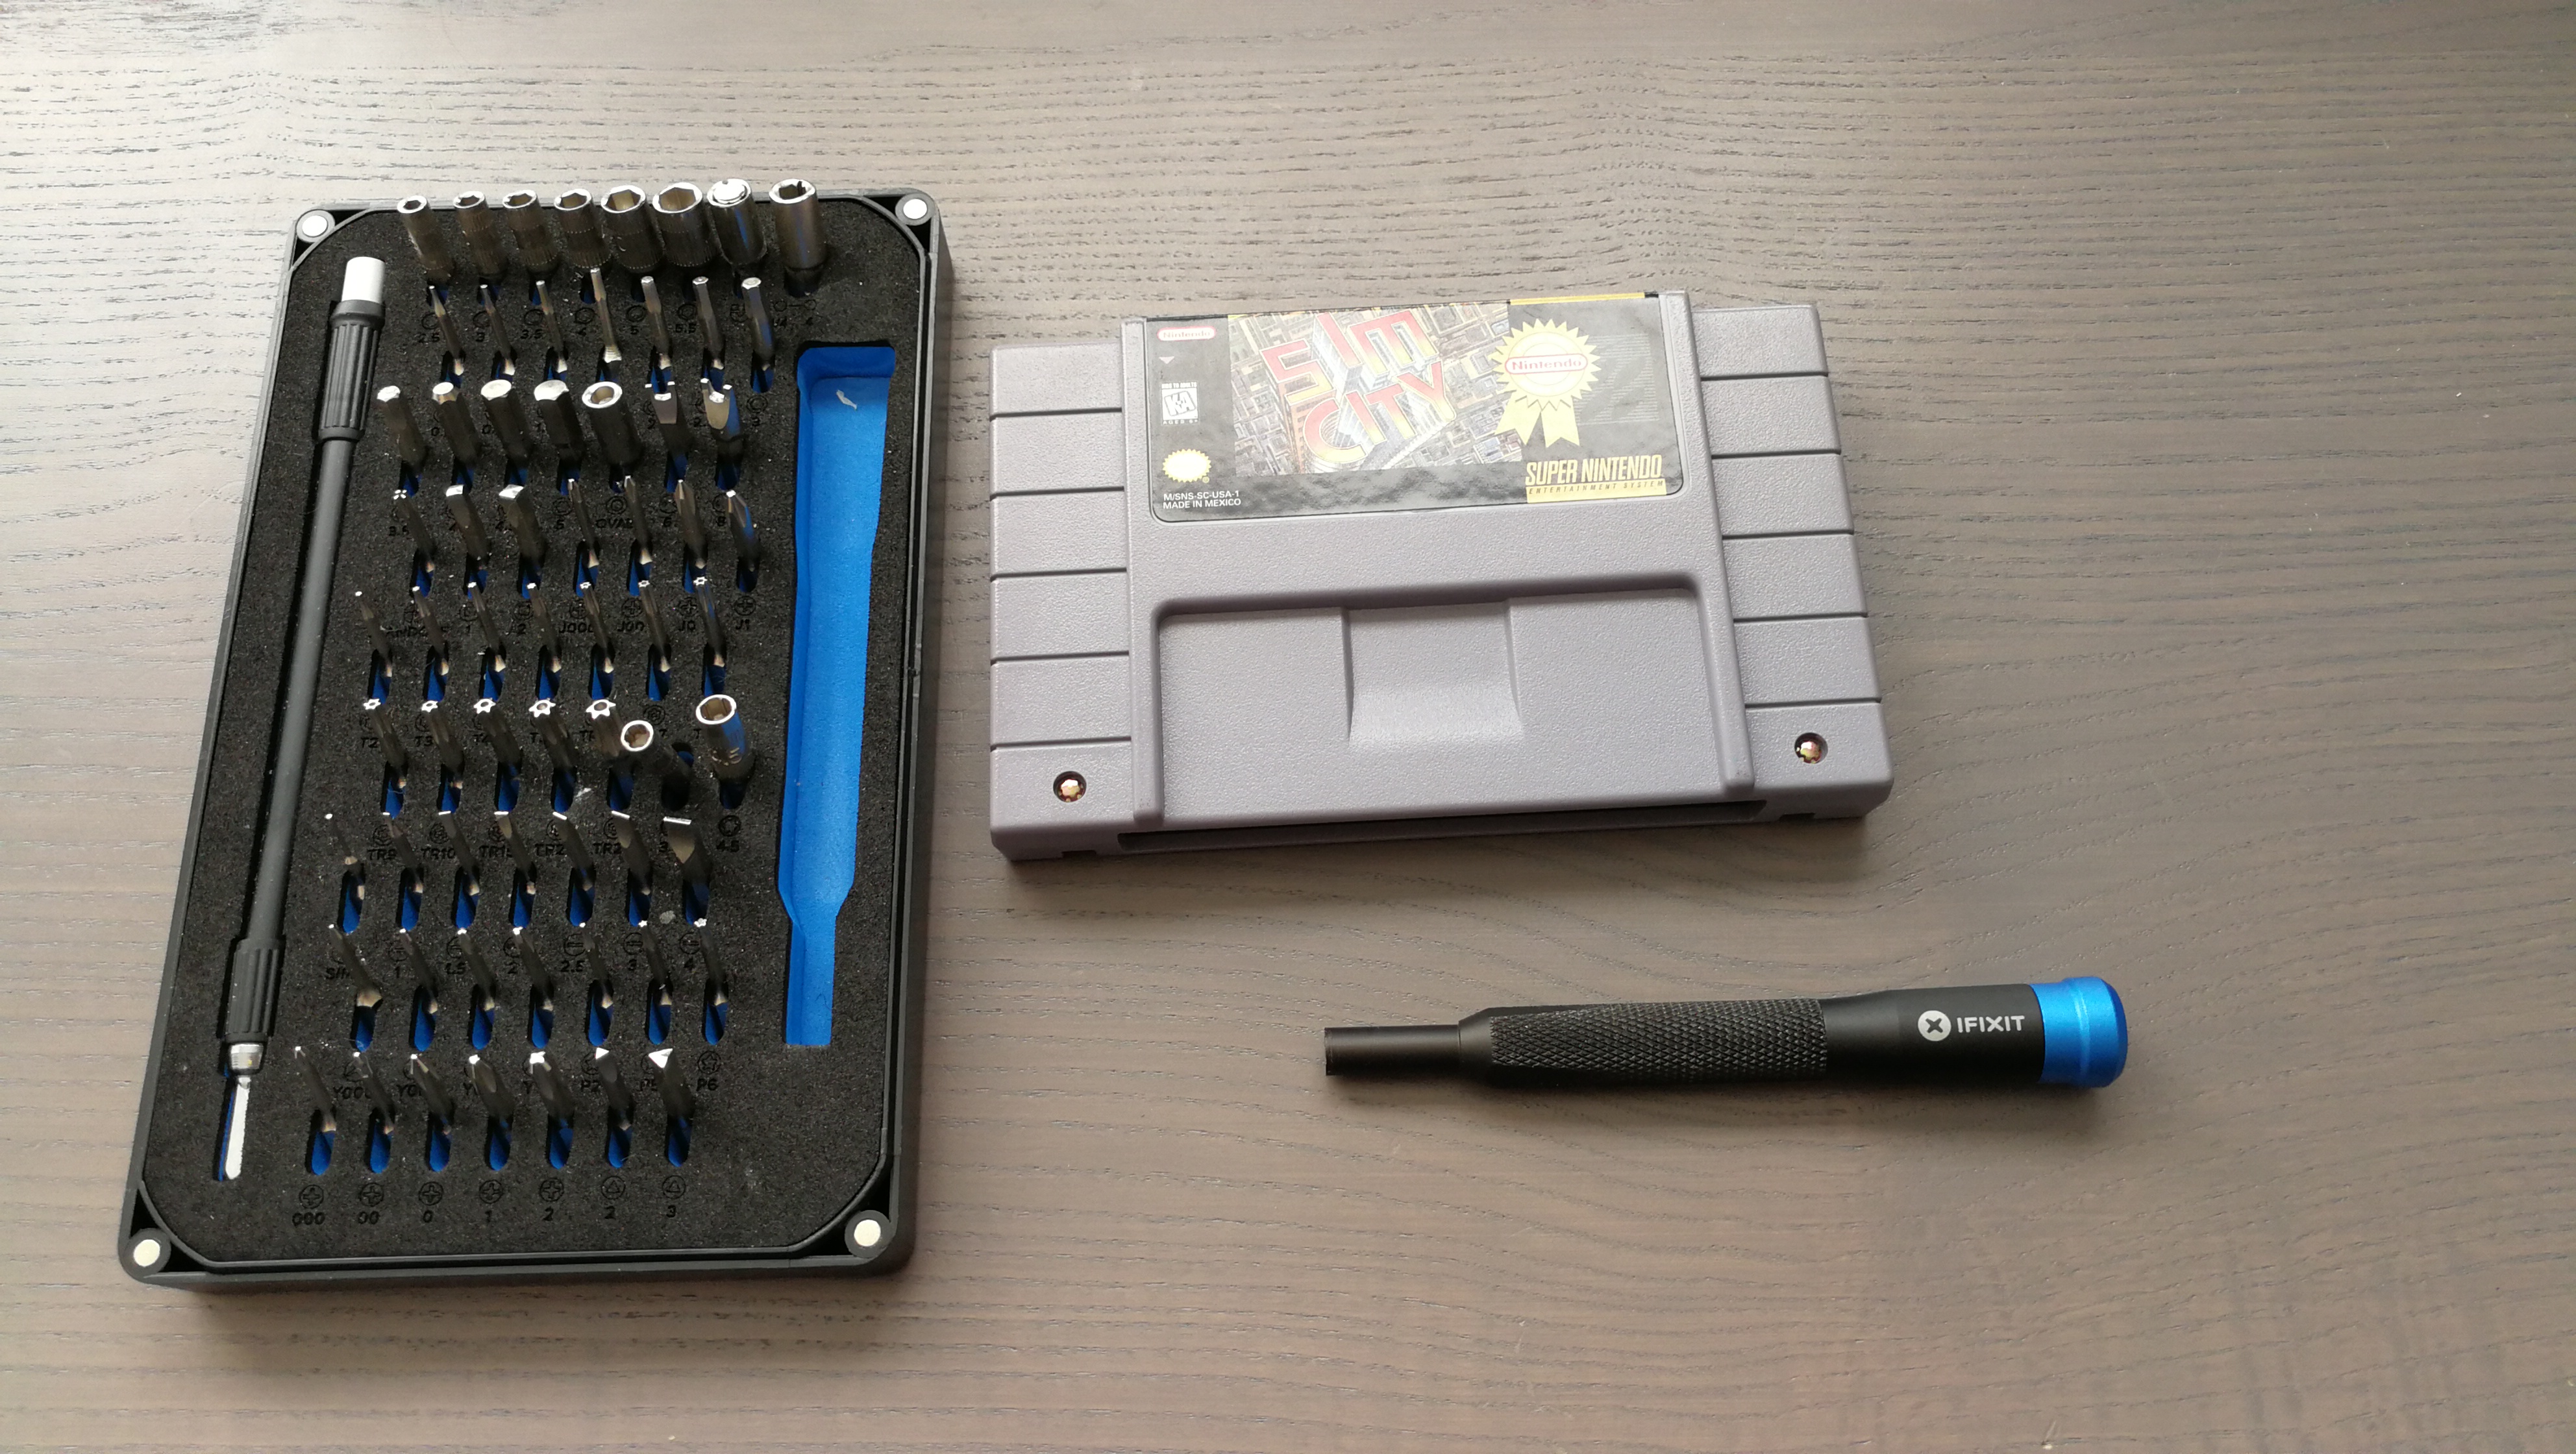
All battery-backed games will eventually suffer from a failing battery. This happens to be a fairly straightforward thing to fix, if you have a soldering iron and some time. So, let's open this cartridge up and see what's inside.
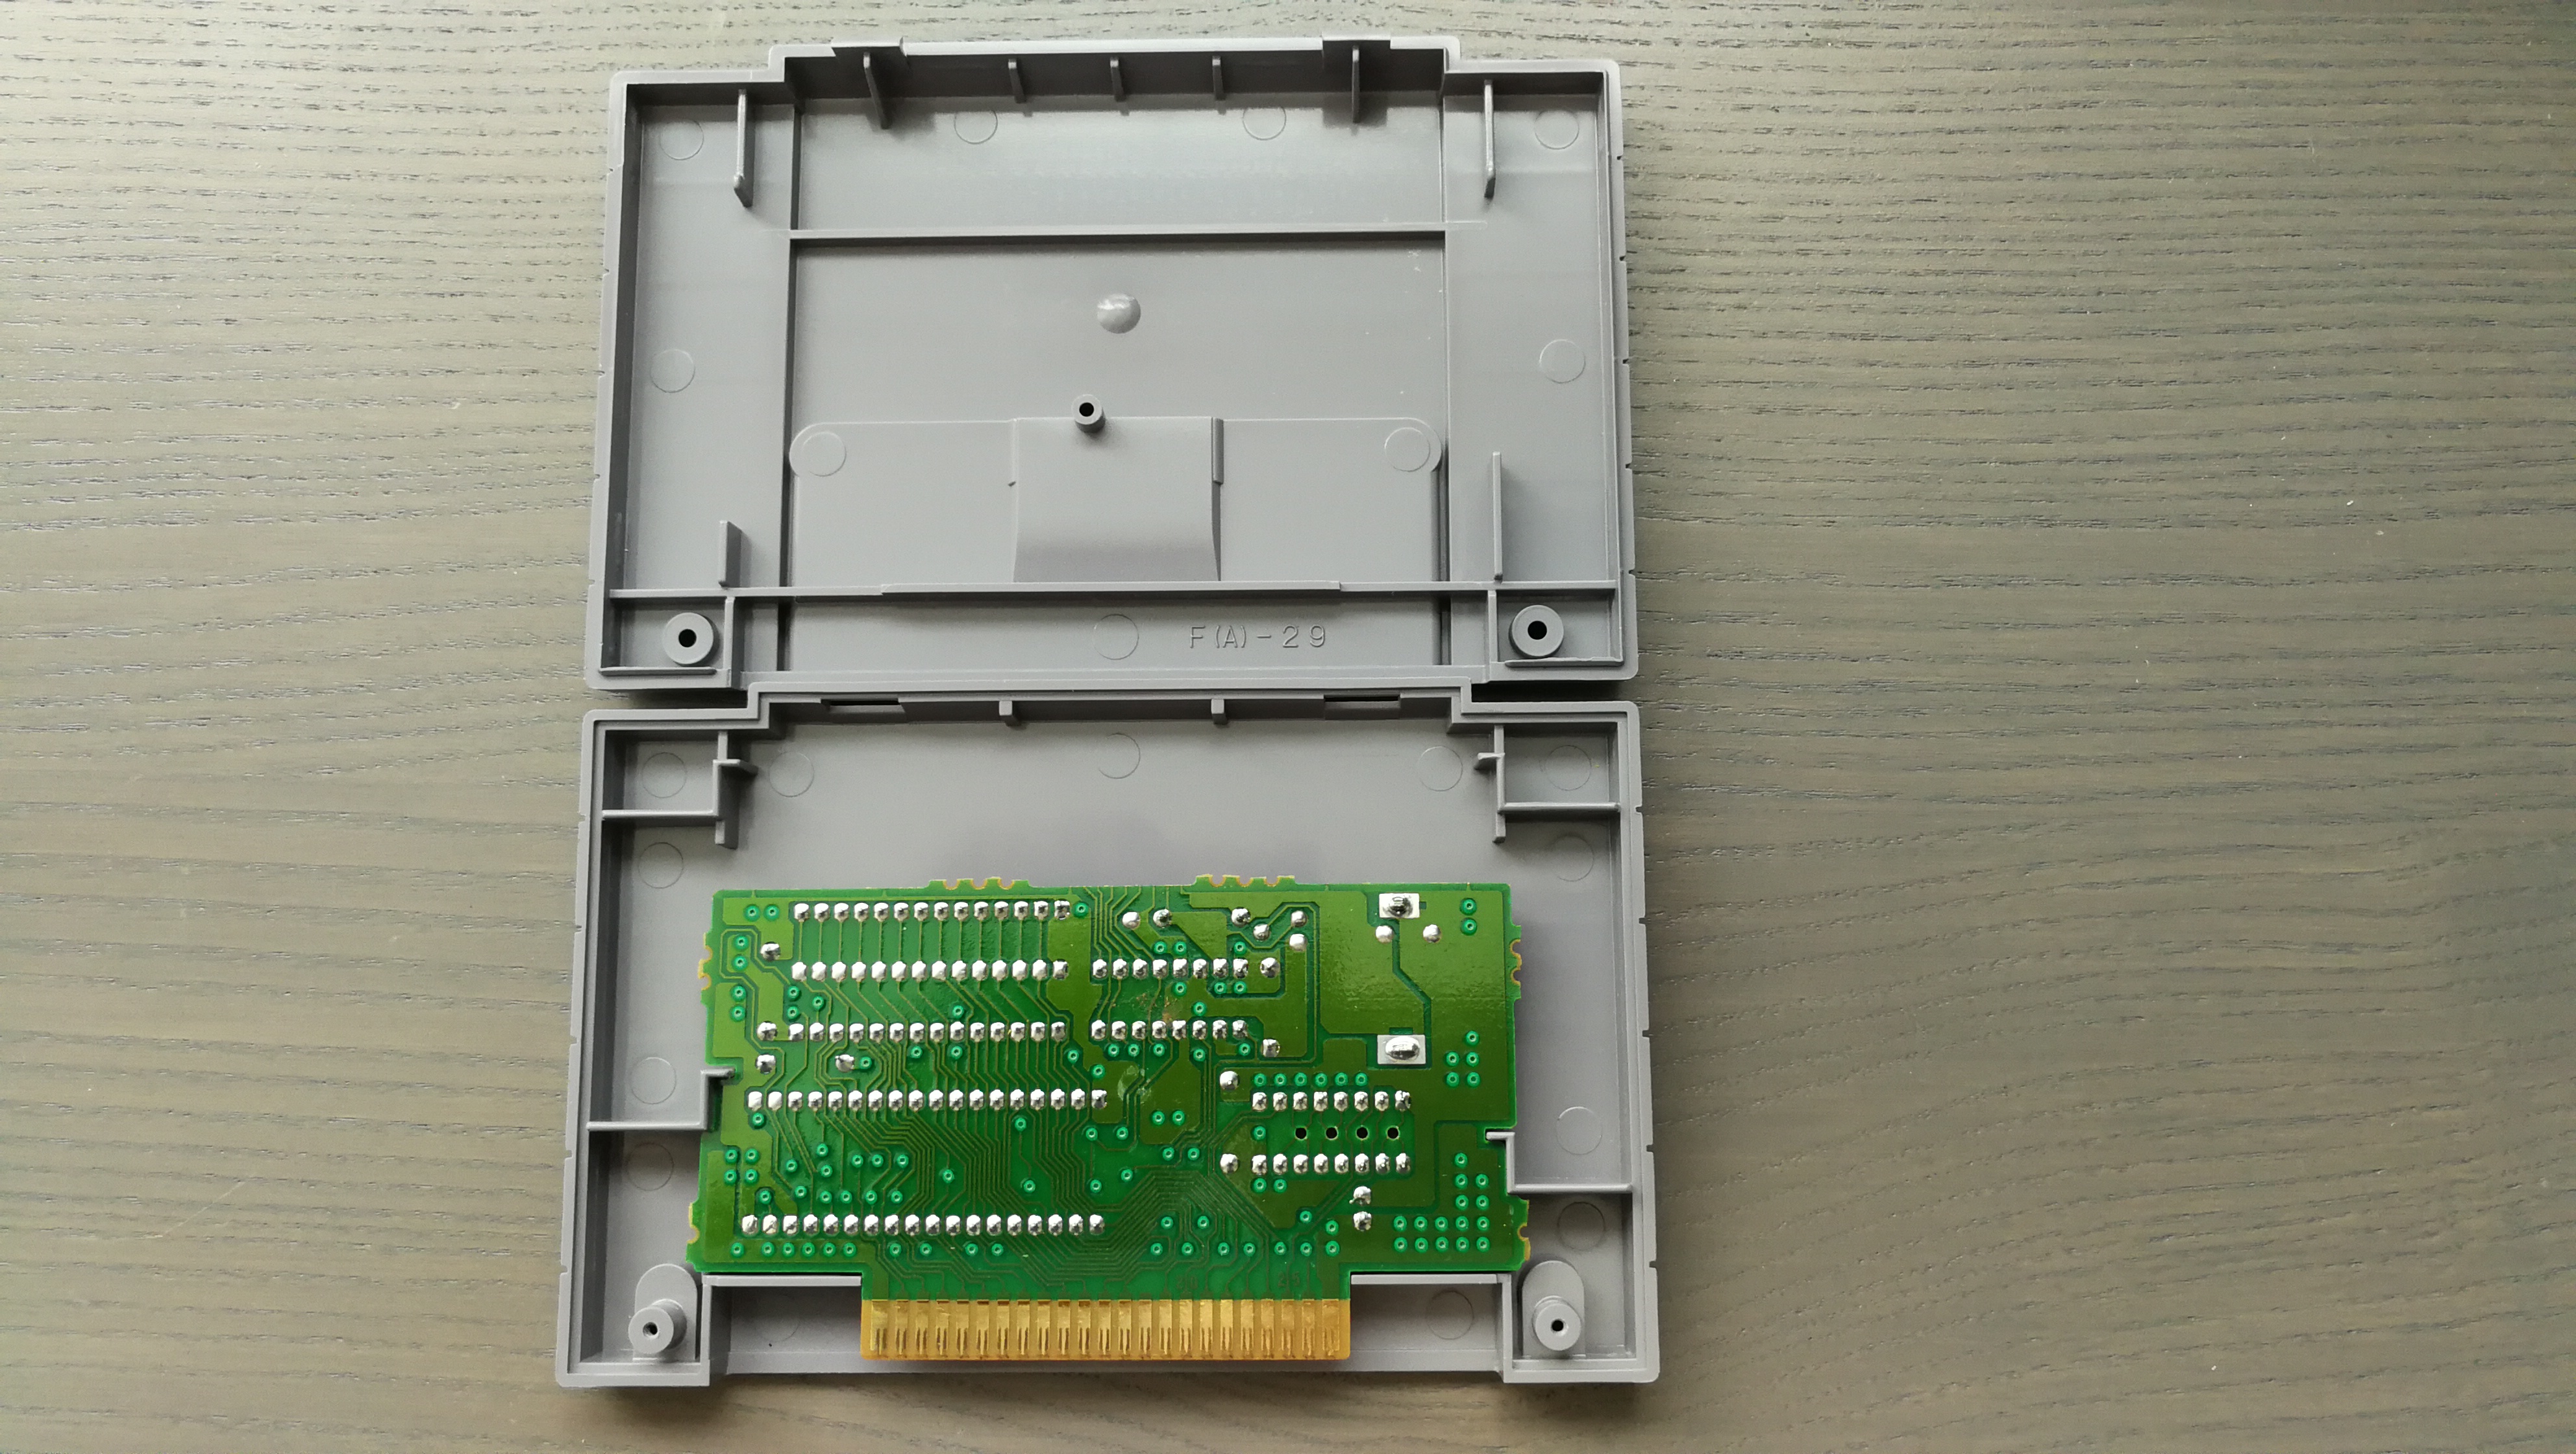
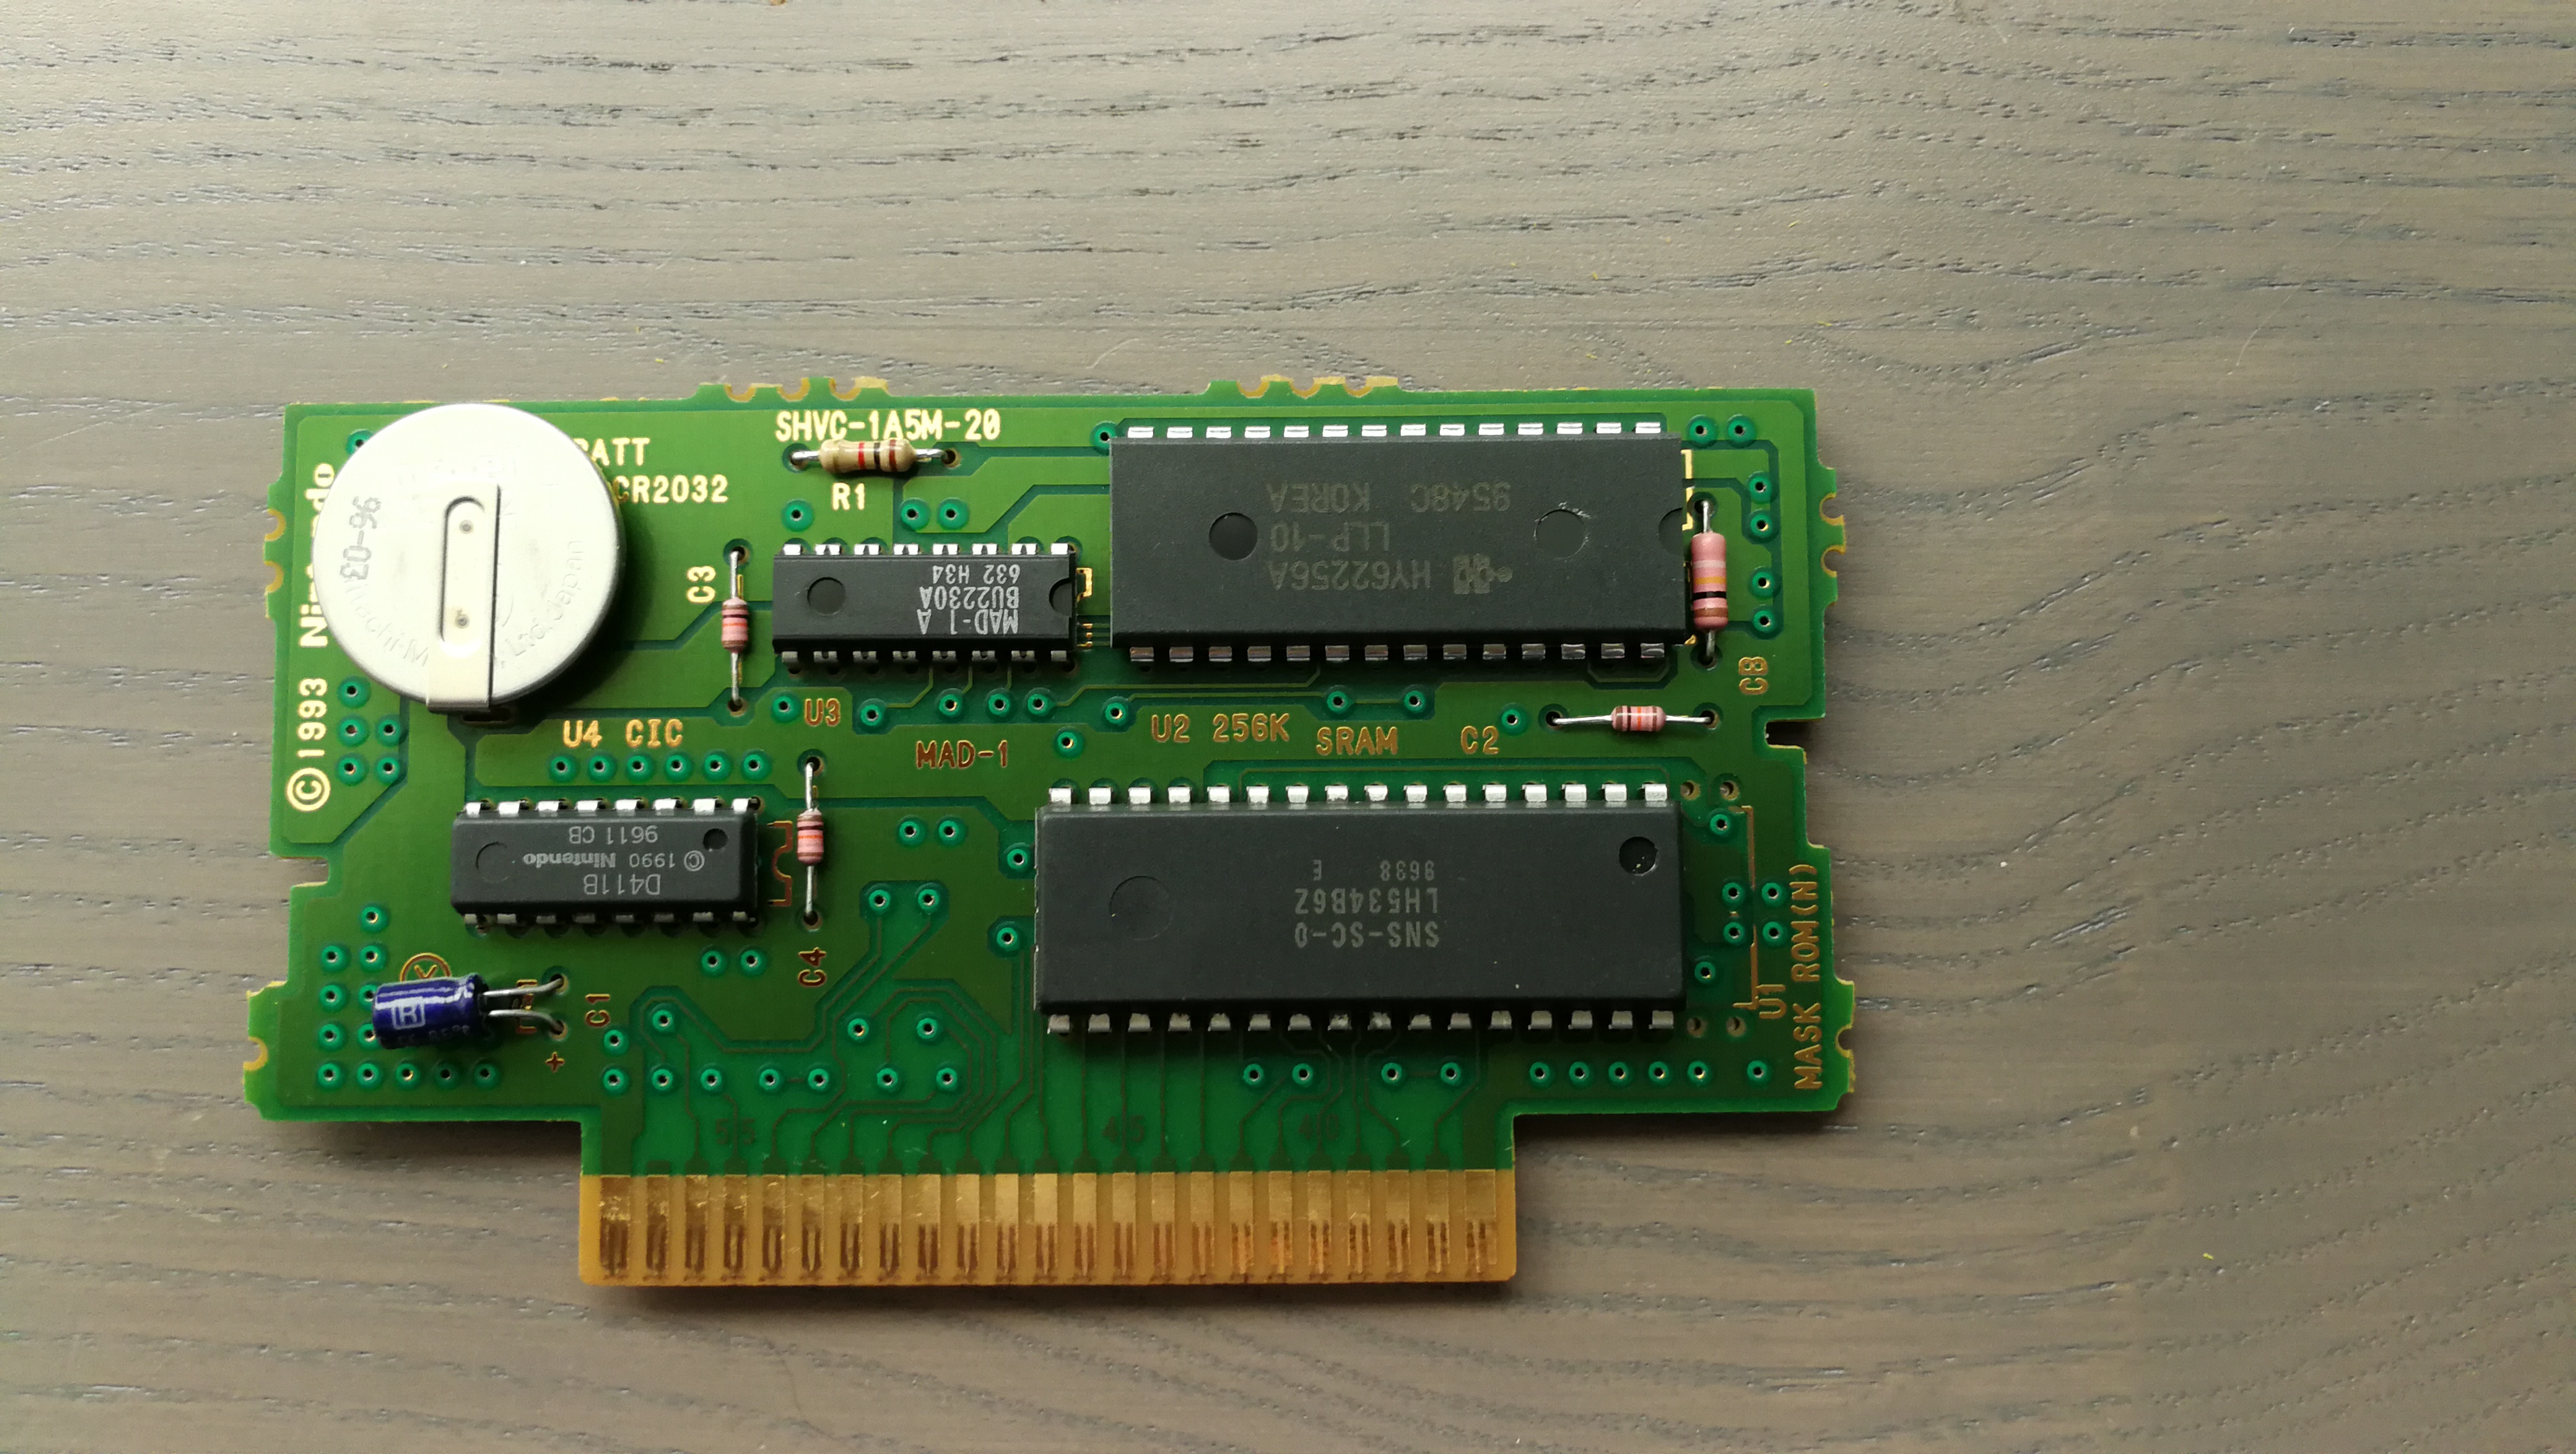
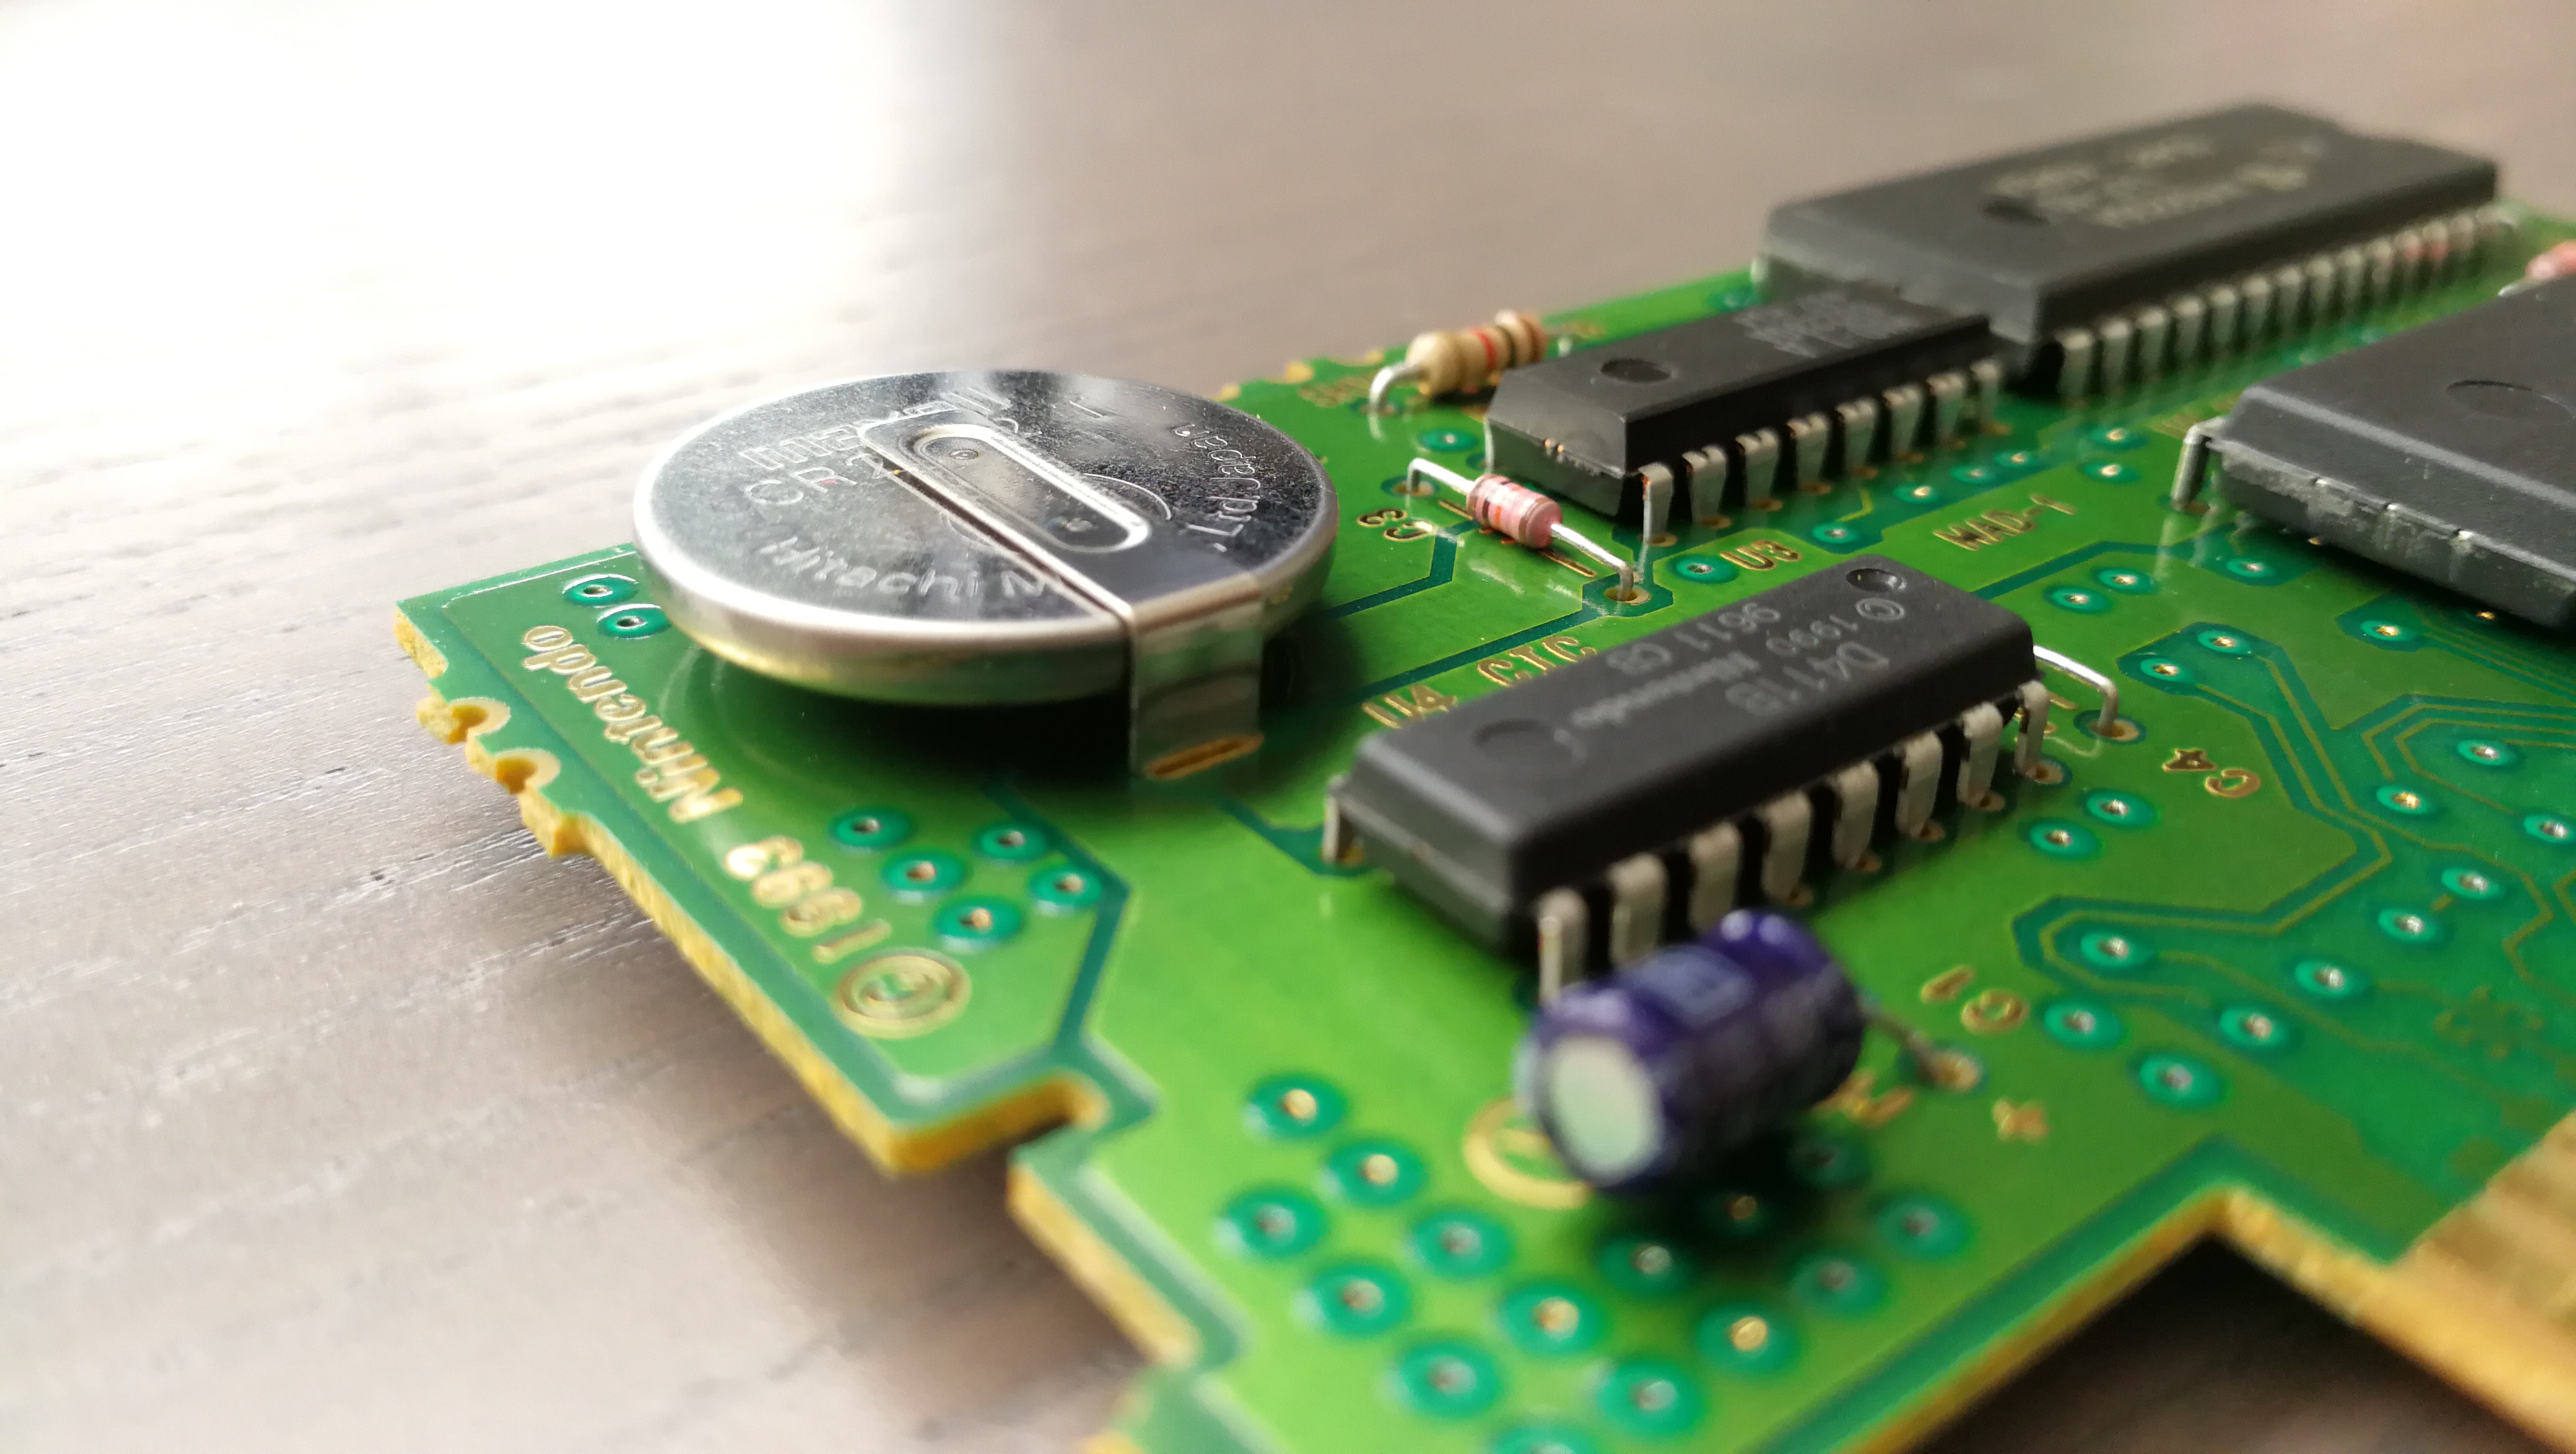
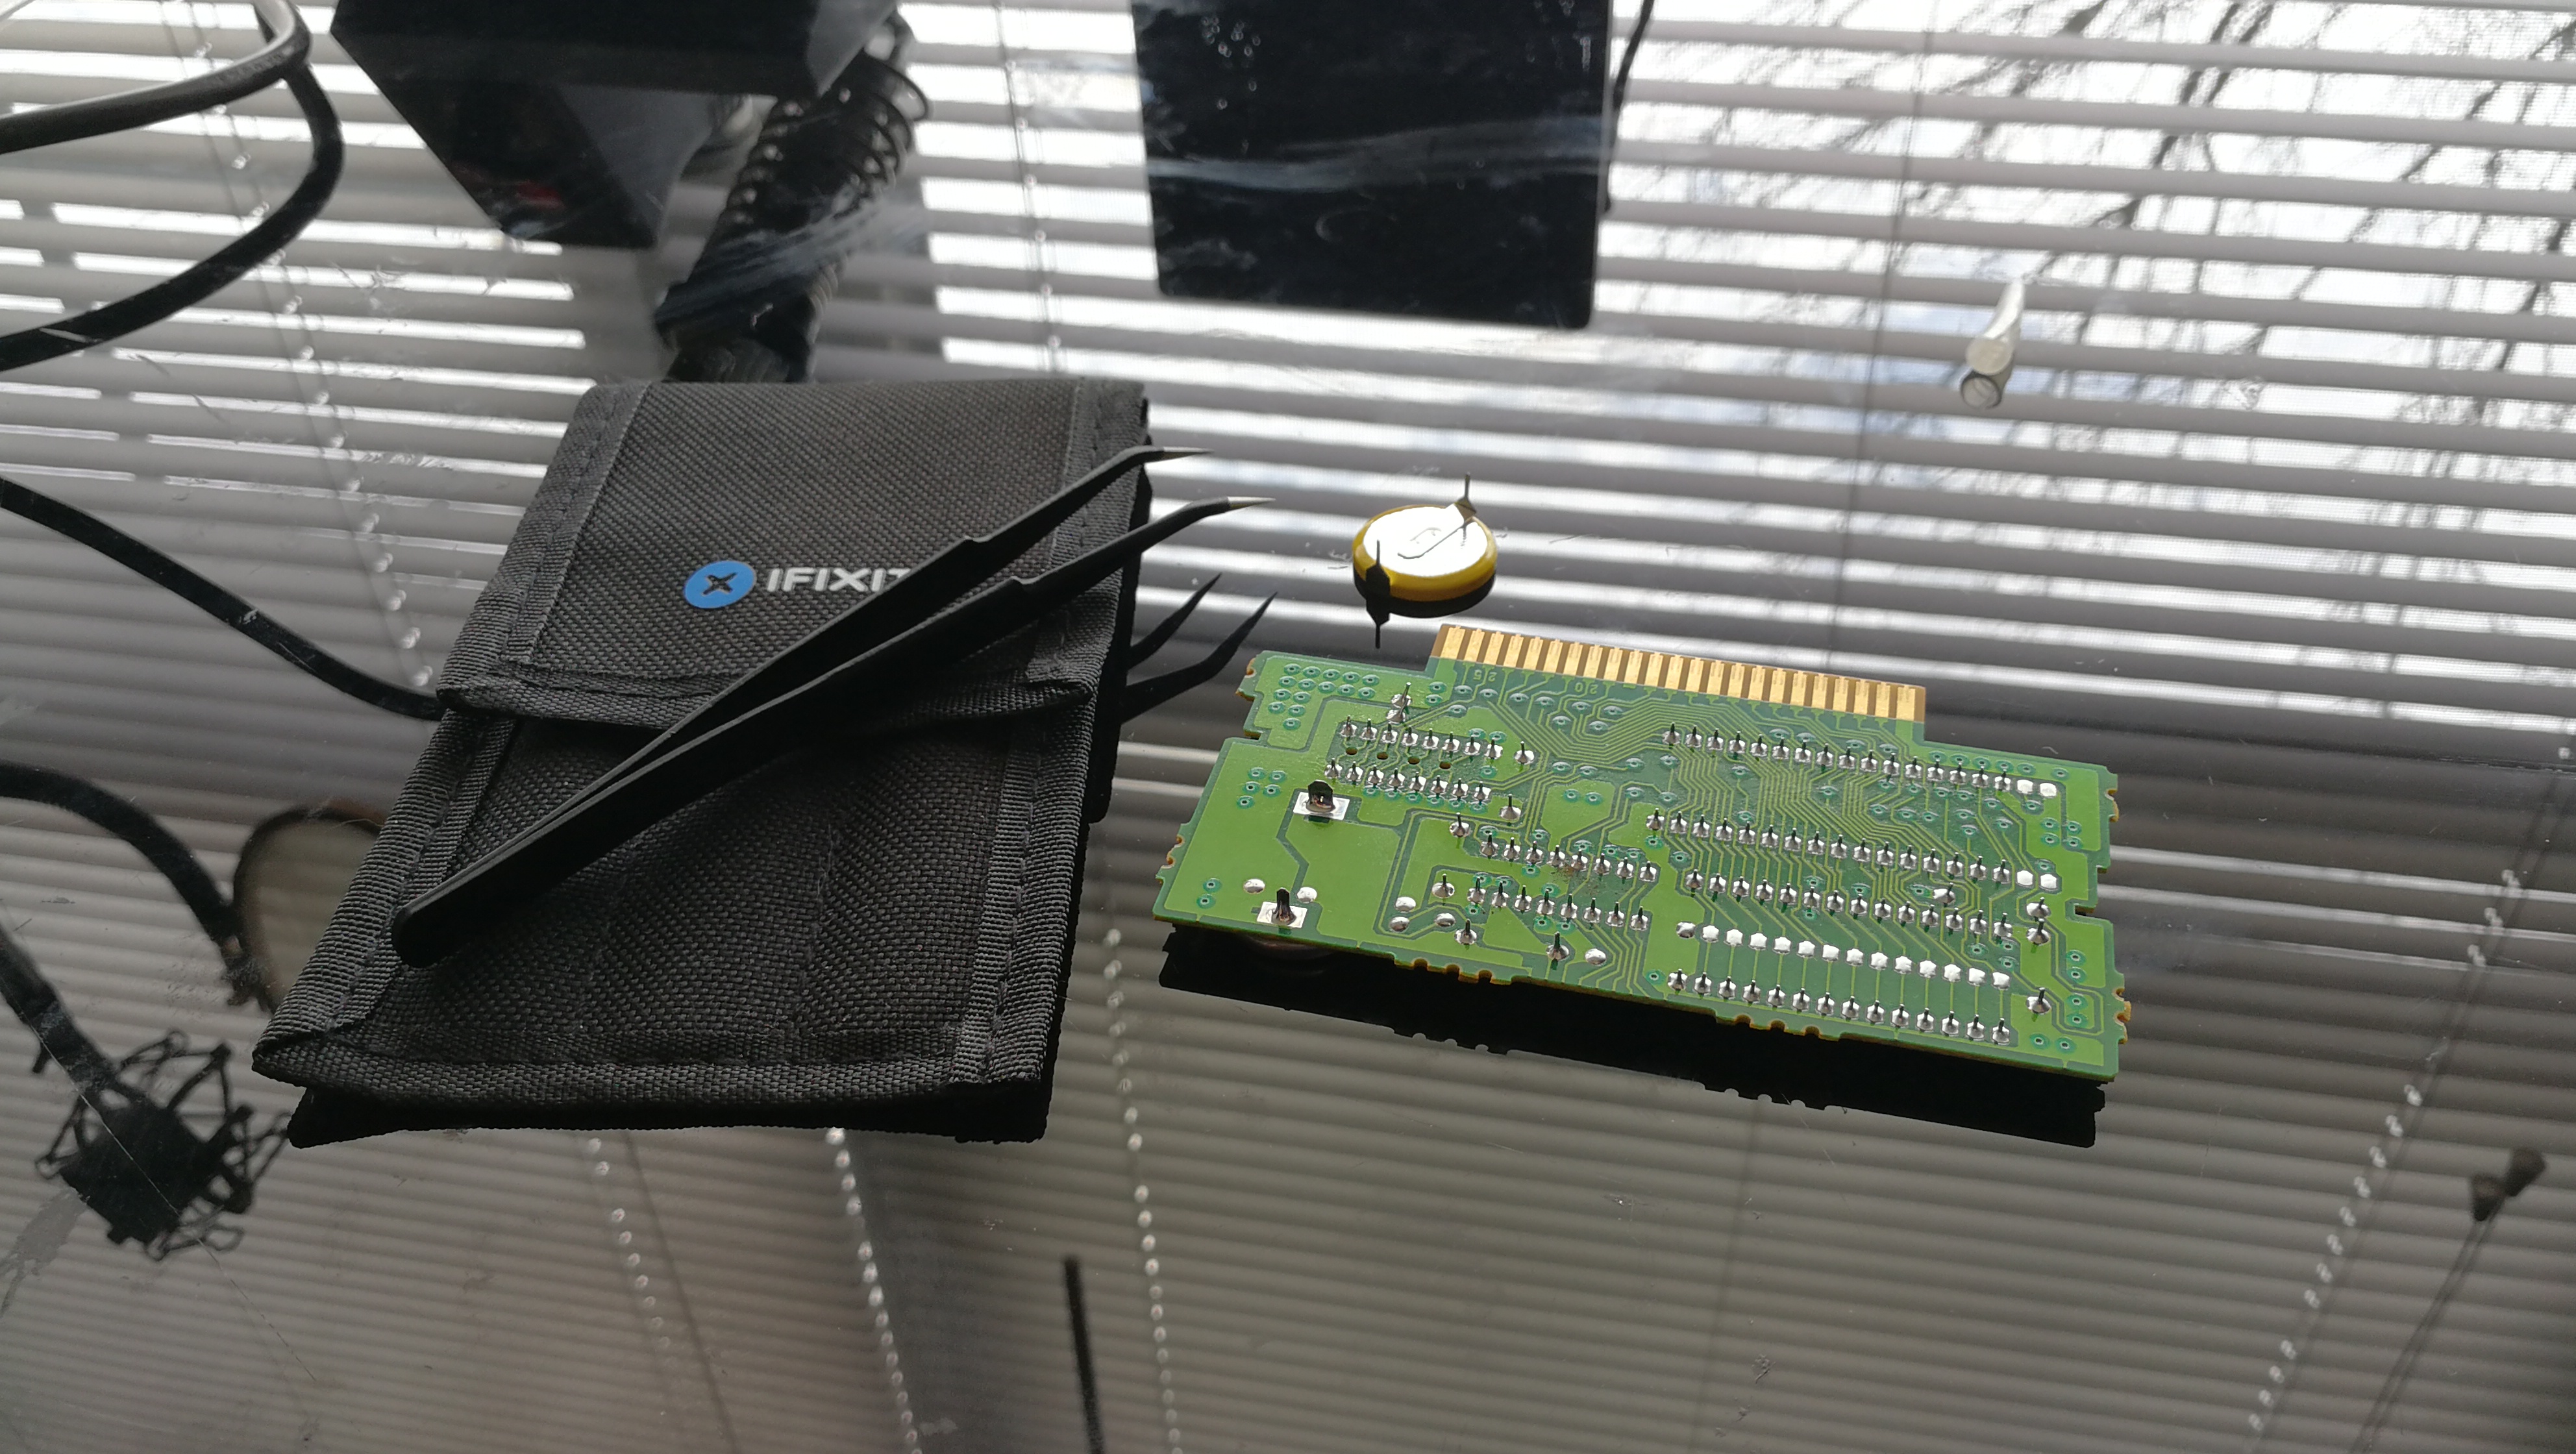
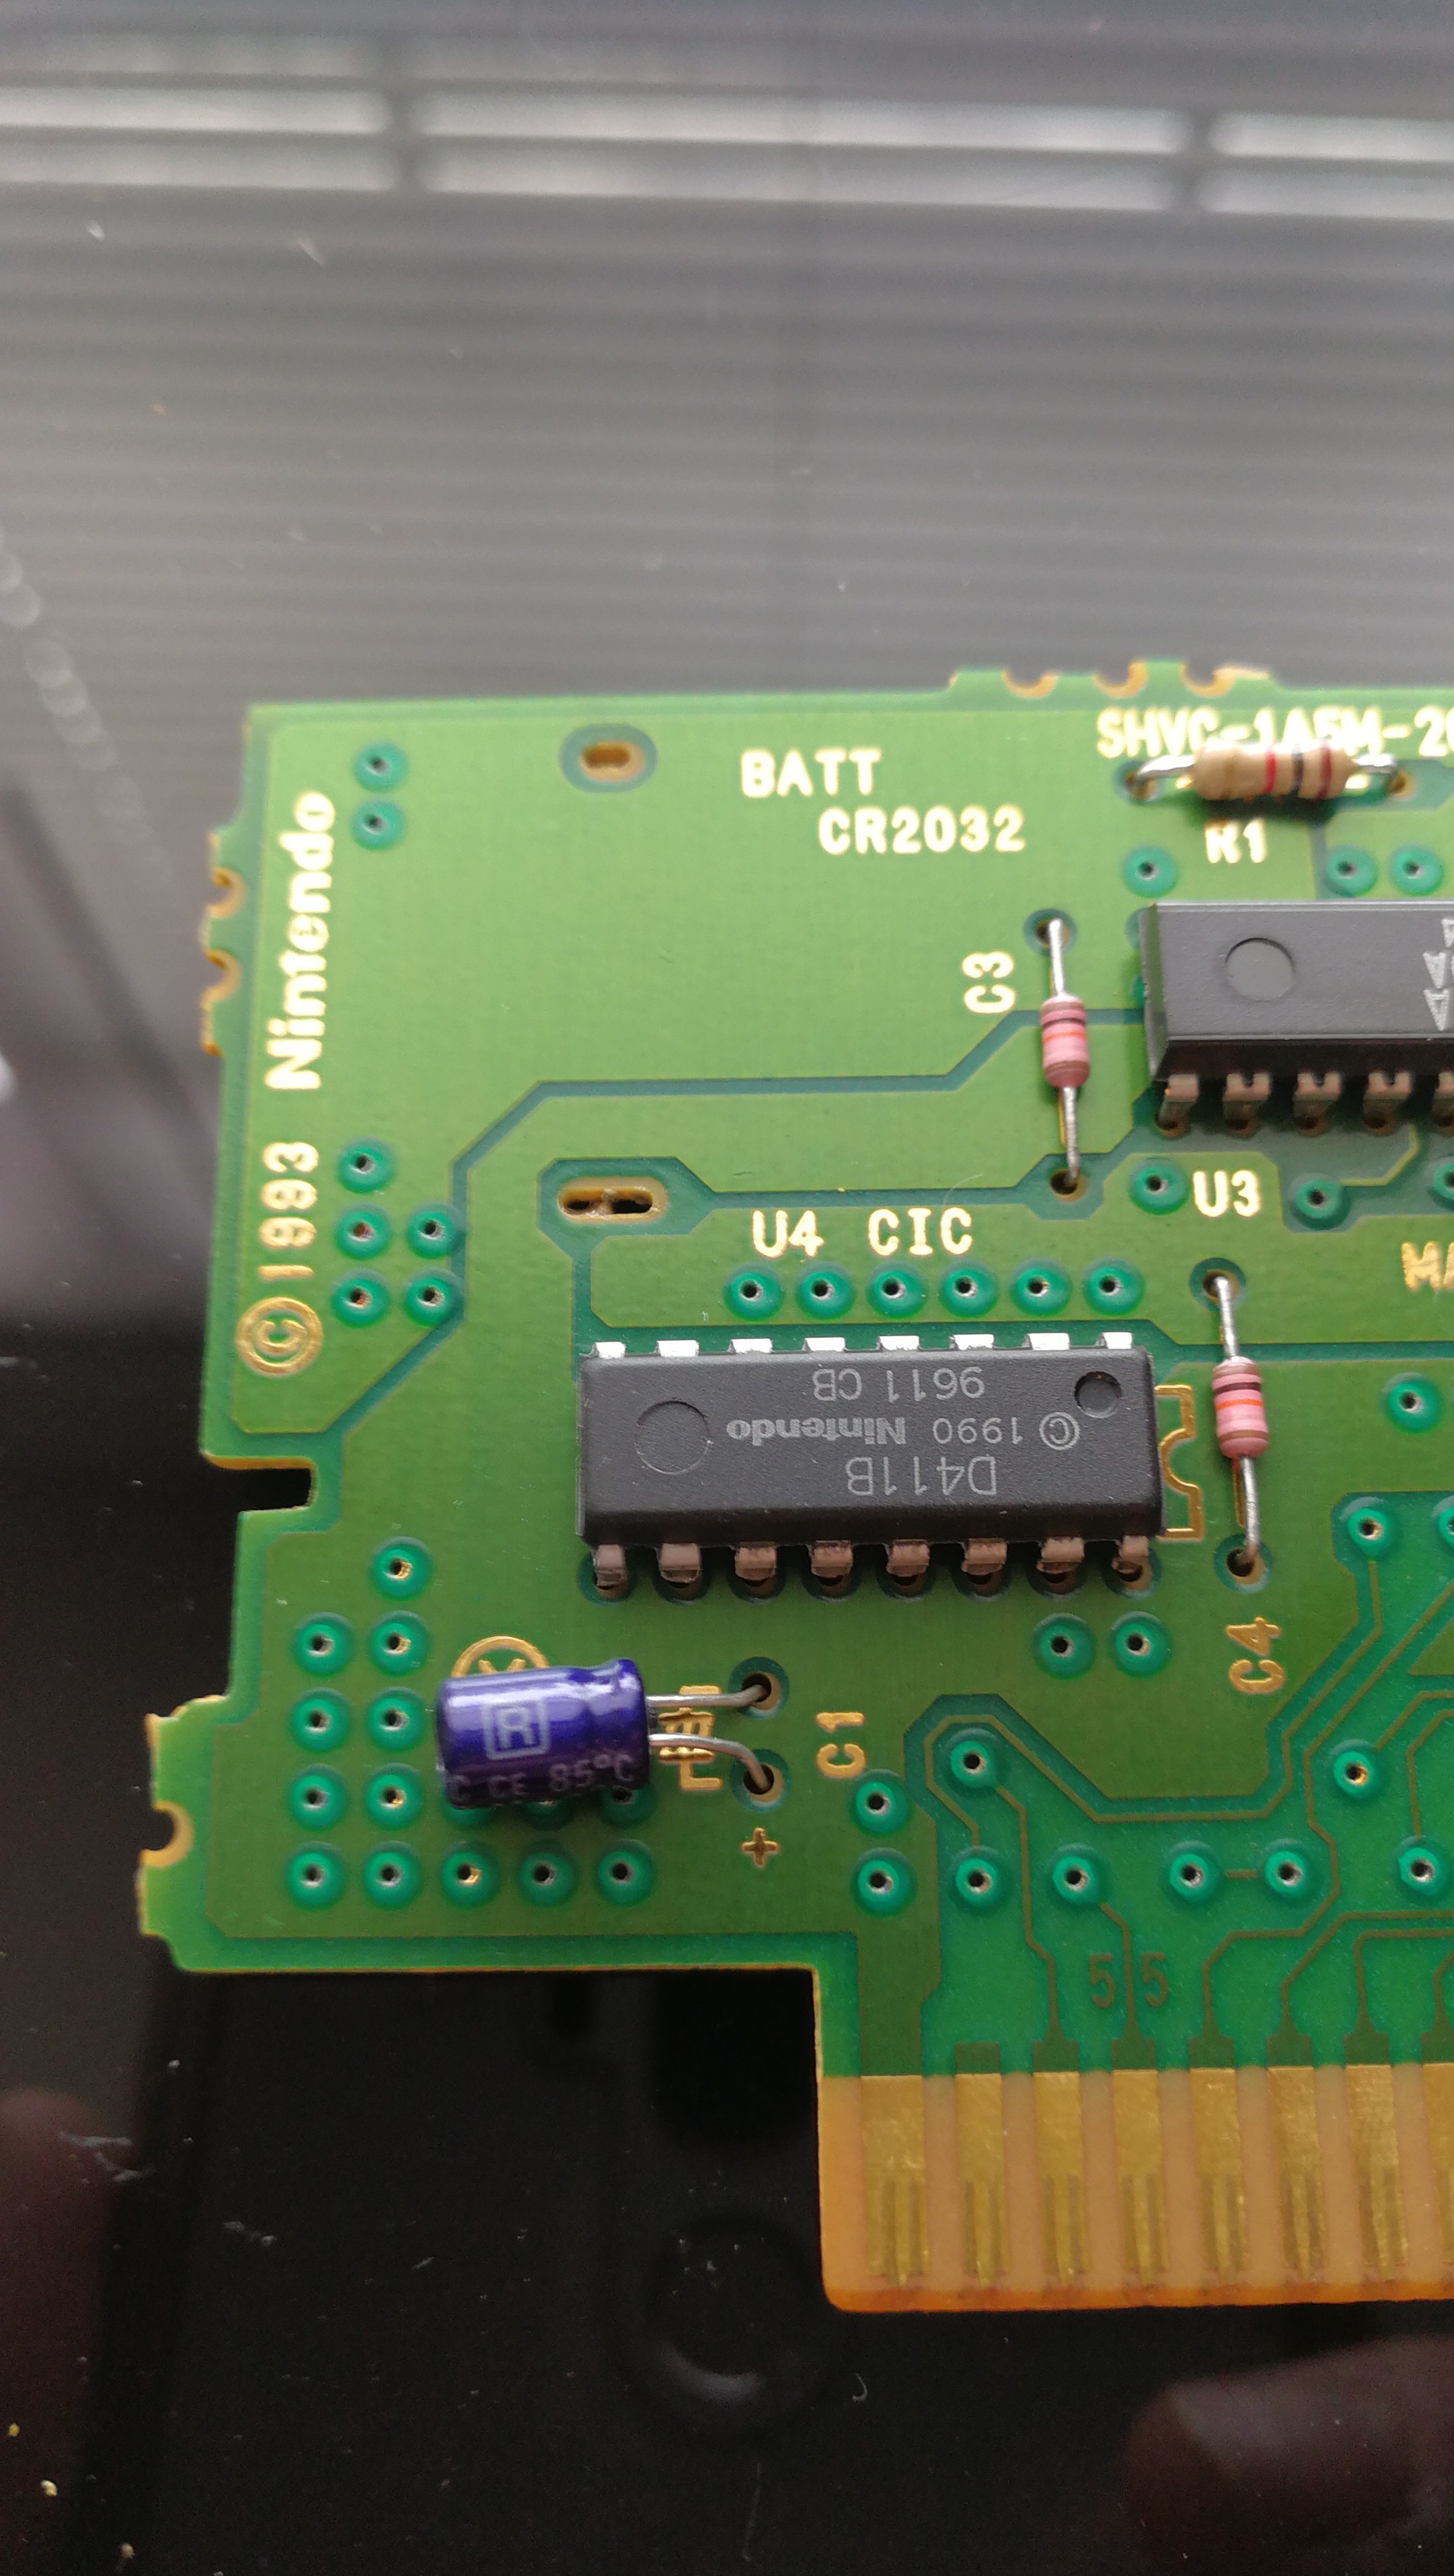
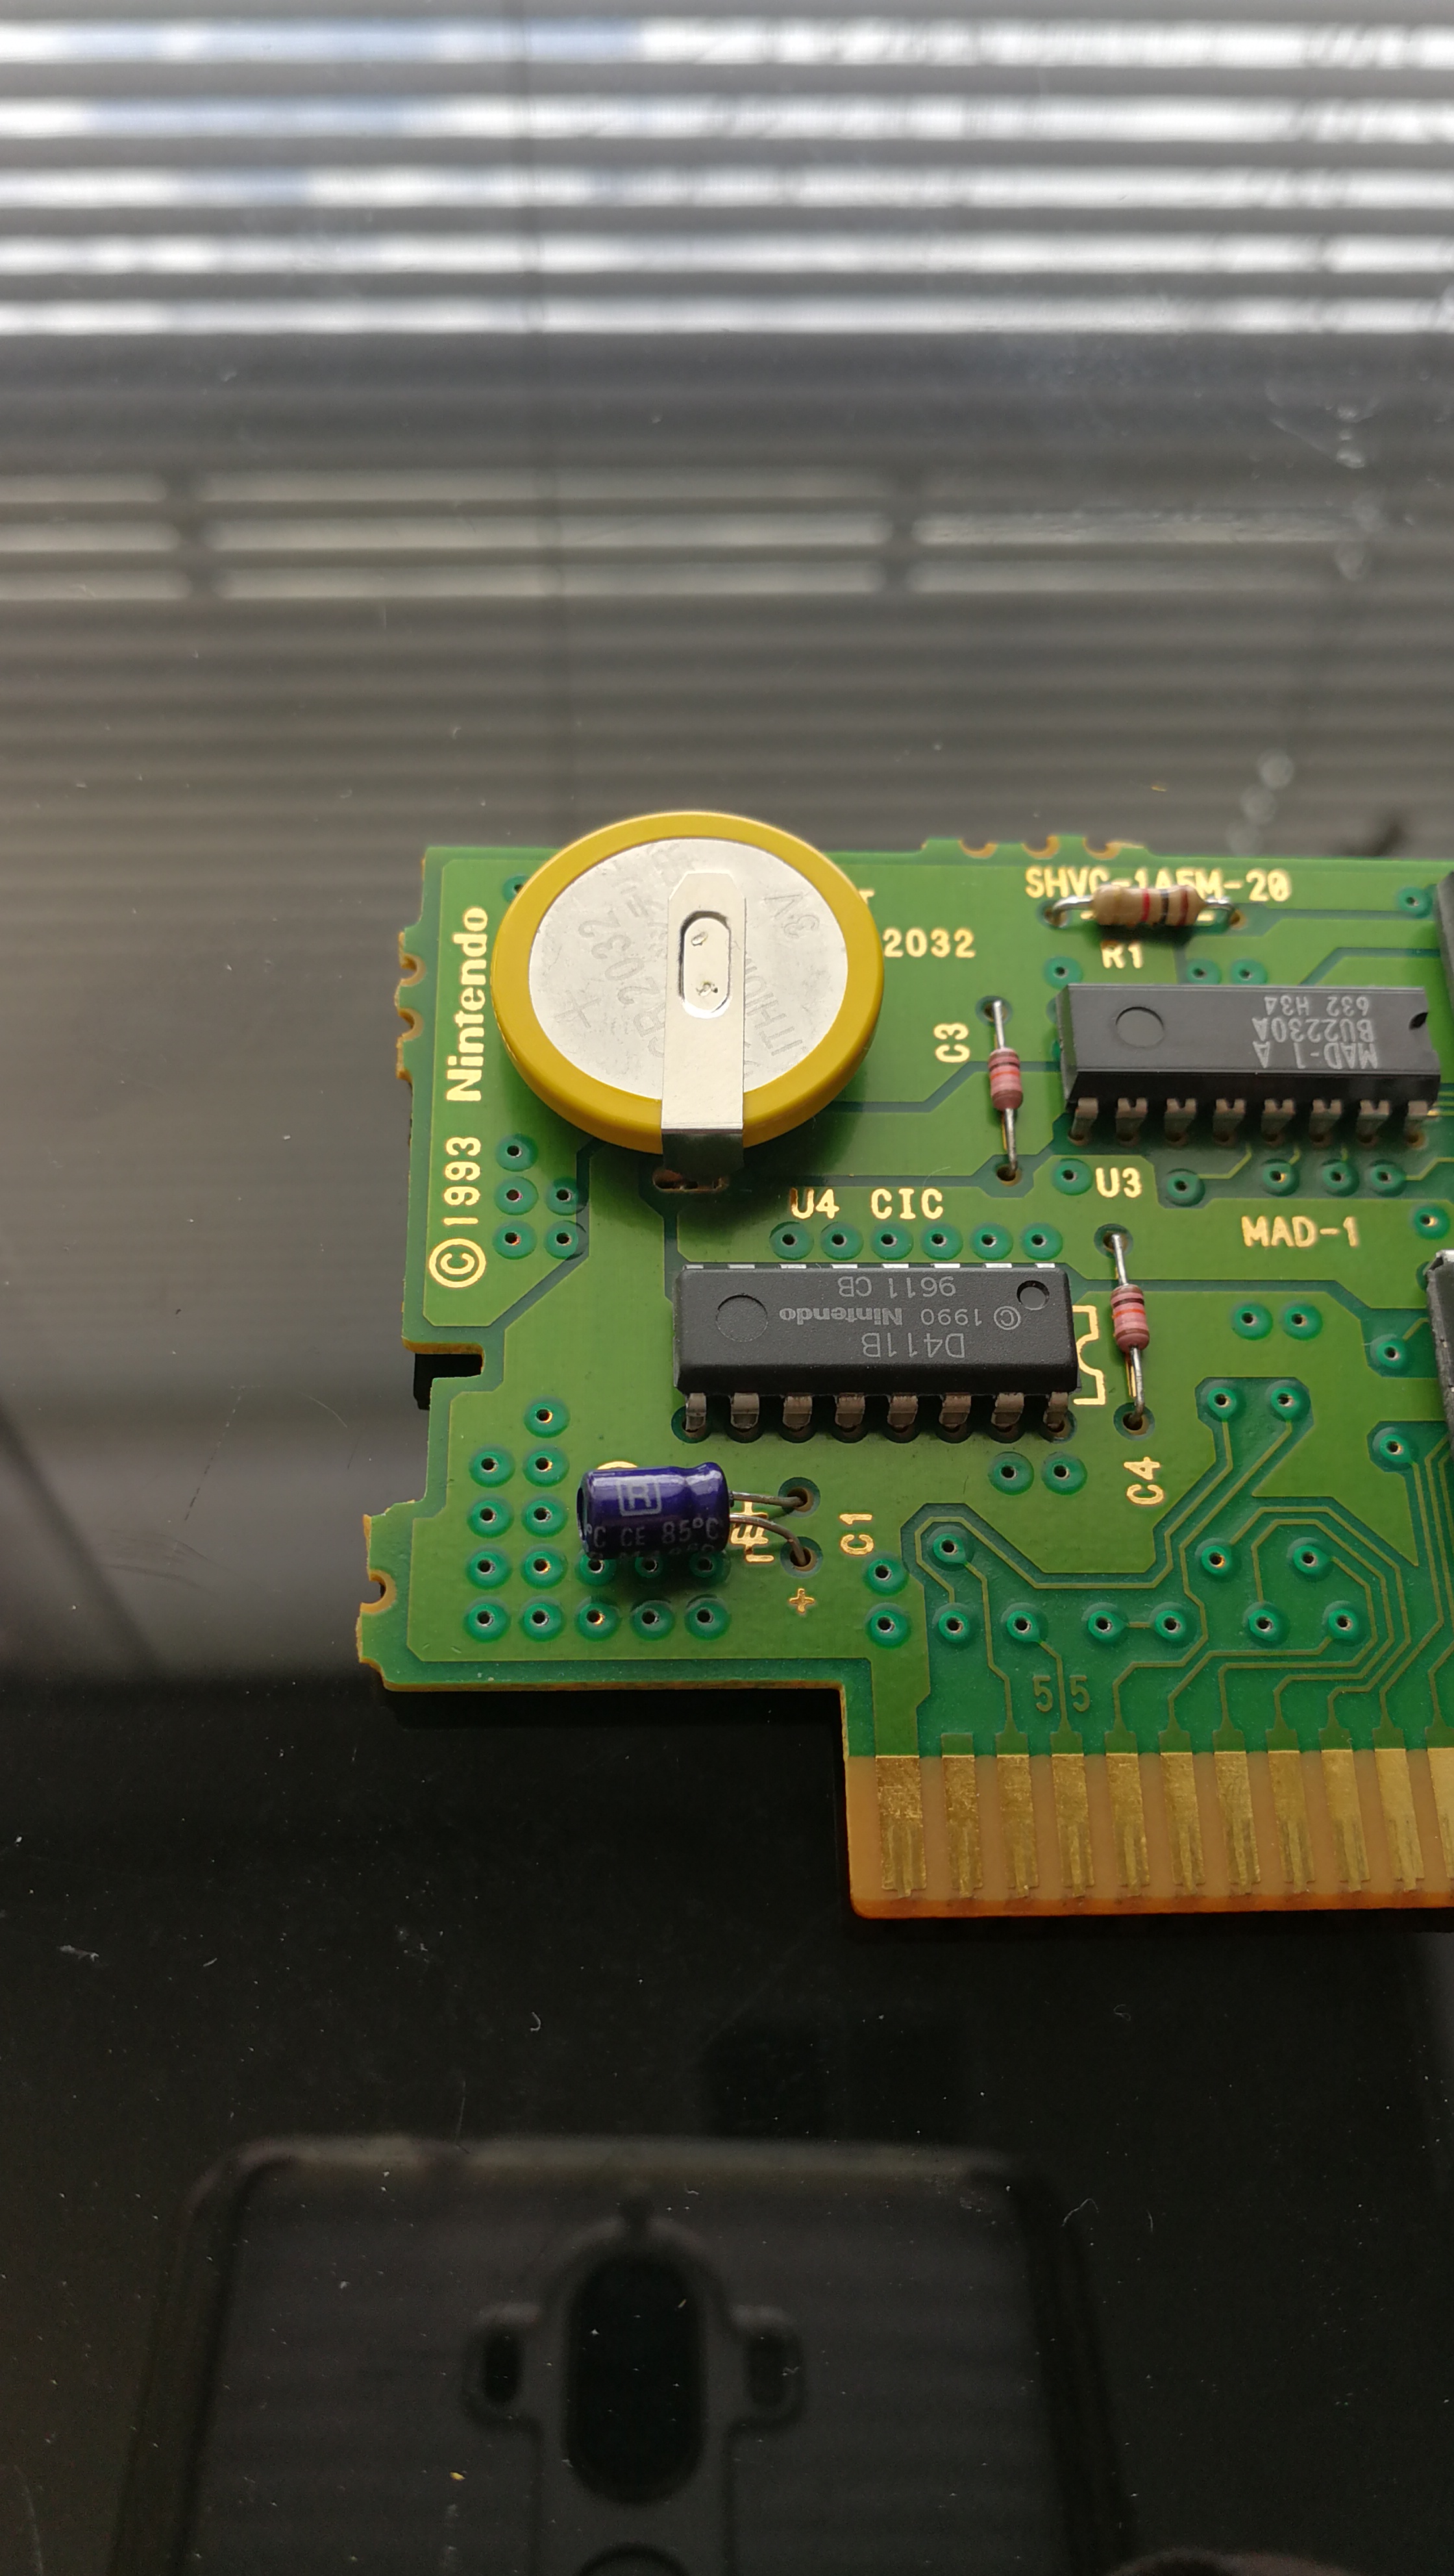
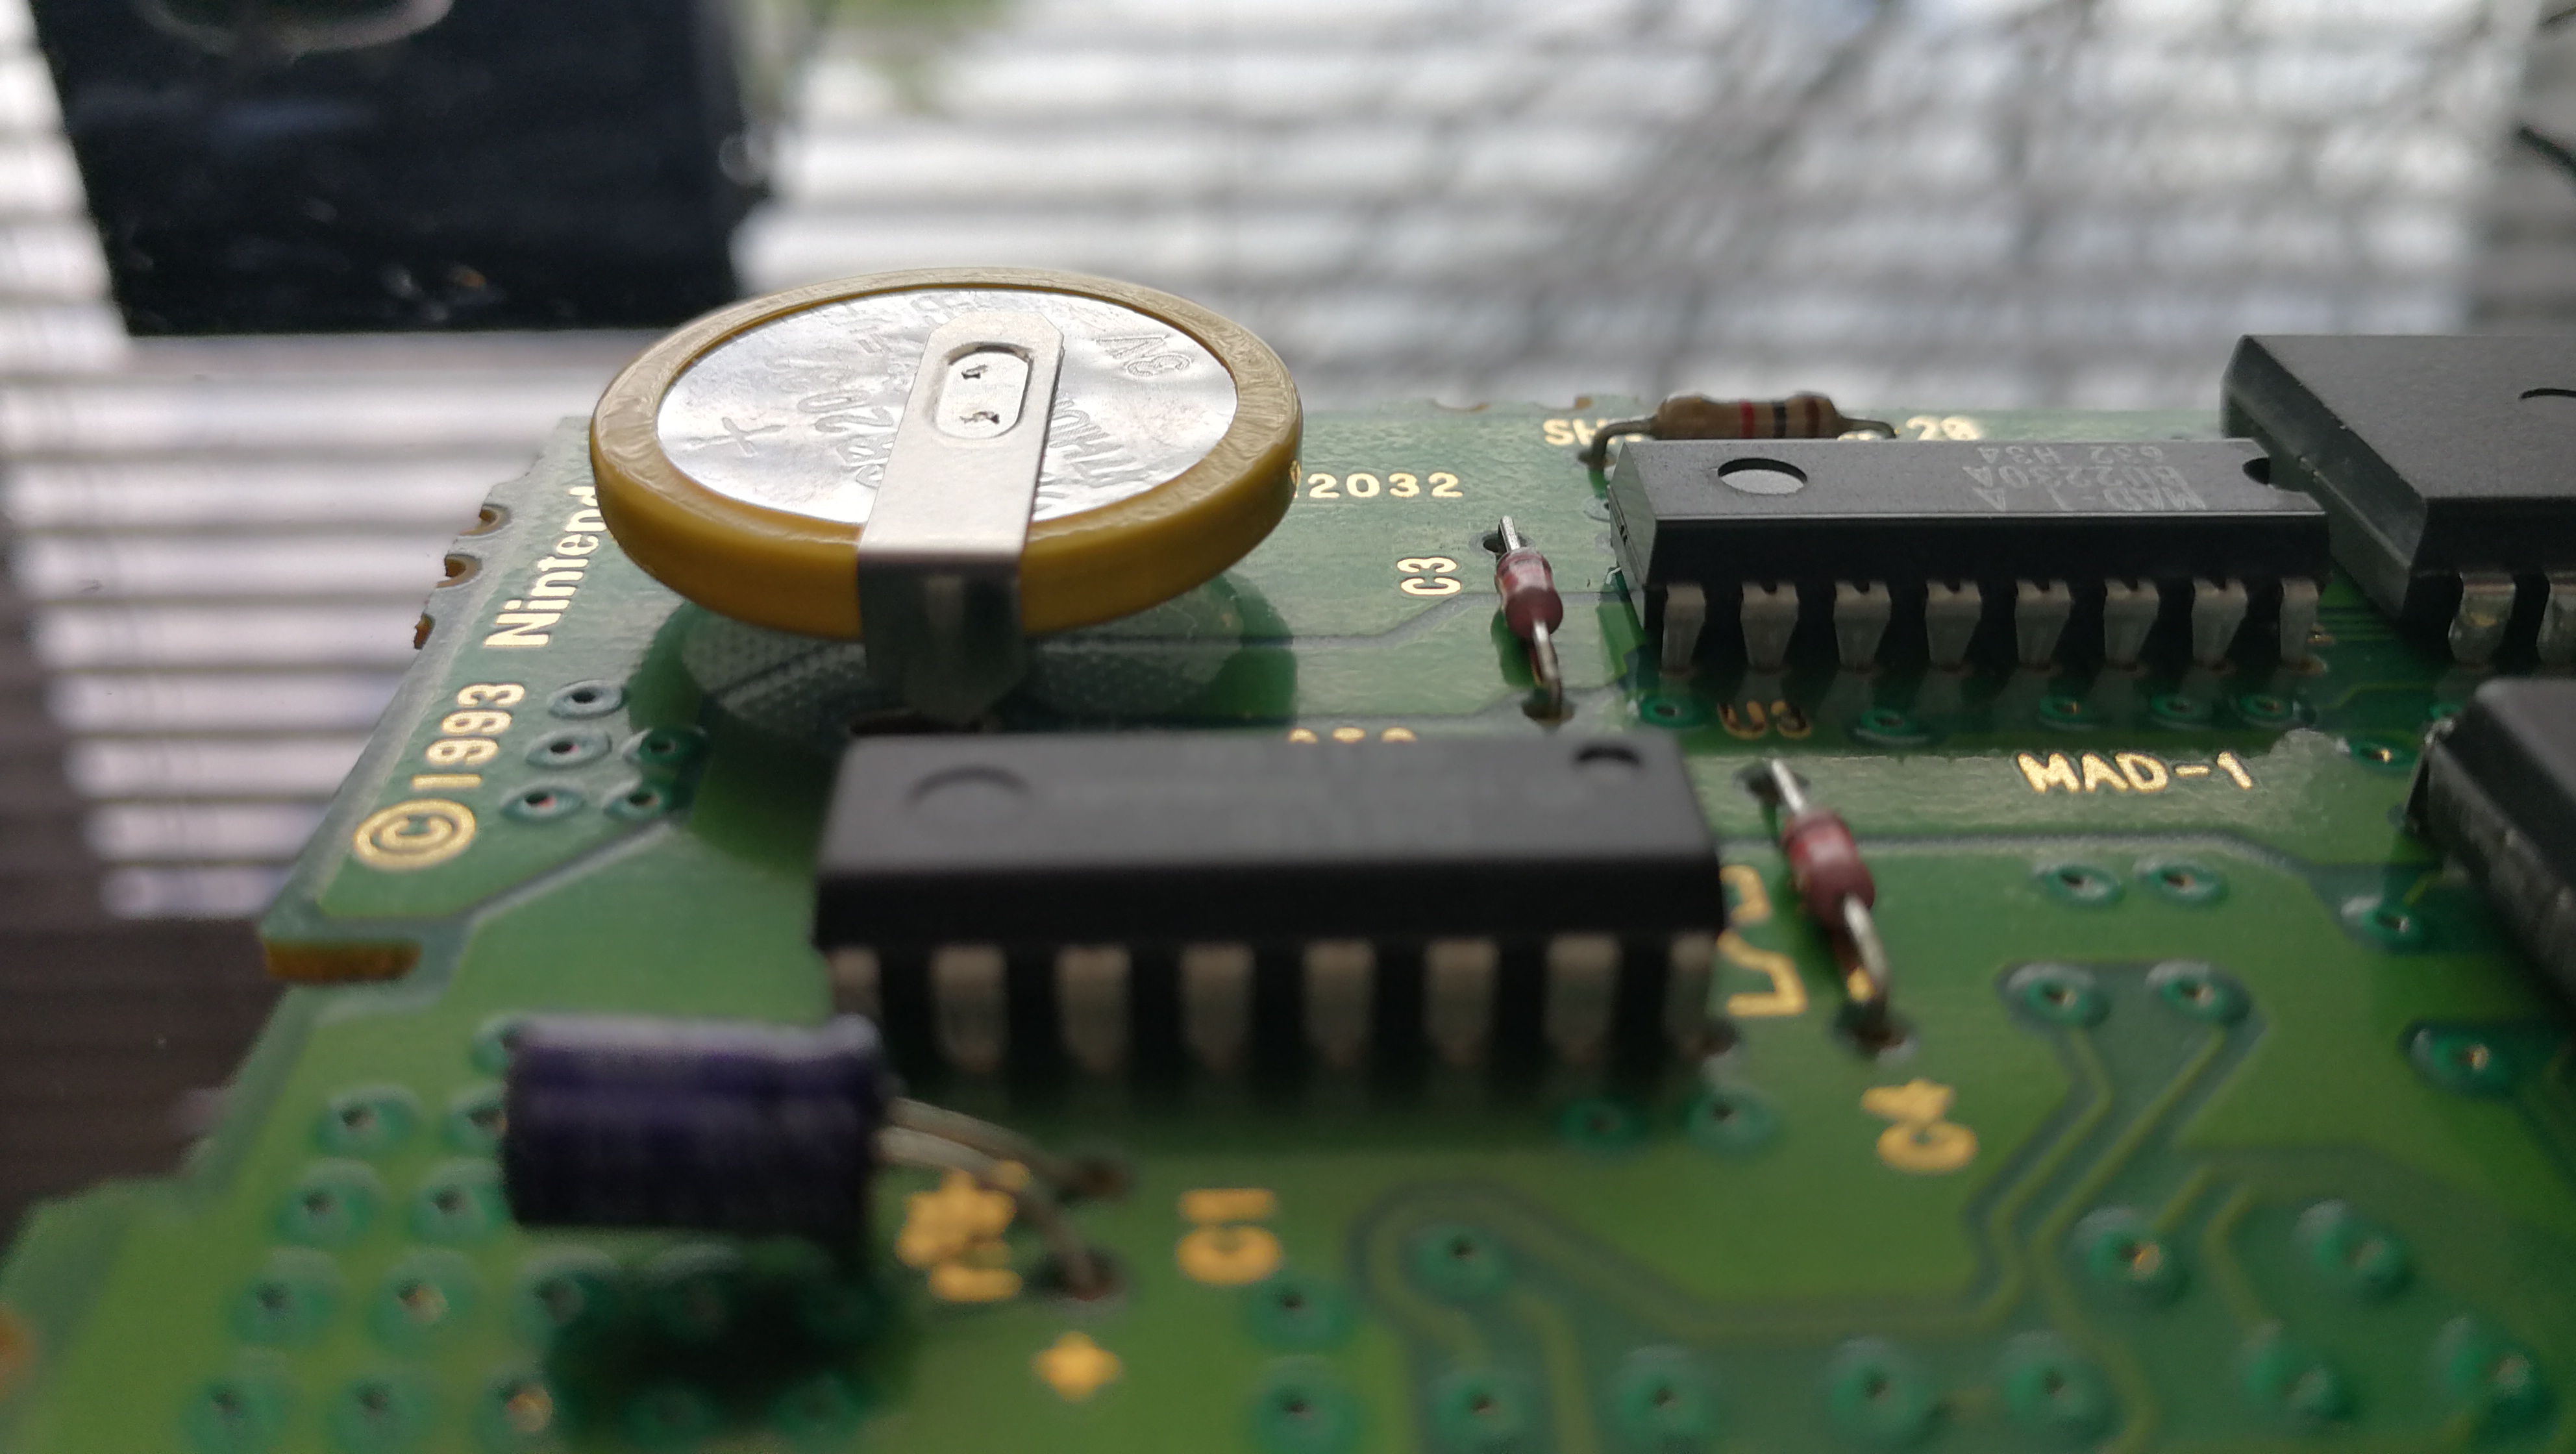
As you can see in the last photo above, the battery sits very close to the board. Due to the limited space being allowed in the cartridge we can't easily use a removable battery in a holder here. Instead we will need to desolder the current battery and then solder a new one in place of it.
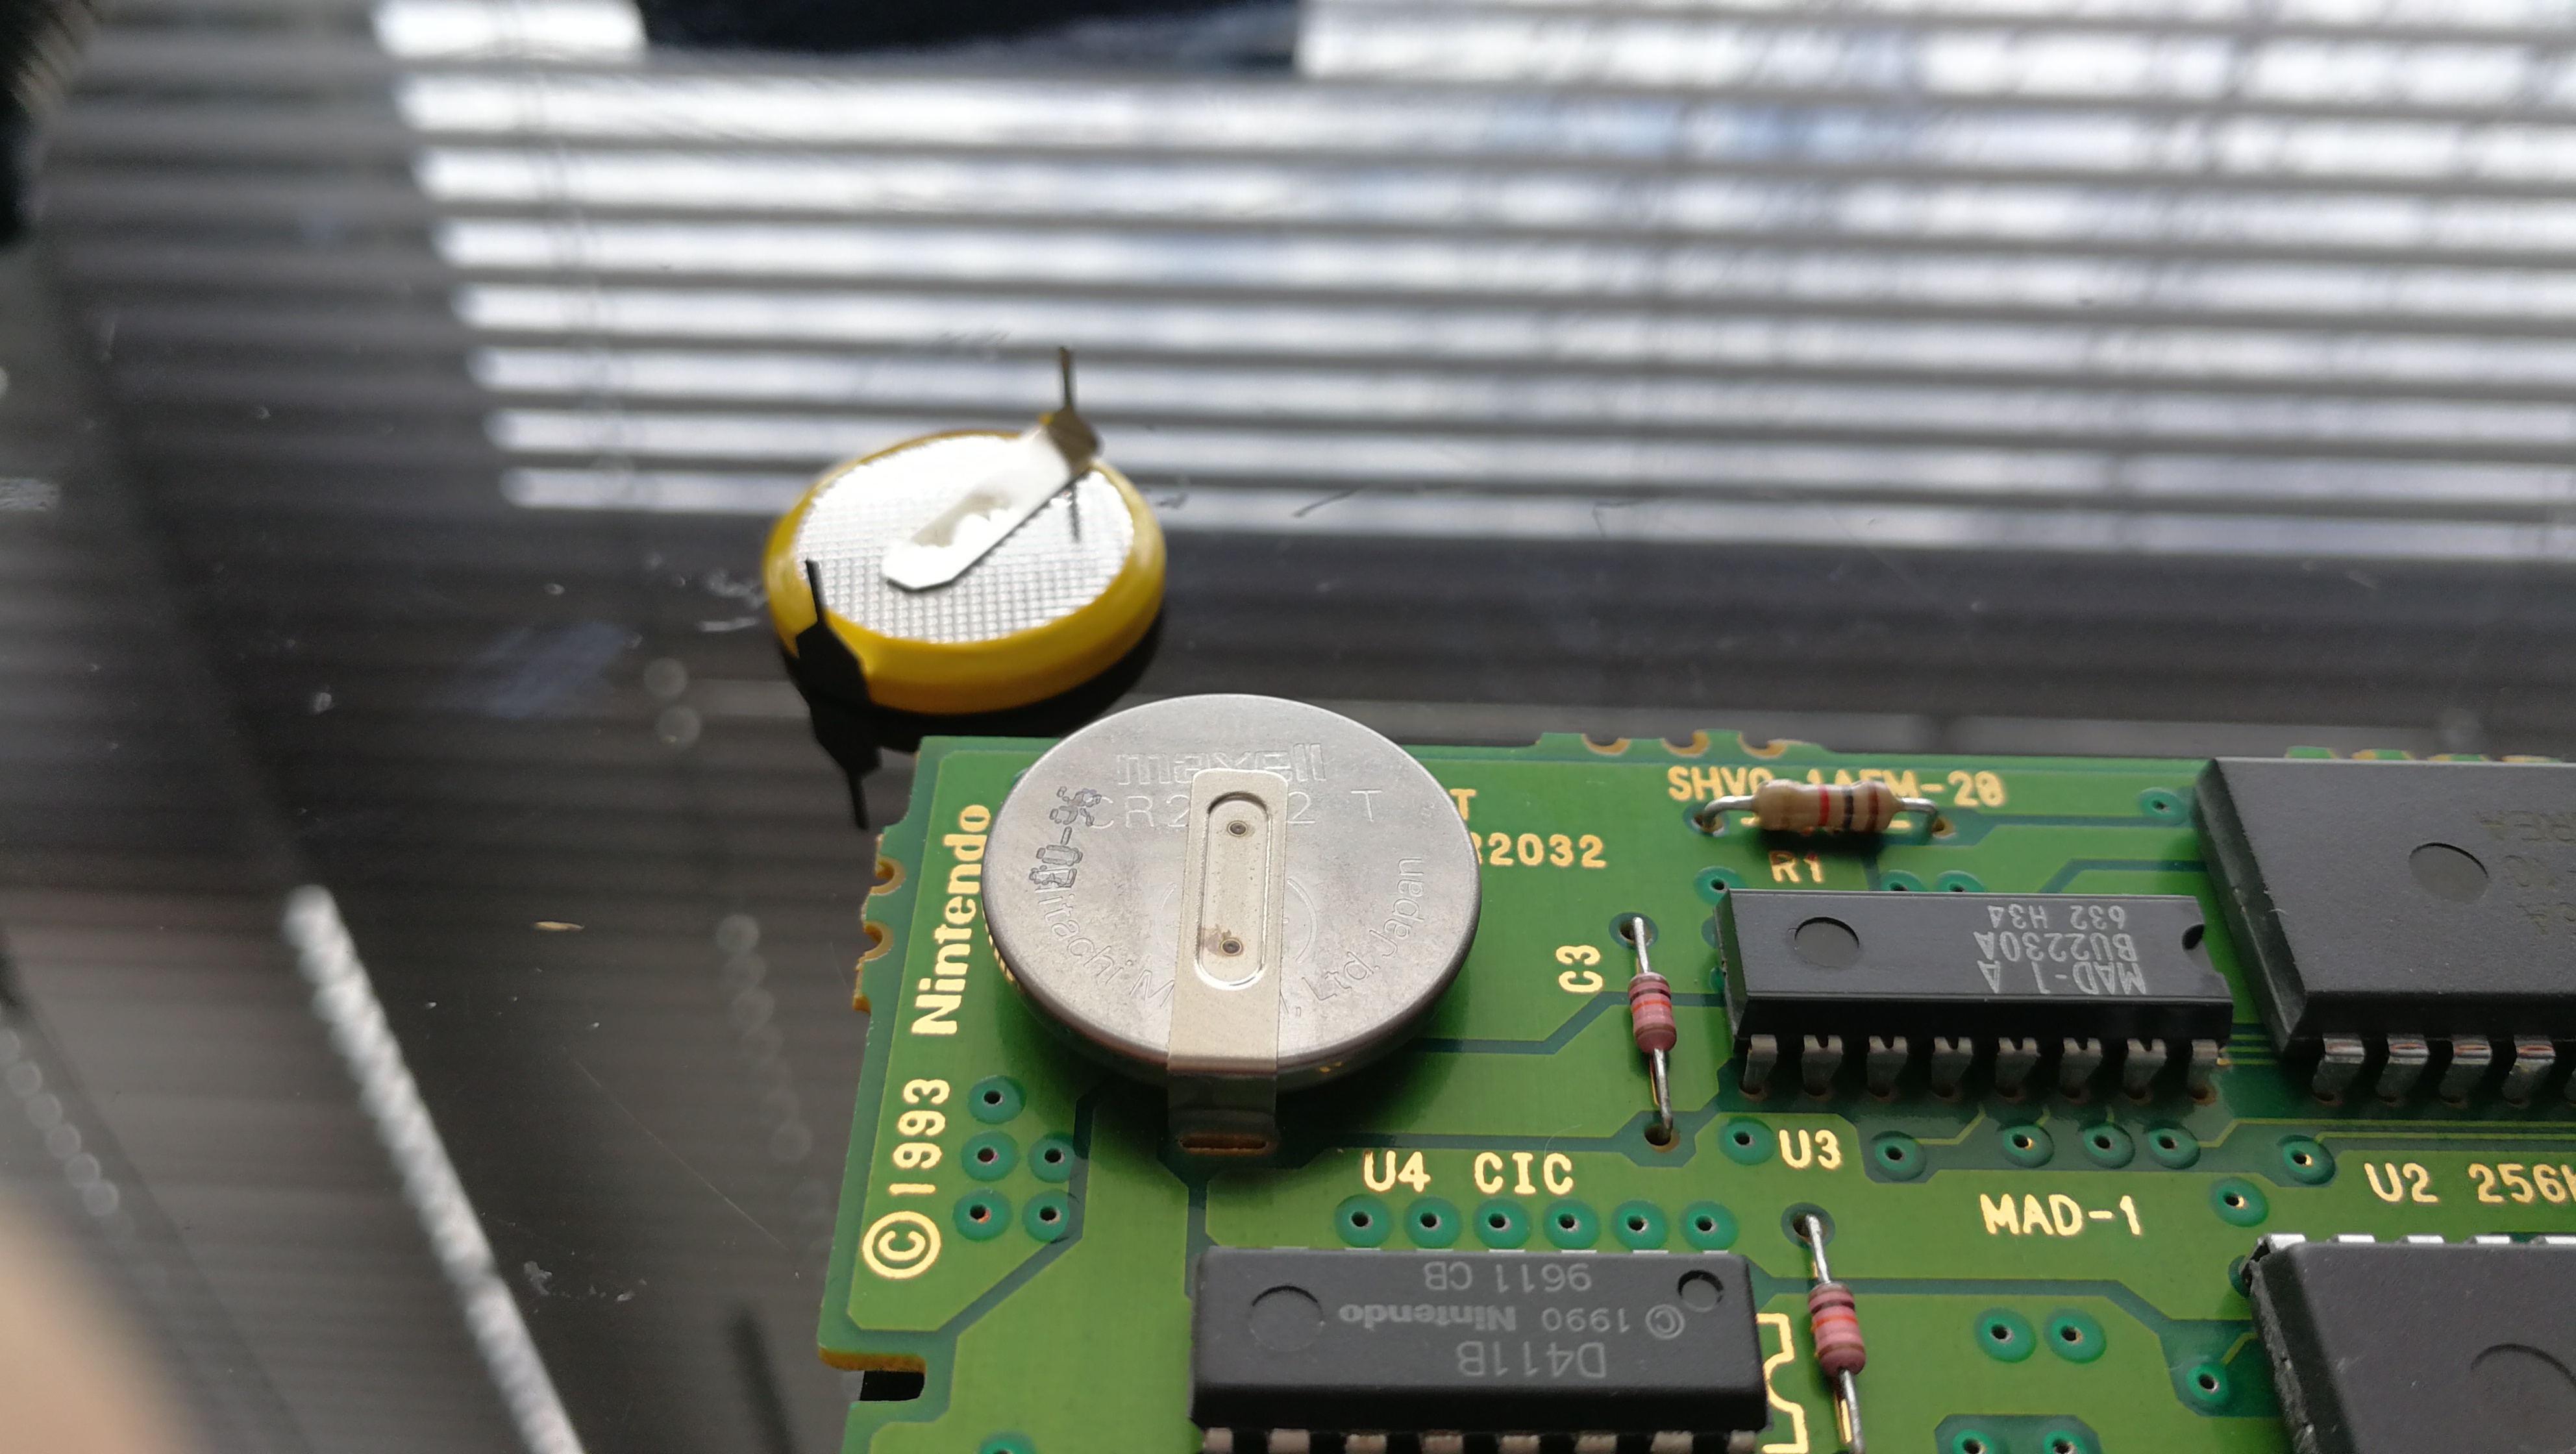
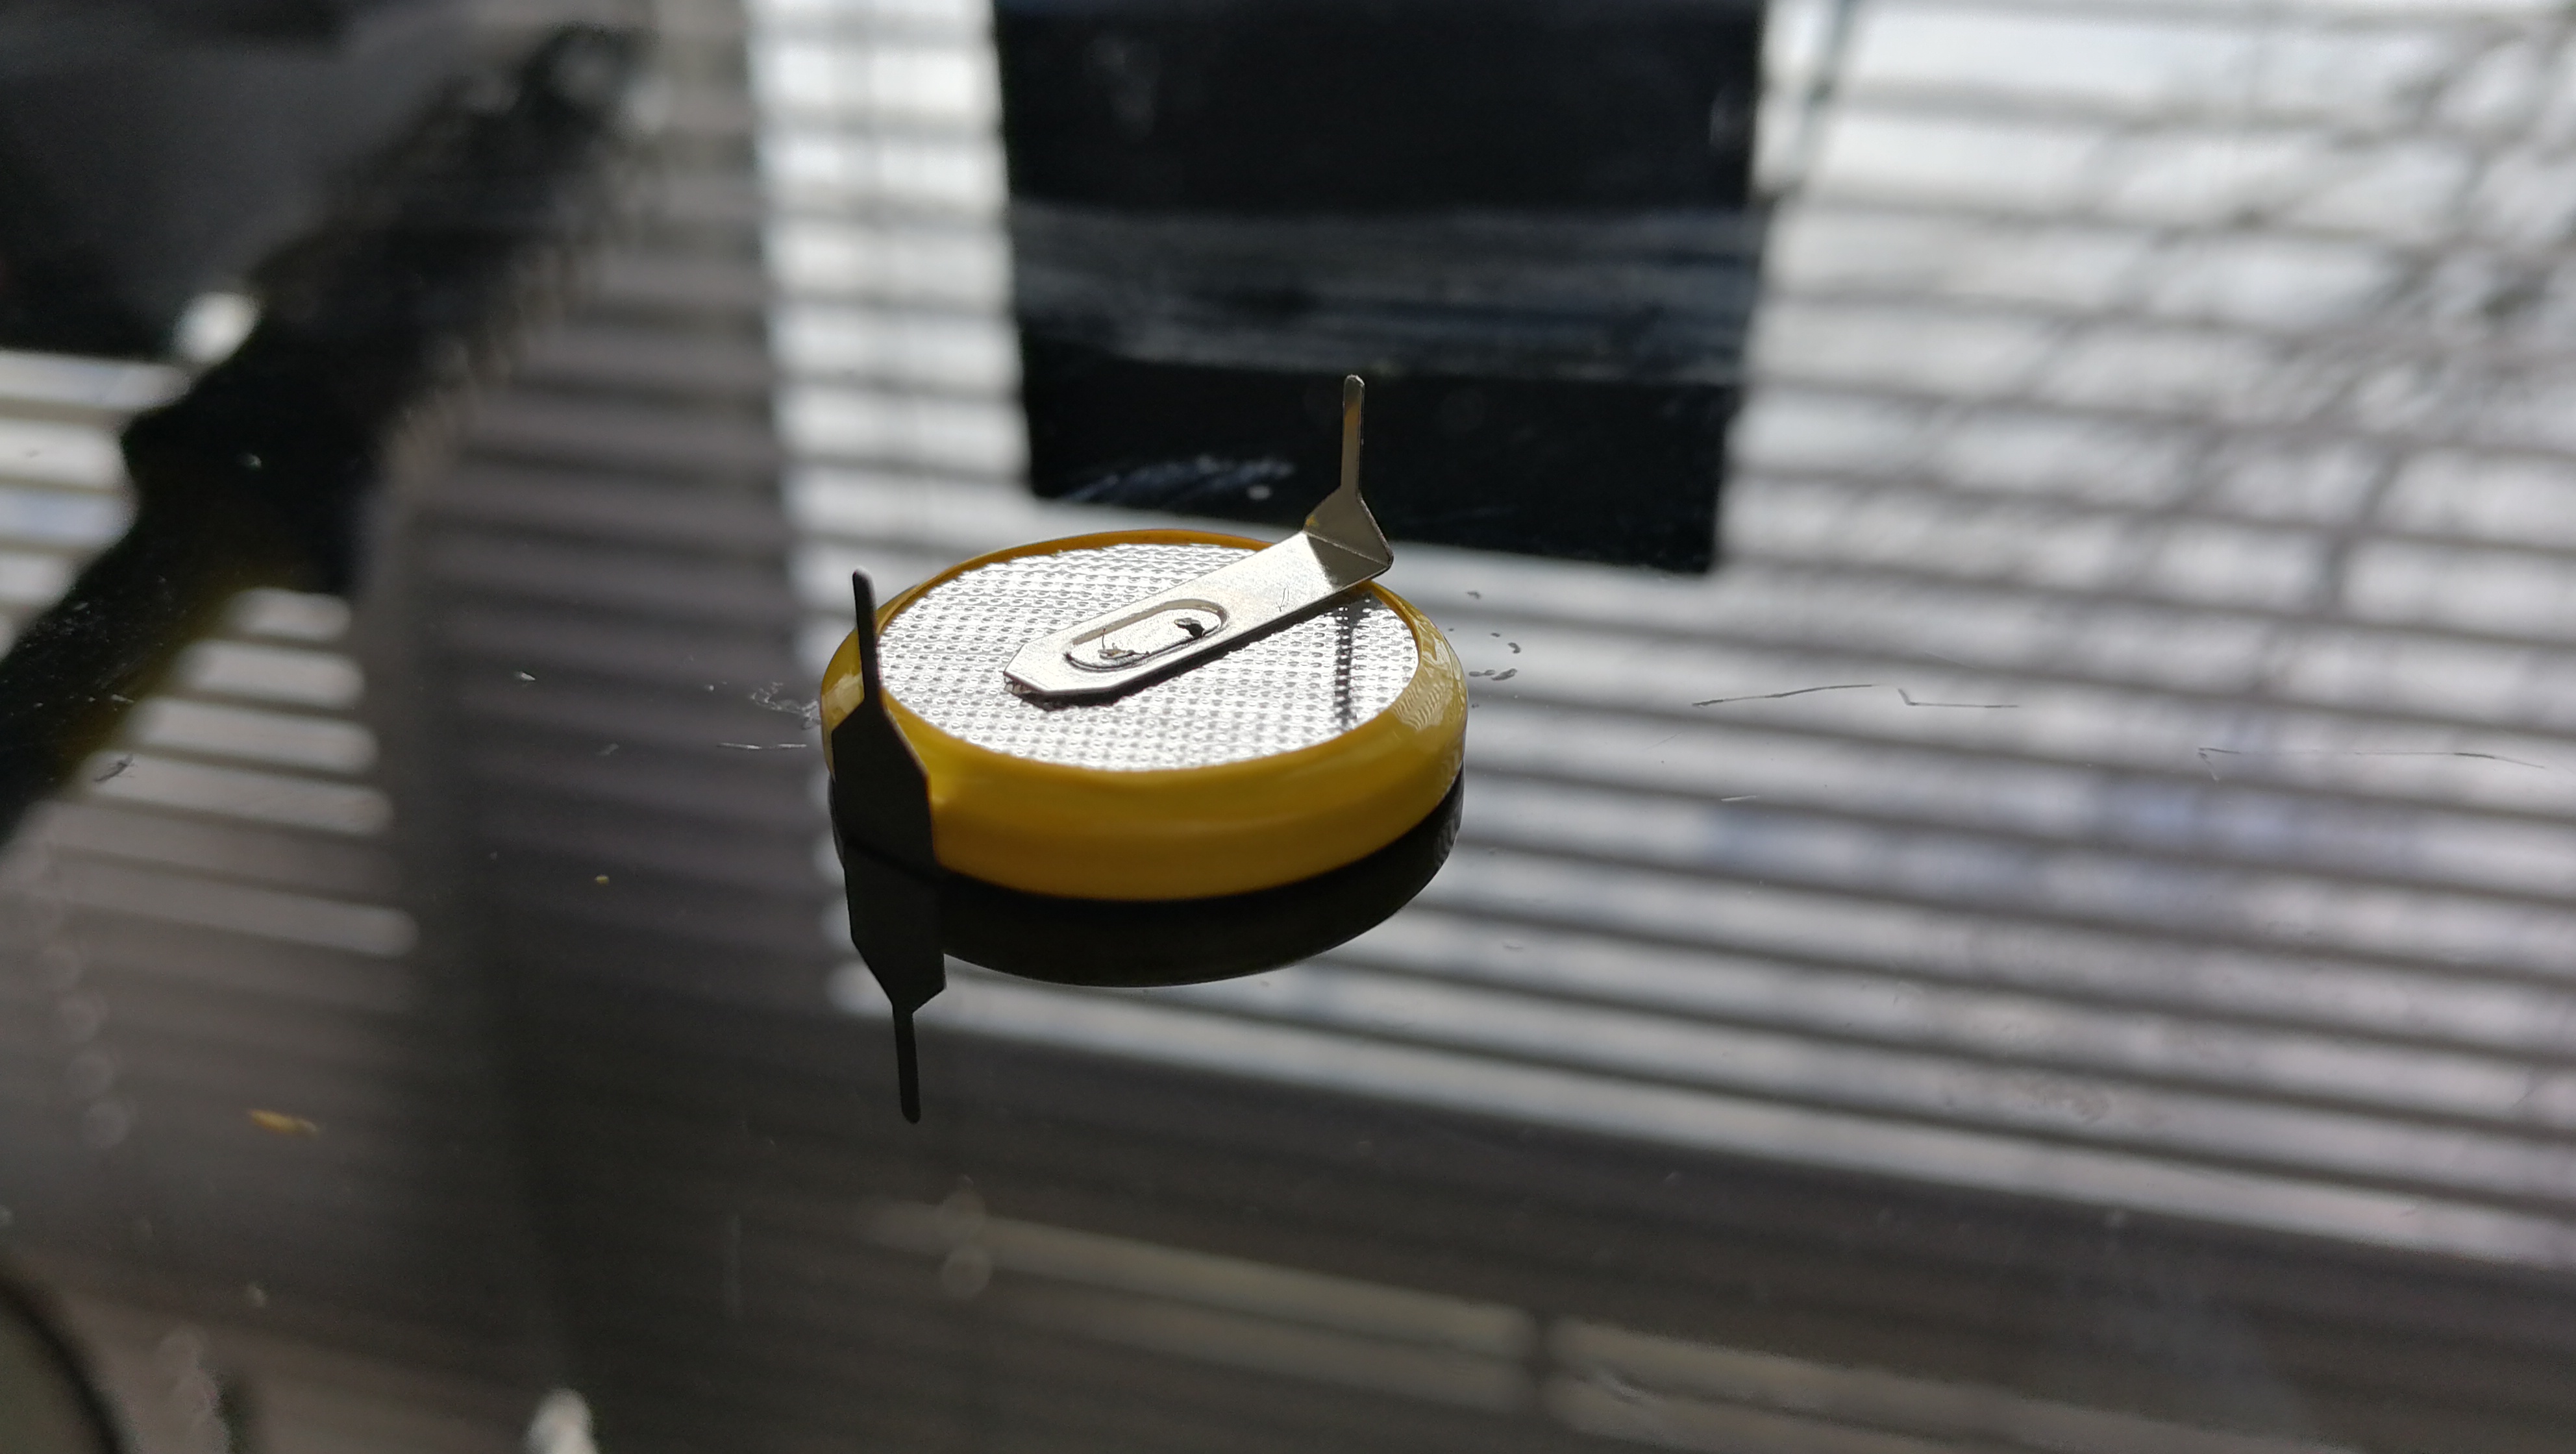
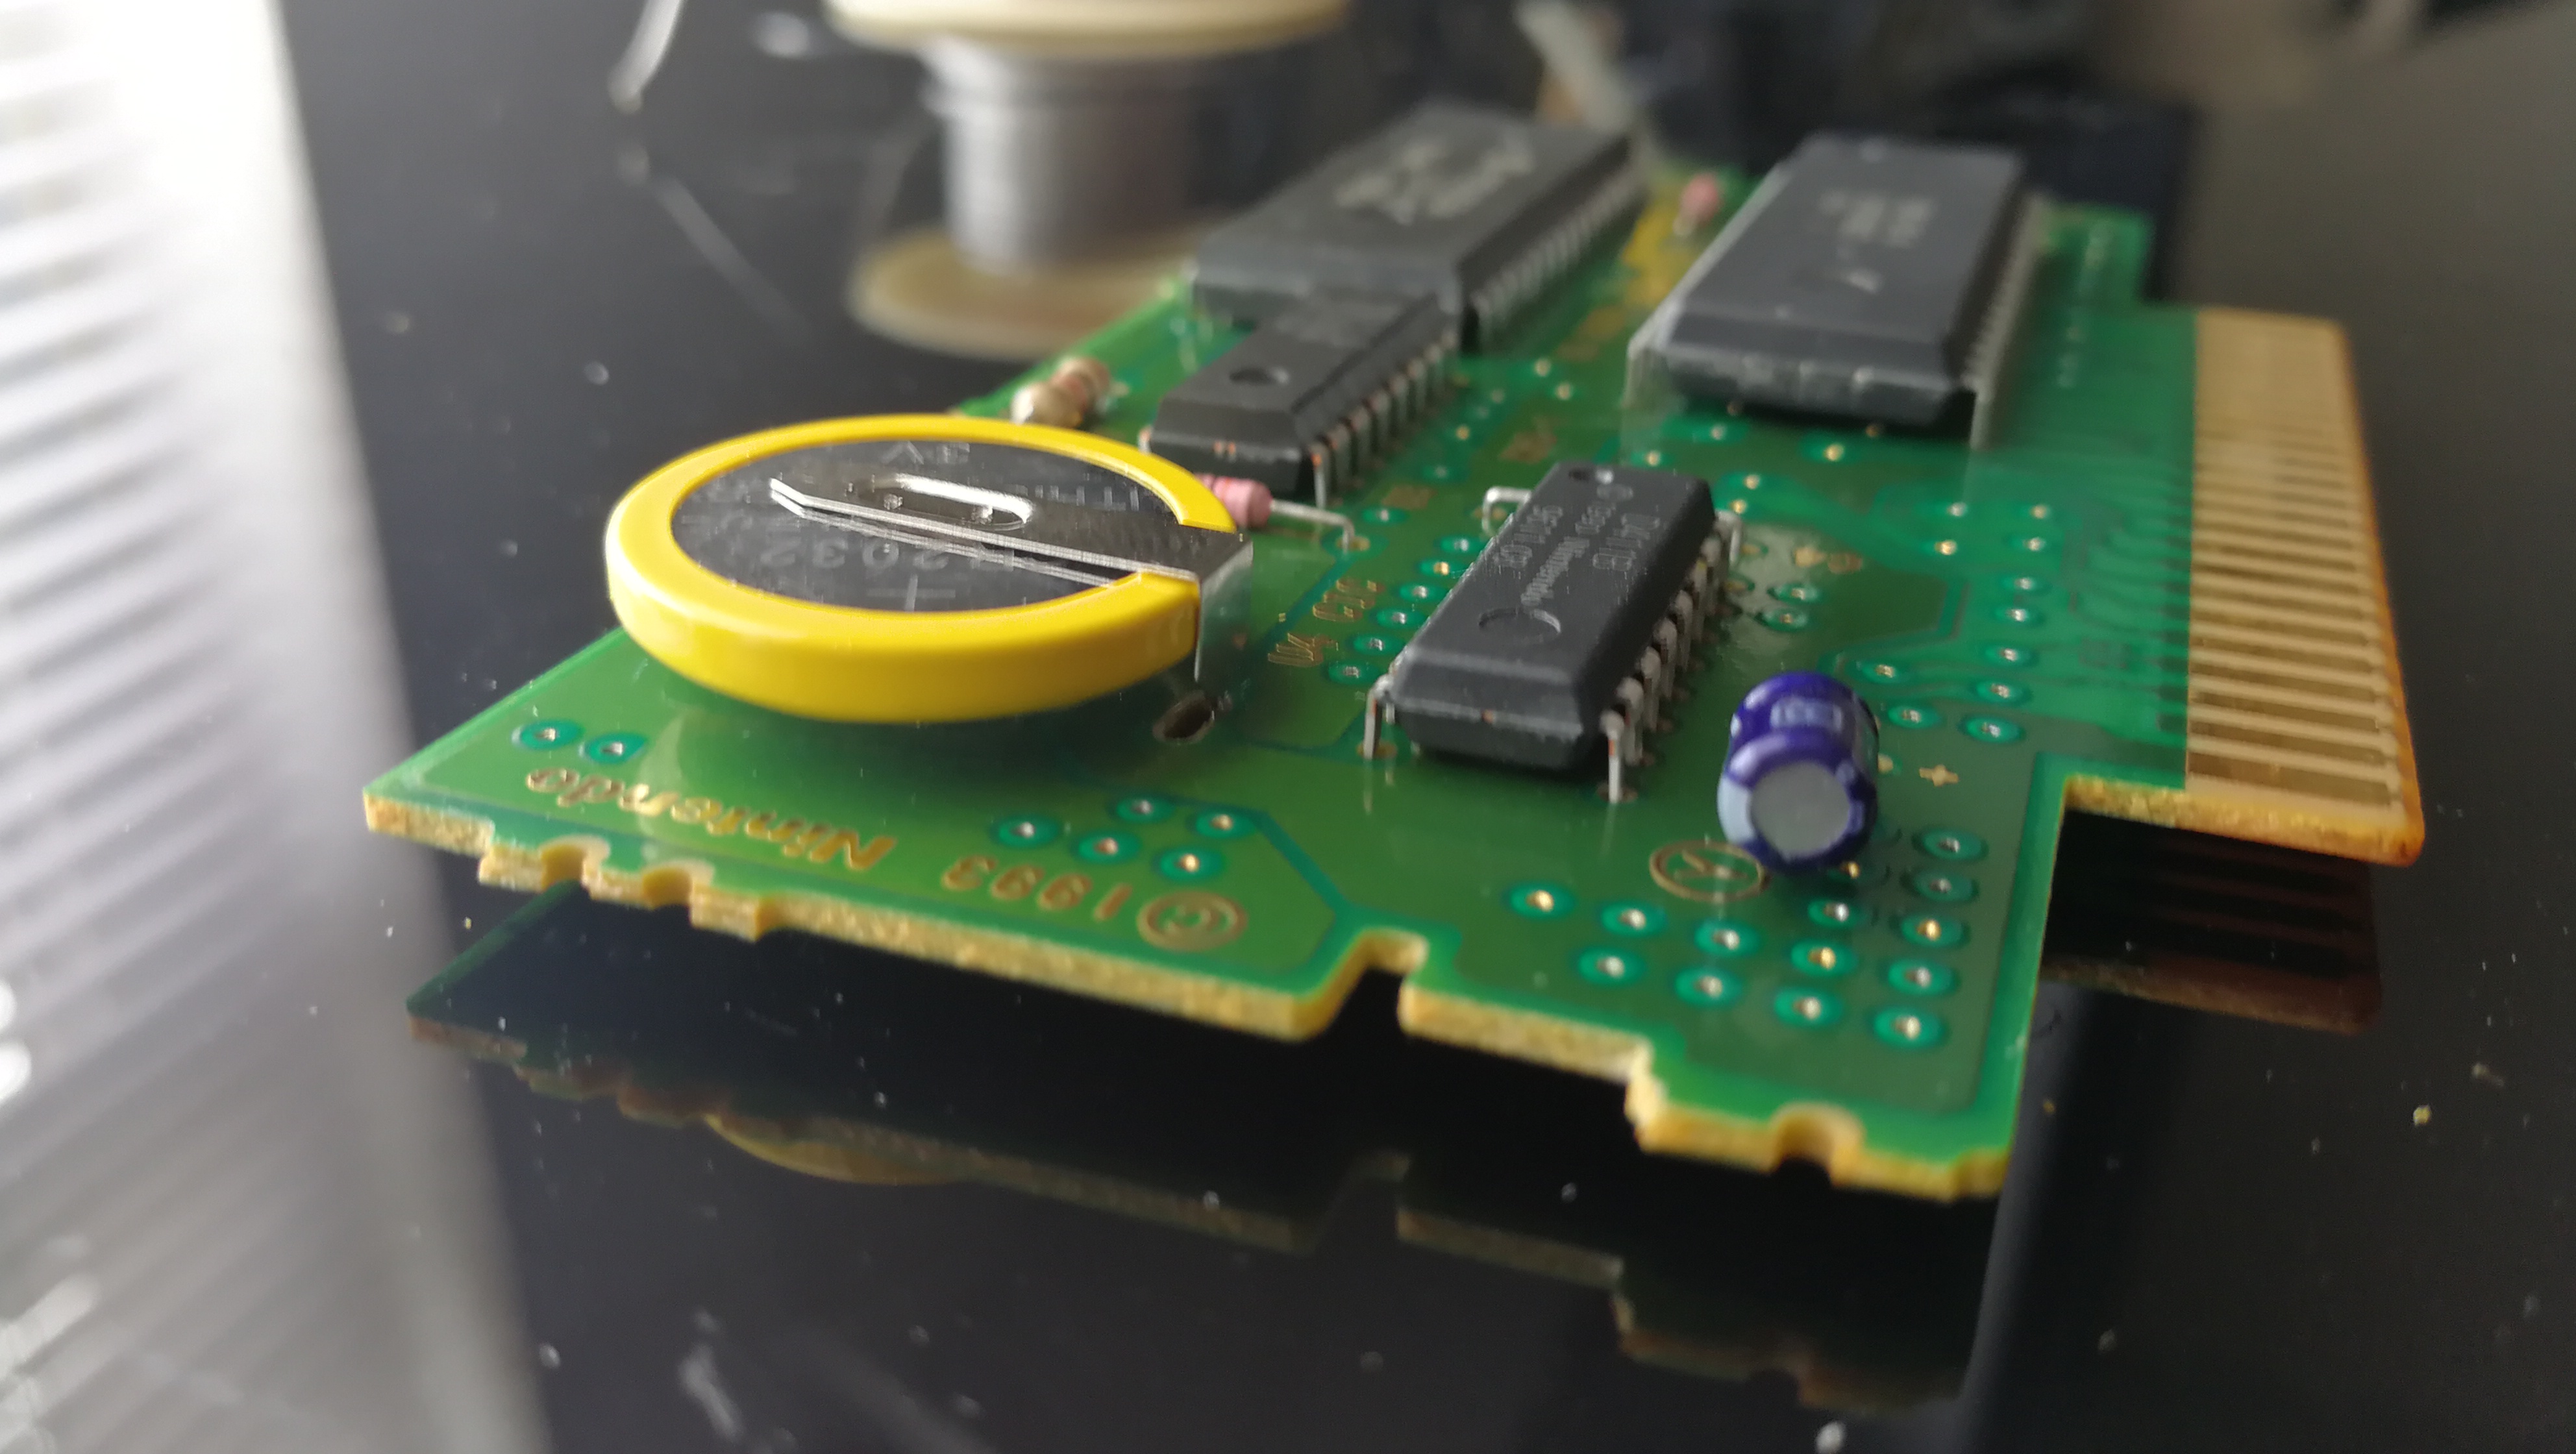
These are not standard batteries. Although the designation 'CR2032' is easily found at most department stores, these come with tabs soldered on to them from the factory. Do not attempt to solder tabs on to a standard battery! Batteries will explode if exposed to the heat from a soldering iron for too long! I purchased these from a seller on Amazon. As you can see, the tabs will go through the board and be soldered on the back, just like the current battery.
As far as soldering goes, we're not doing anything particularly difficult here. Of course, observe proper safety and use whatever protective equipment is needed.
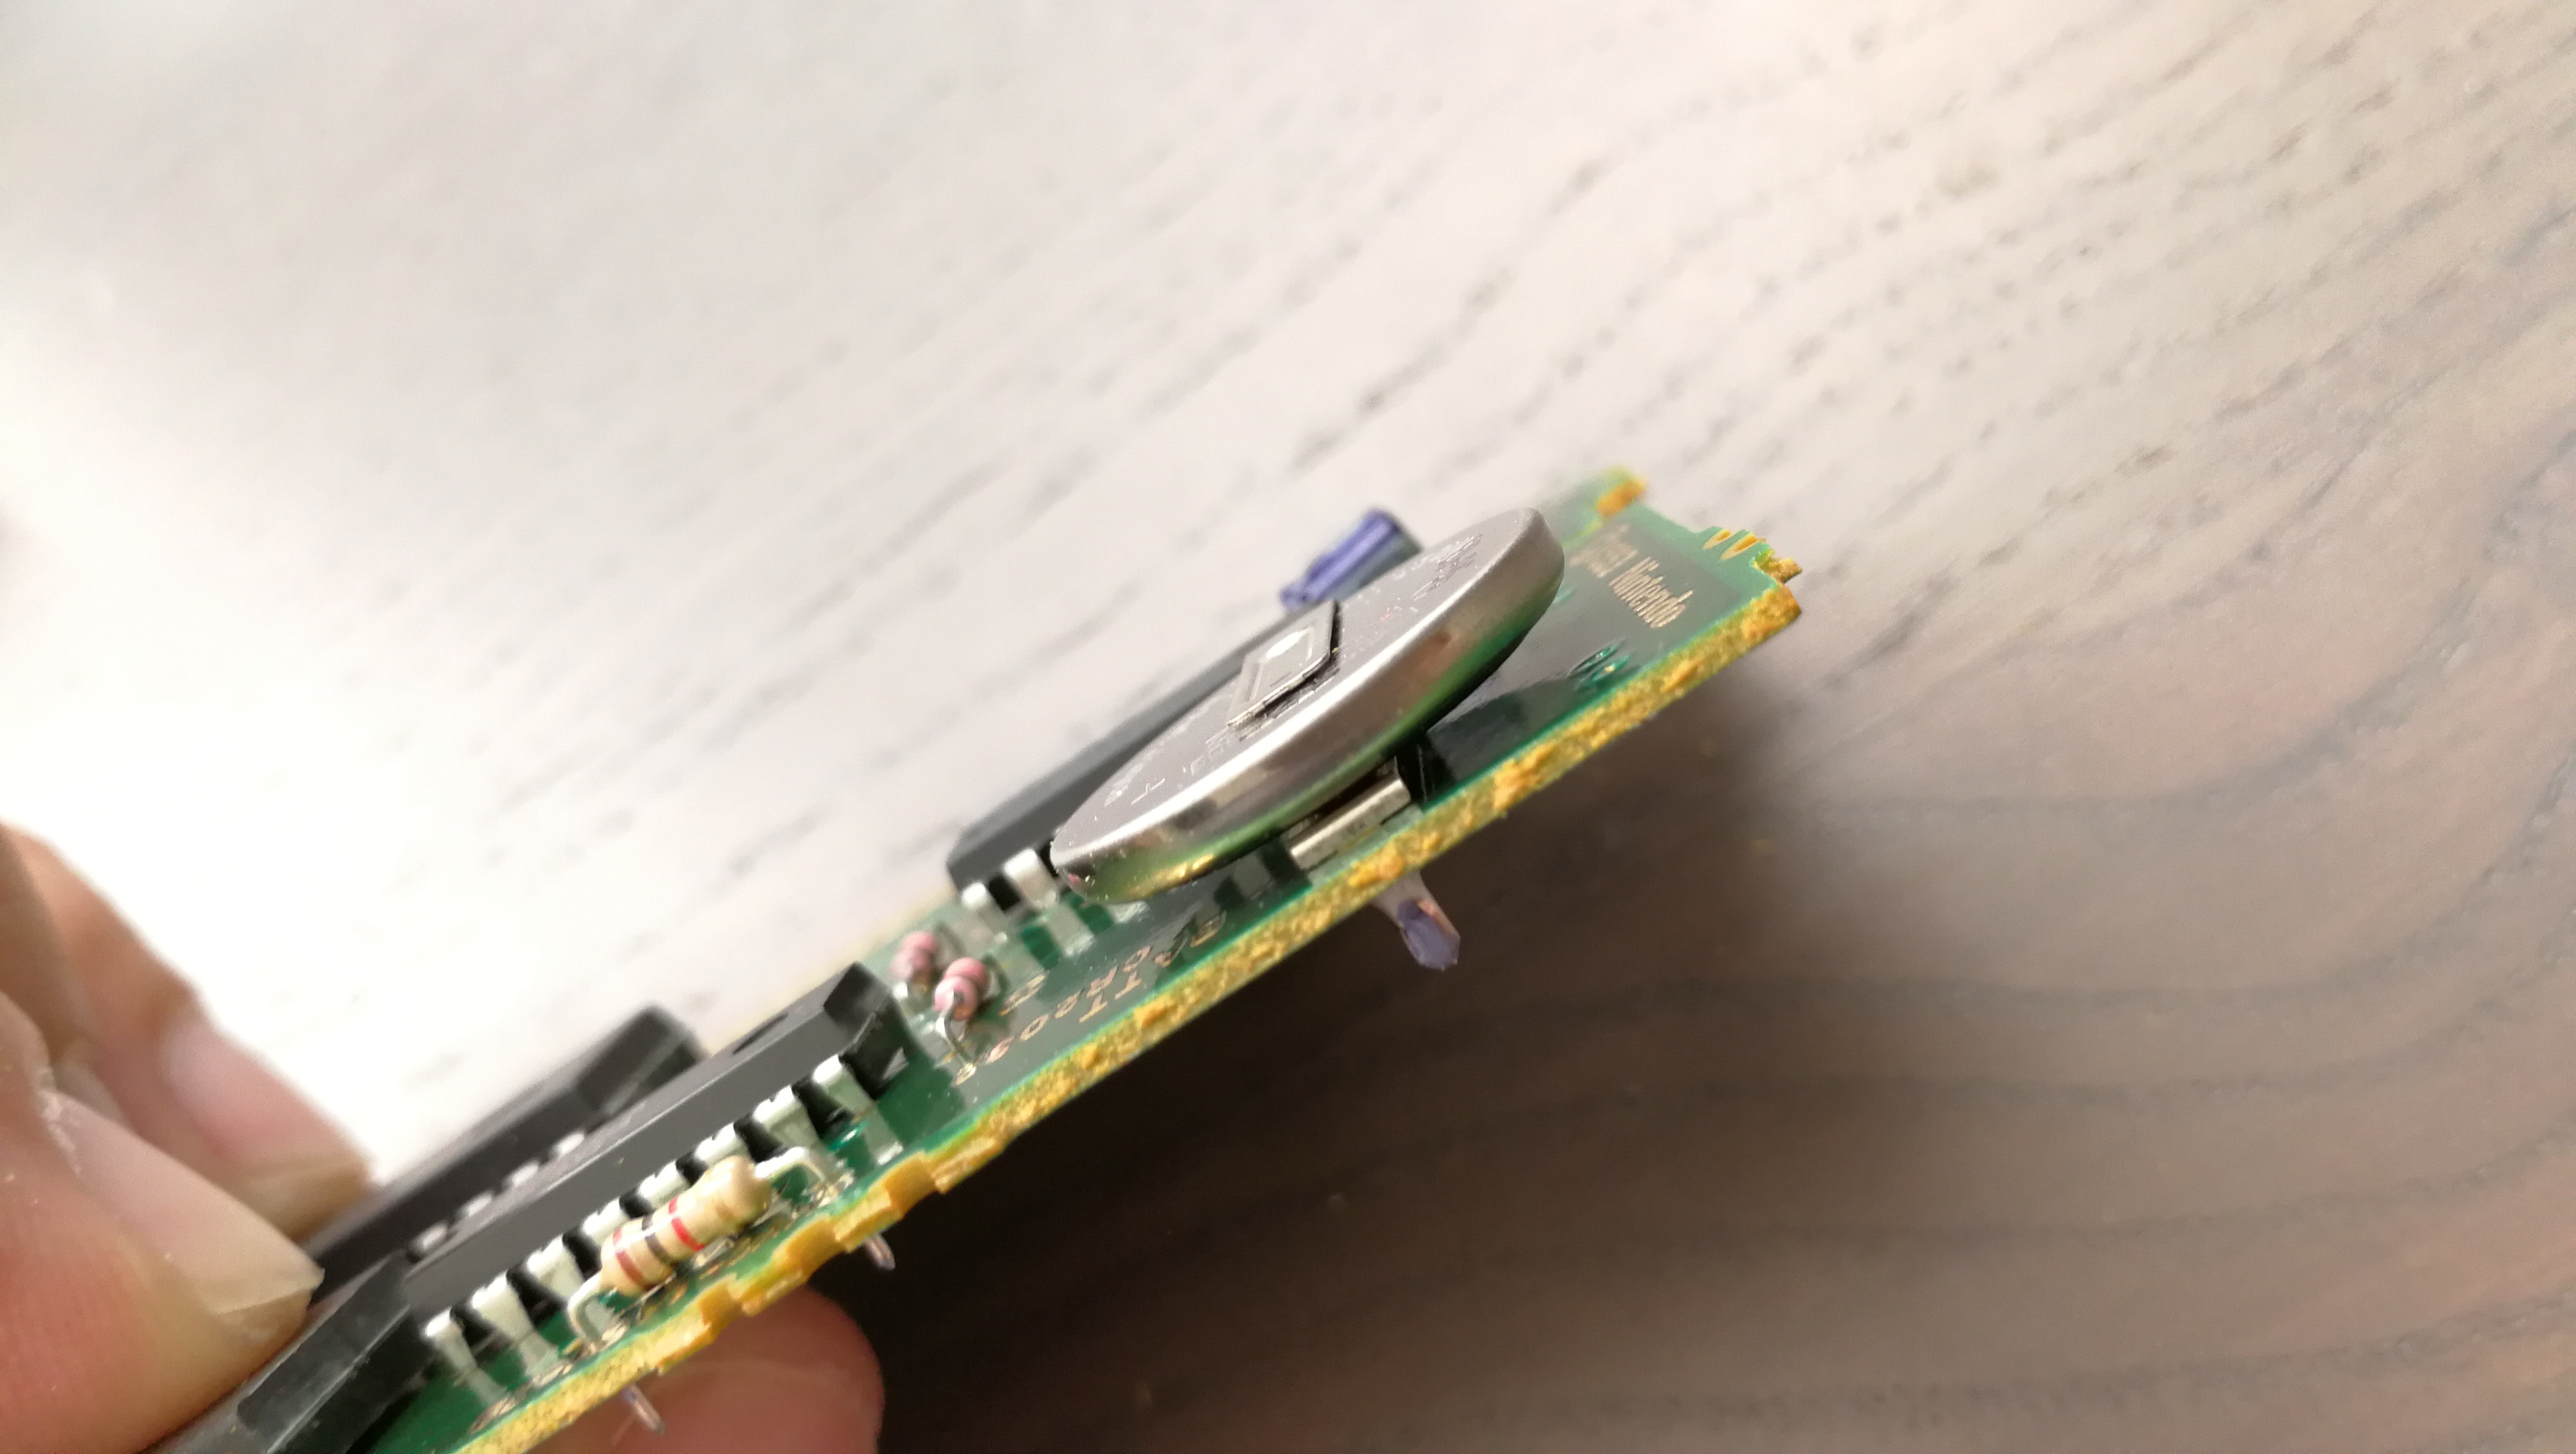
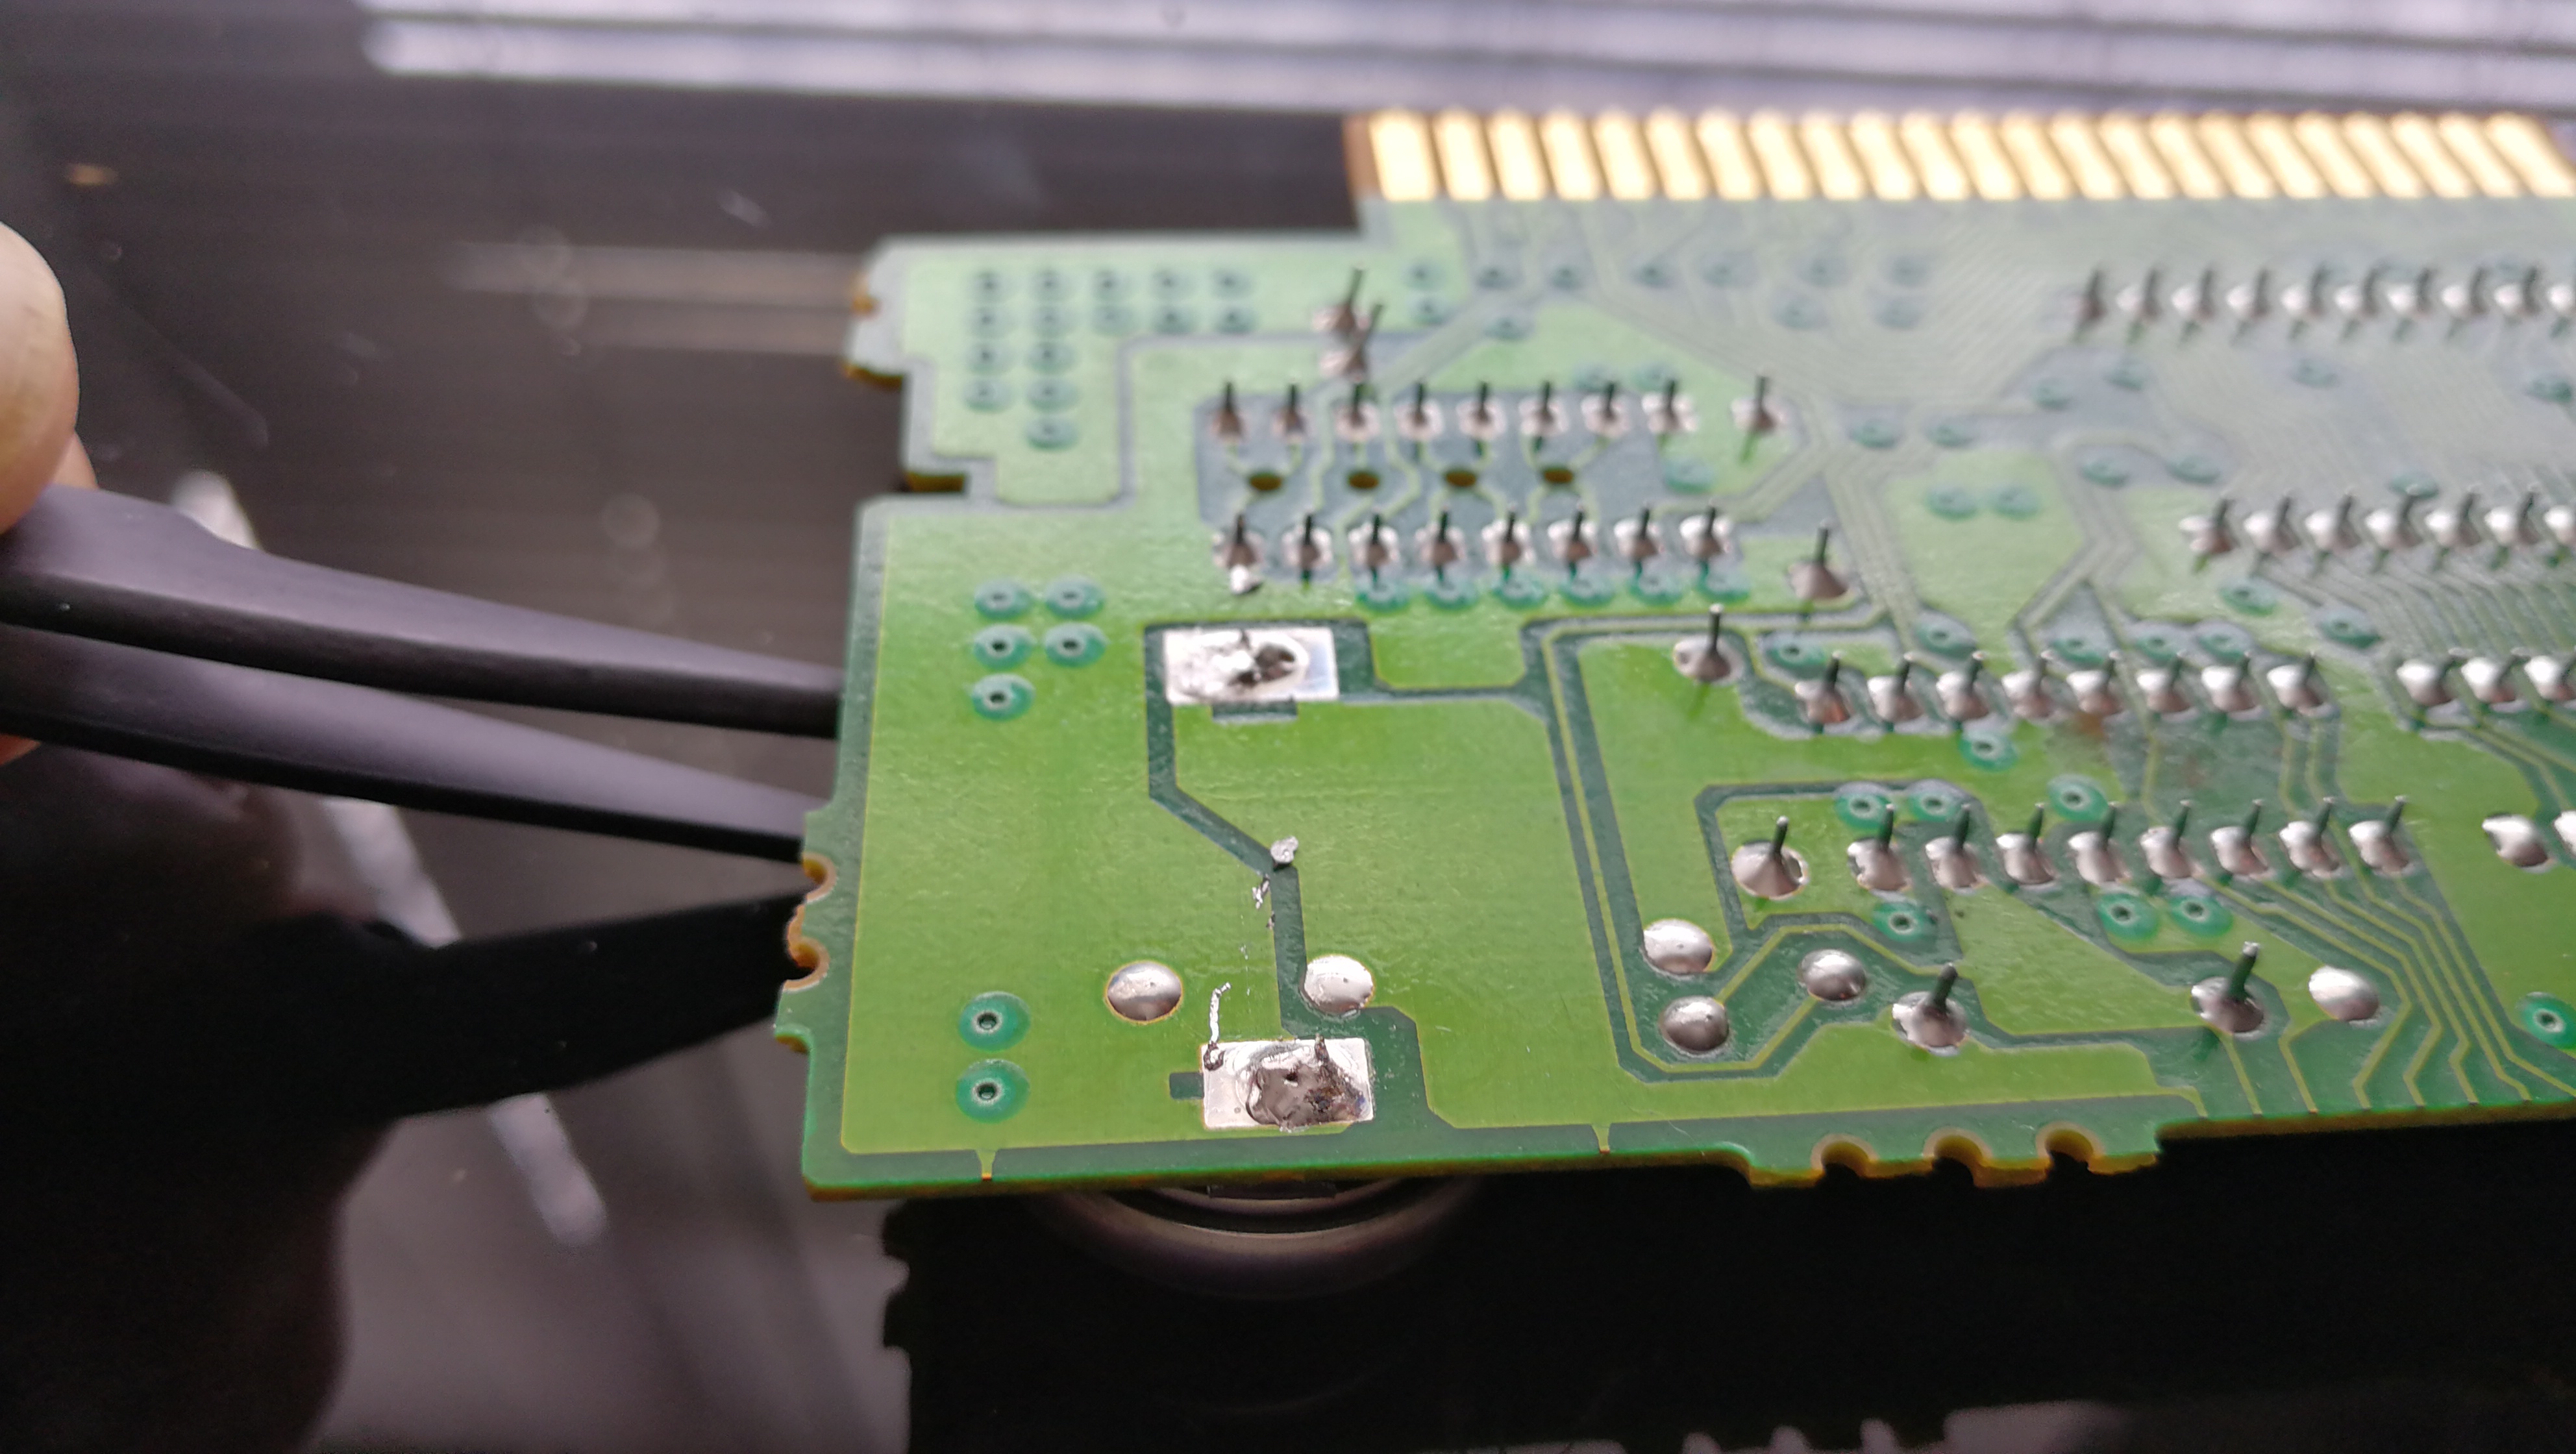
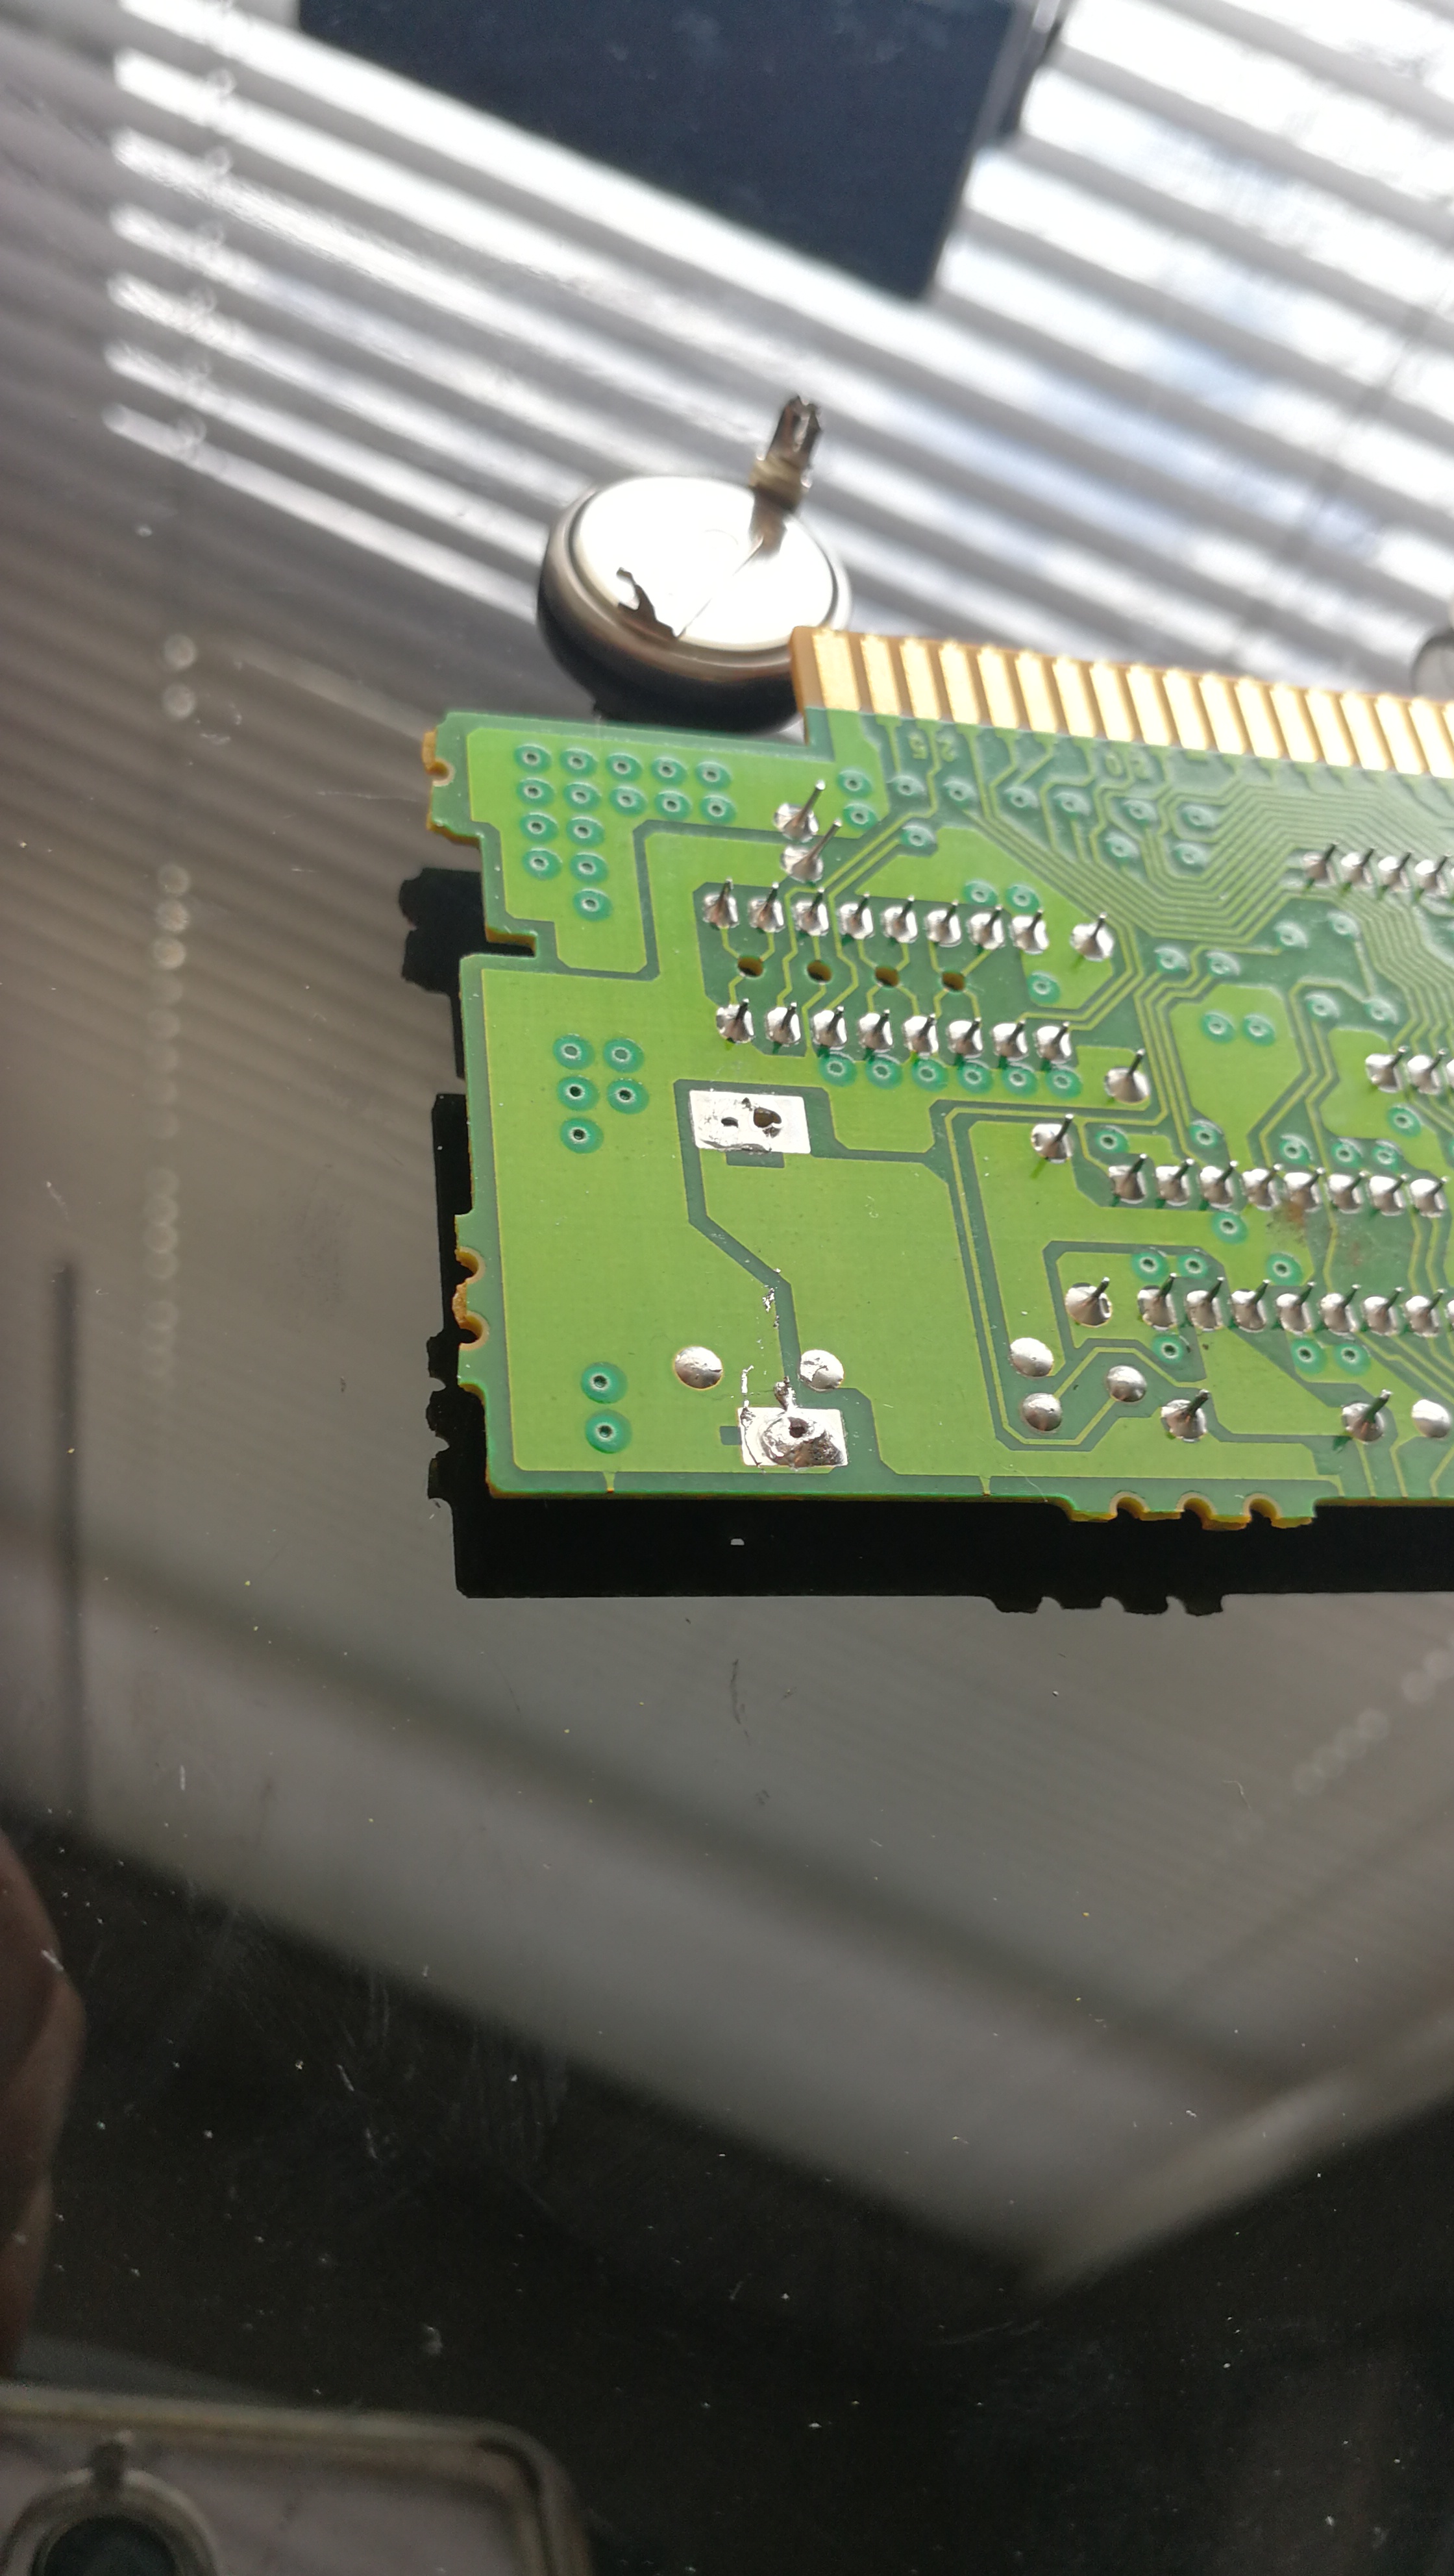
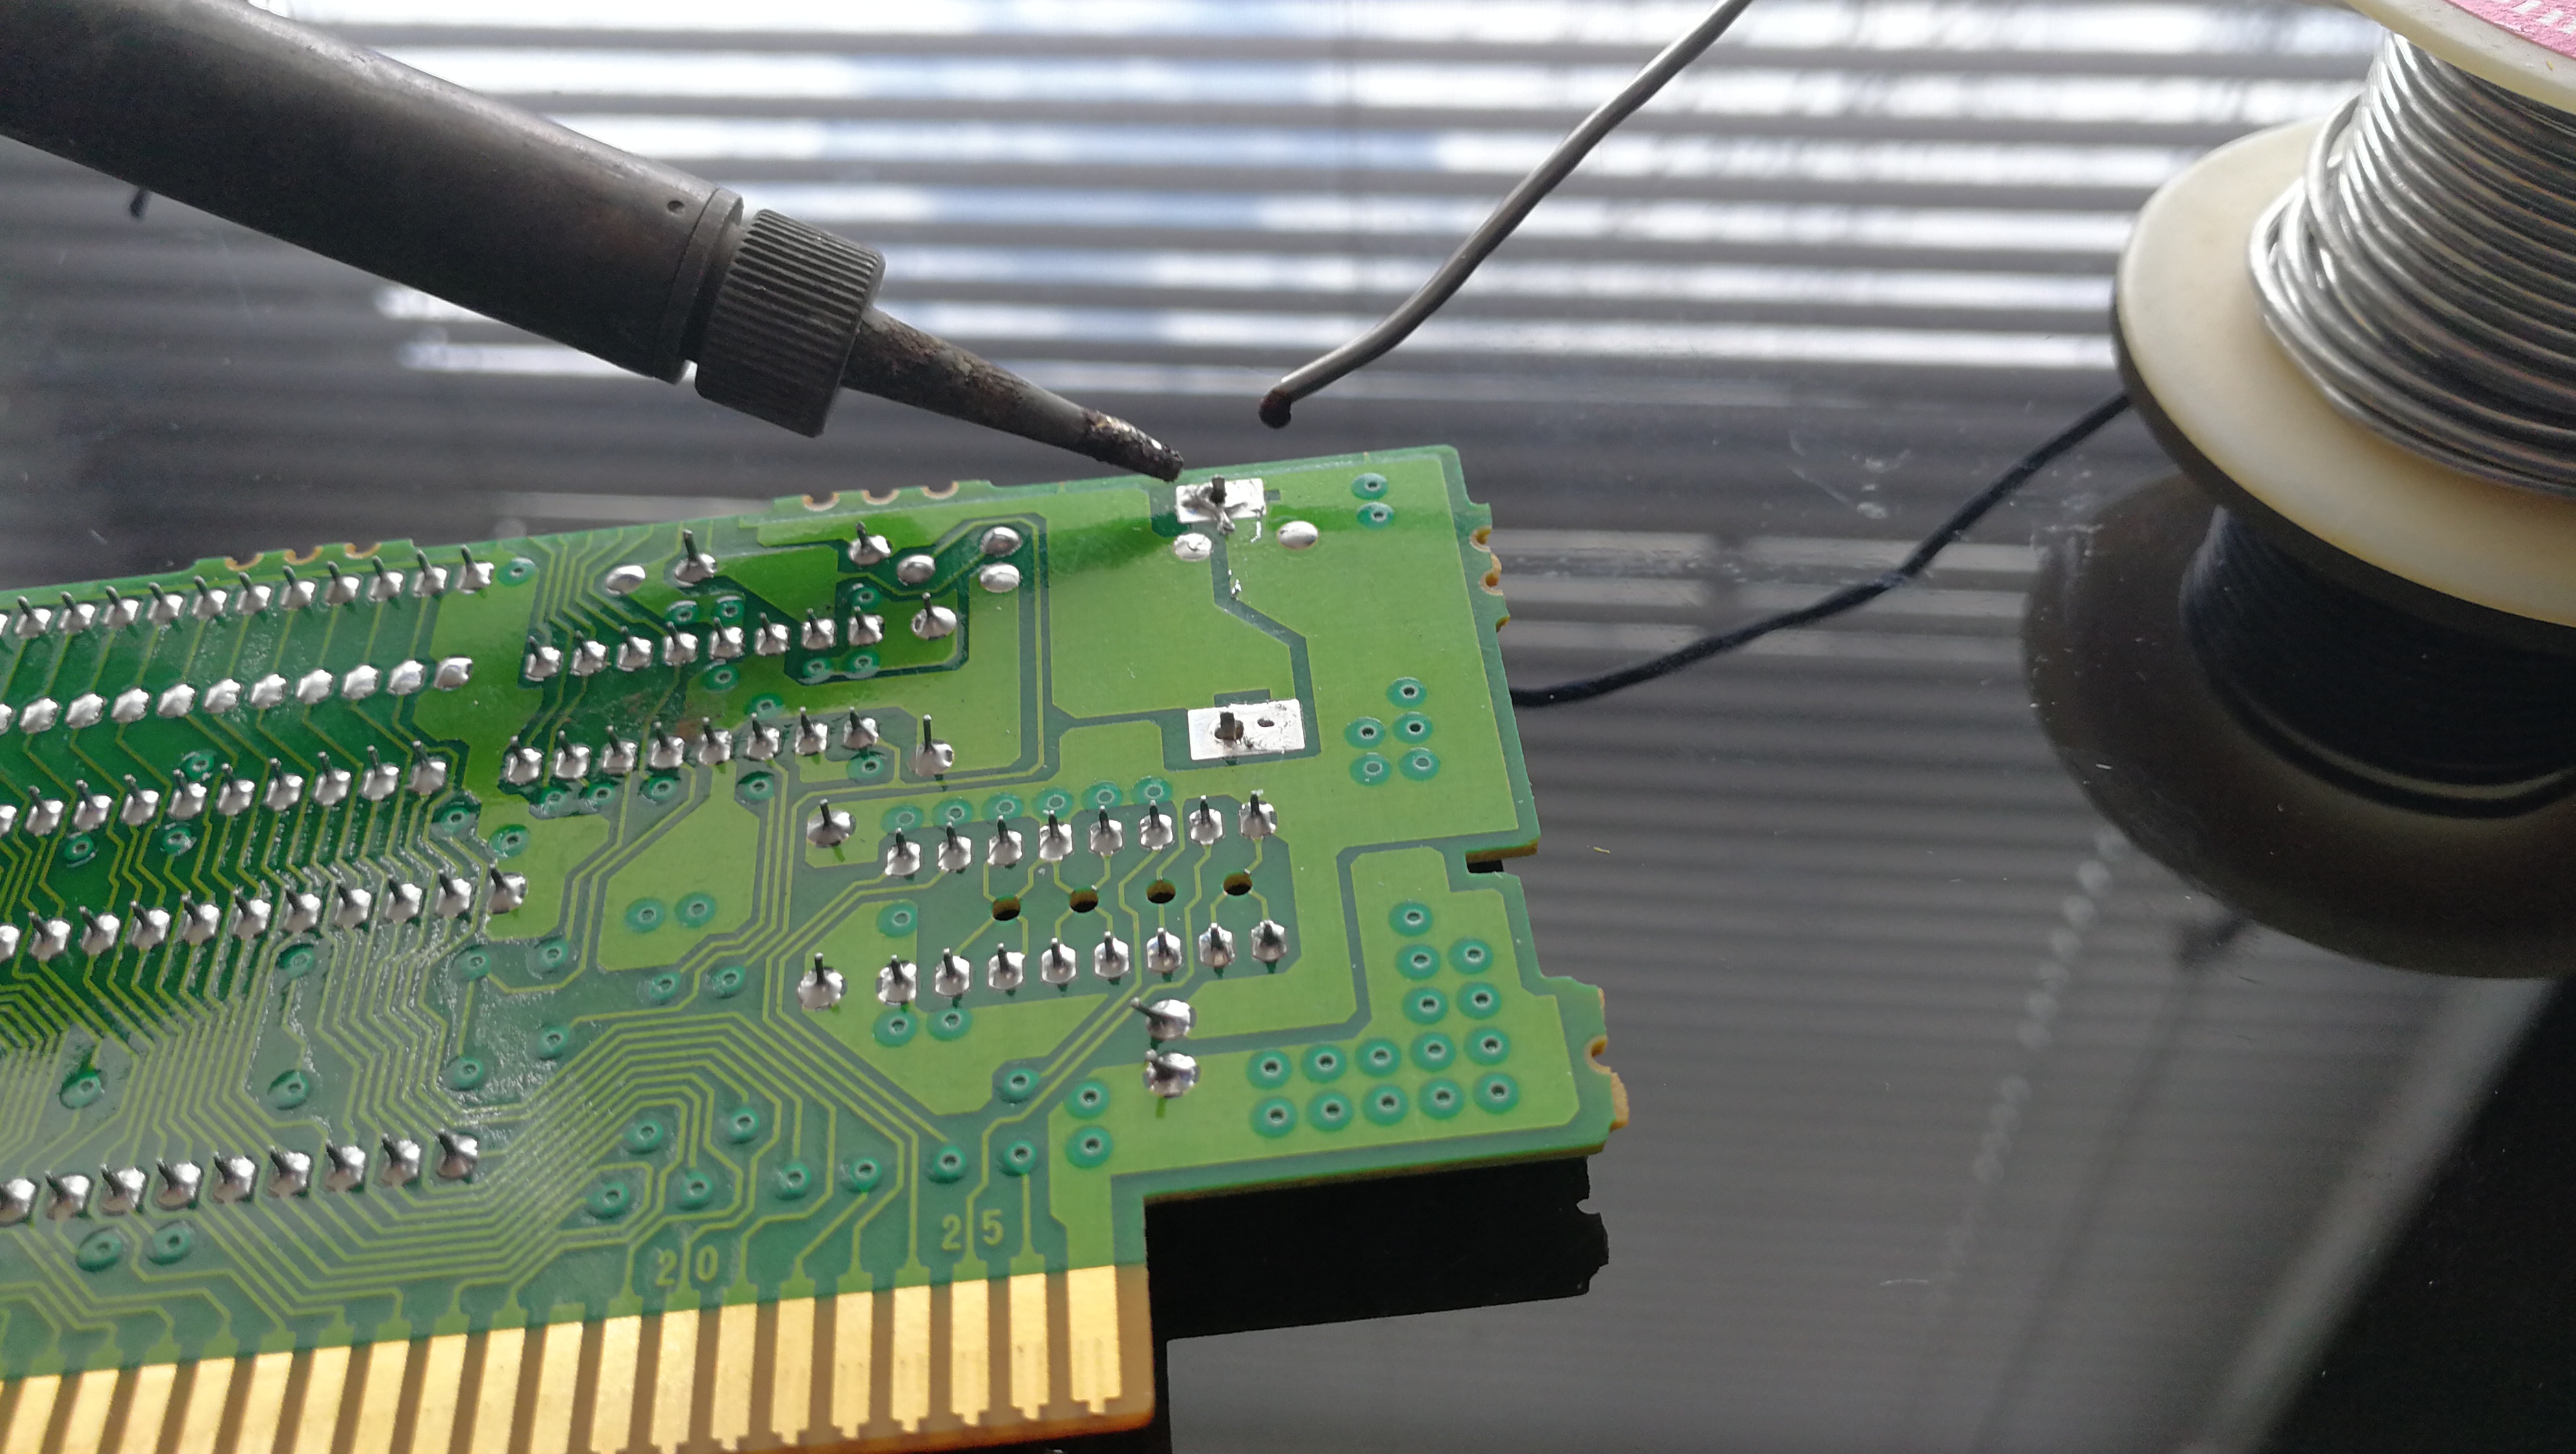
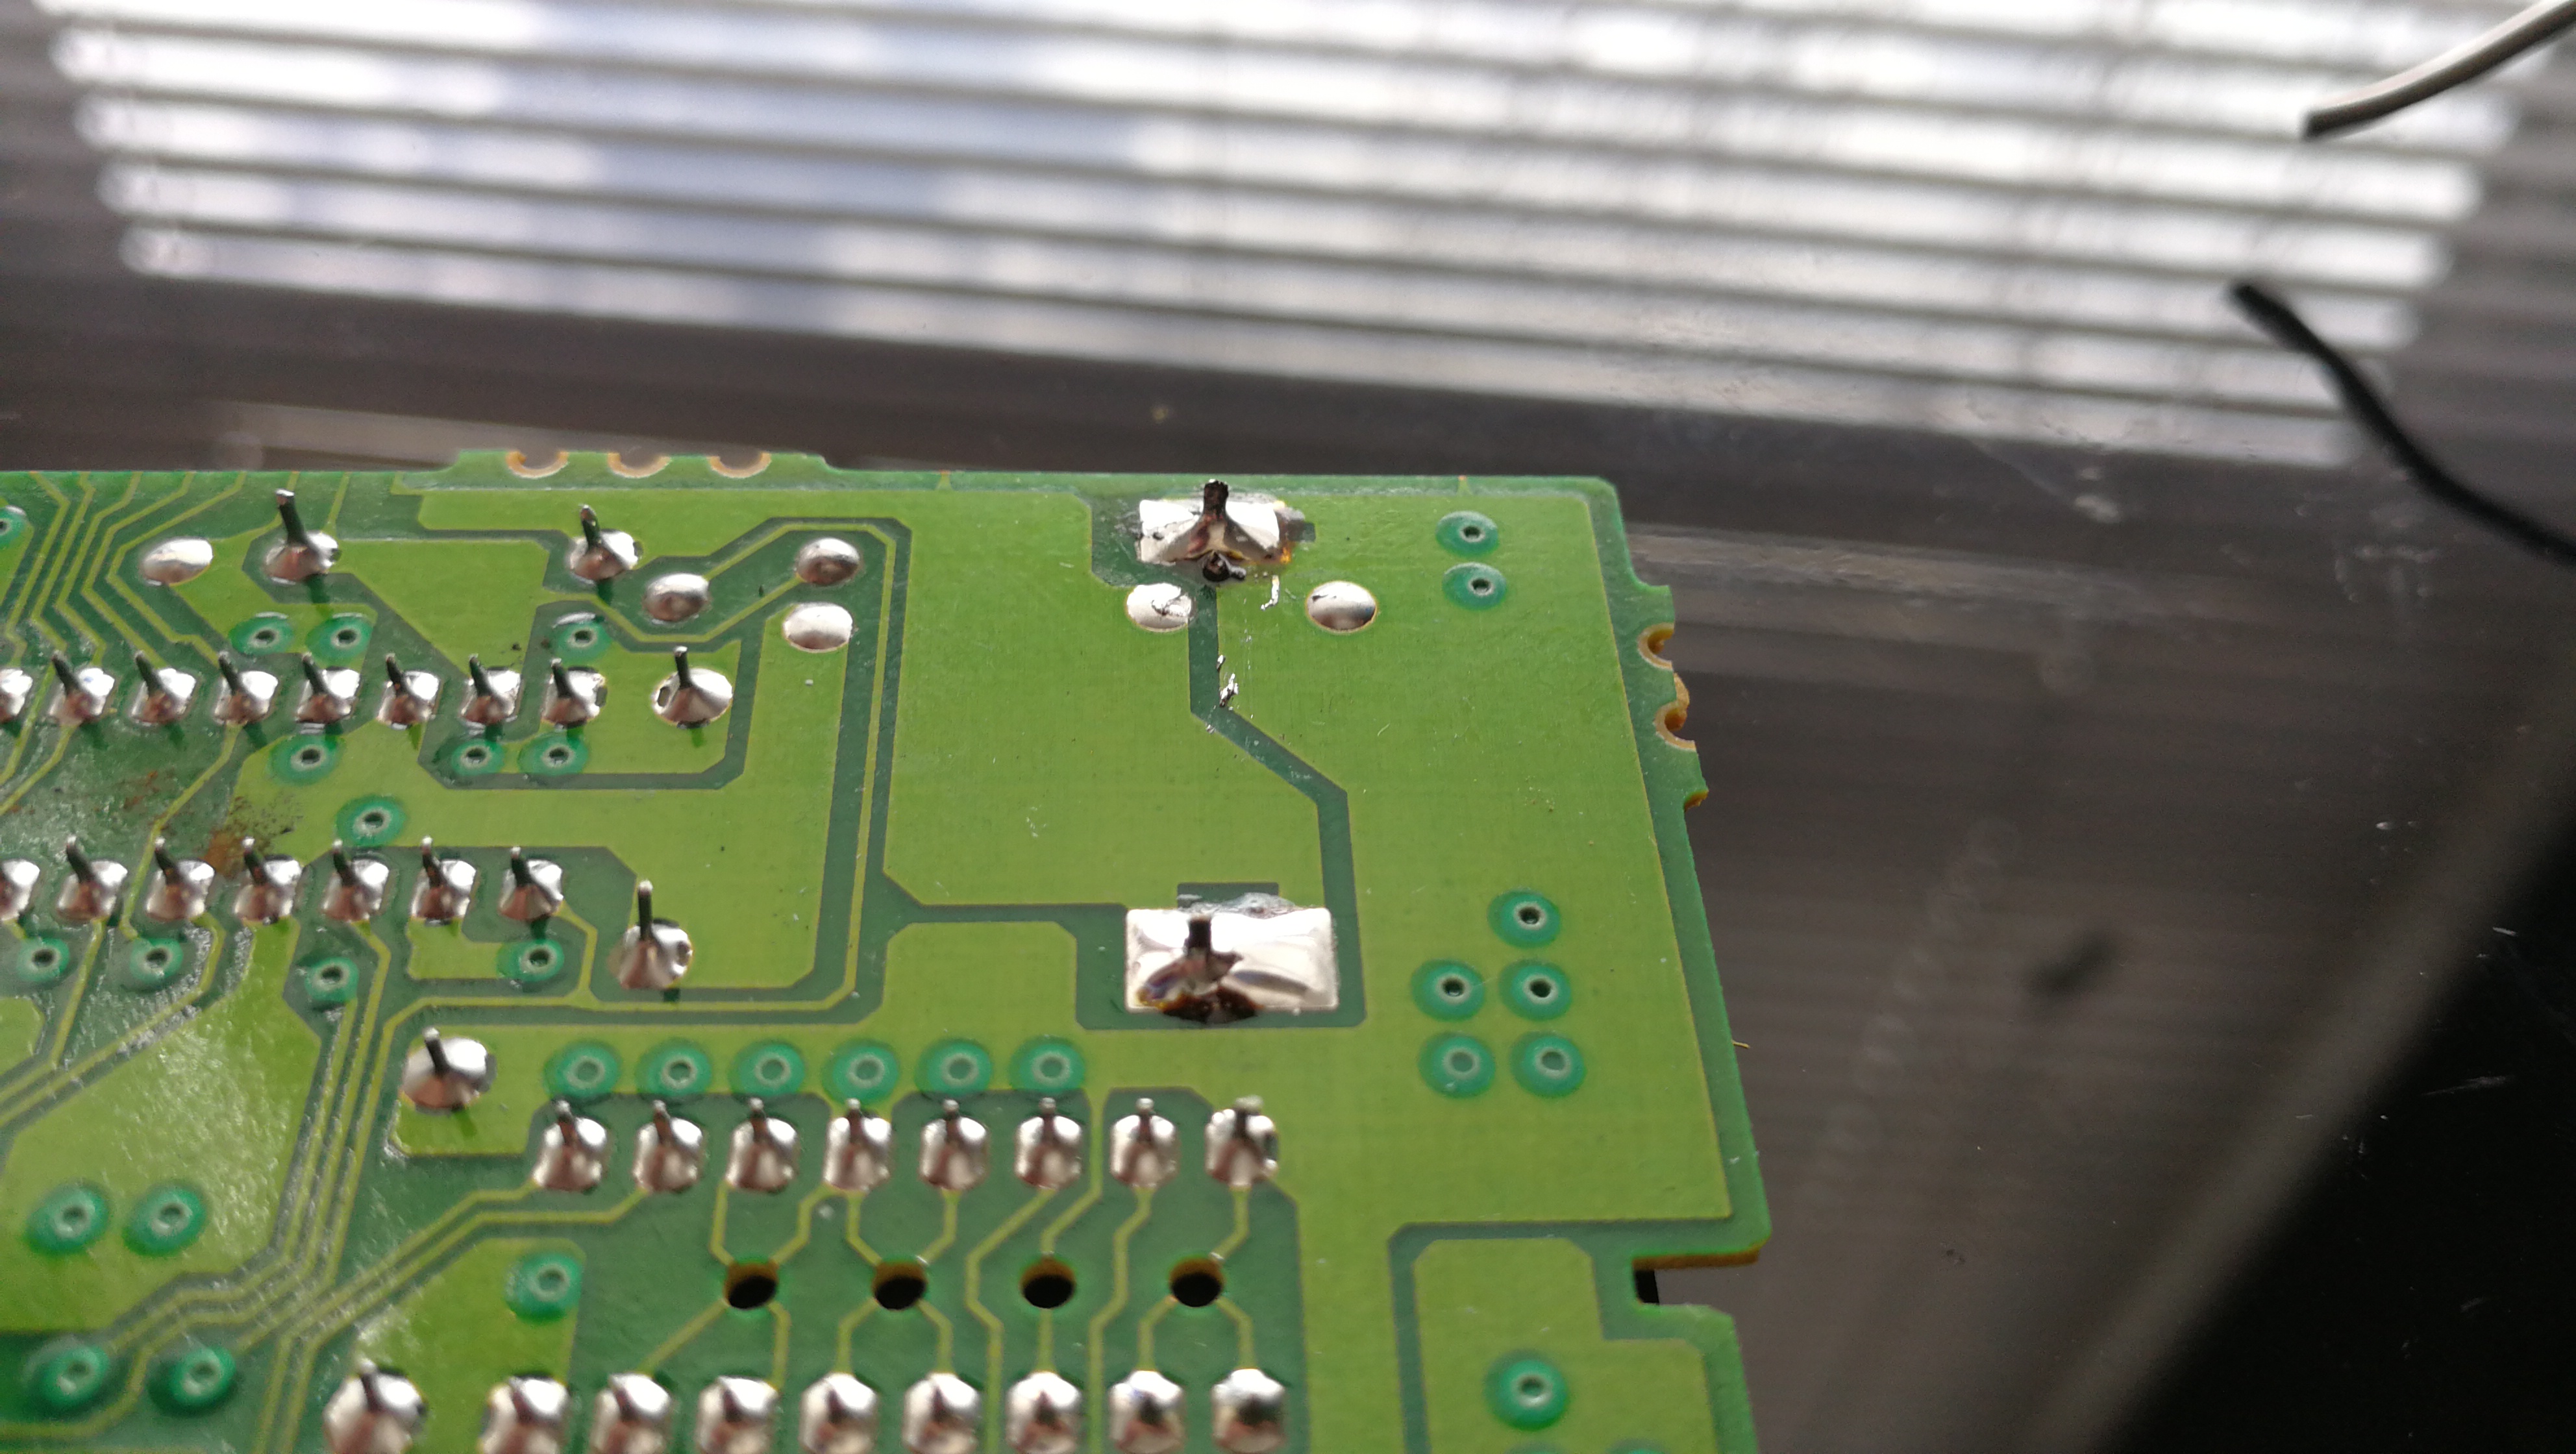
Note the polarity of the old battery. To start with, I'm using tweezers to help me pry the battery gently away from the board as I heat up each solder pad where it's attached. It may require alternating between pads a couple of times before the battery tabs come completely loose. Once that's done, I place the new battery in the exact same polarity as the old one. Next, heat up the solder pads to push the new battery's tabs through the holes. Finally, apply some solder to each tab so that they are shiny and solid.
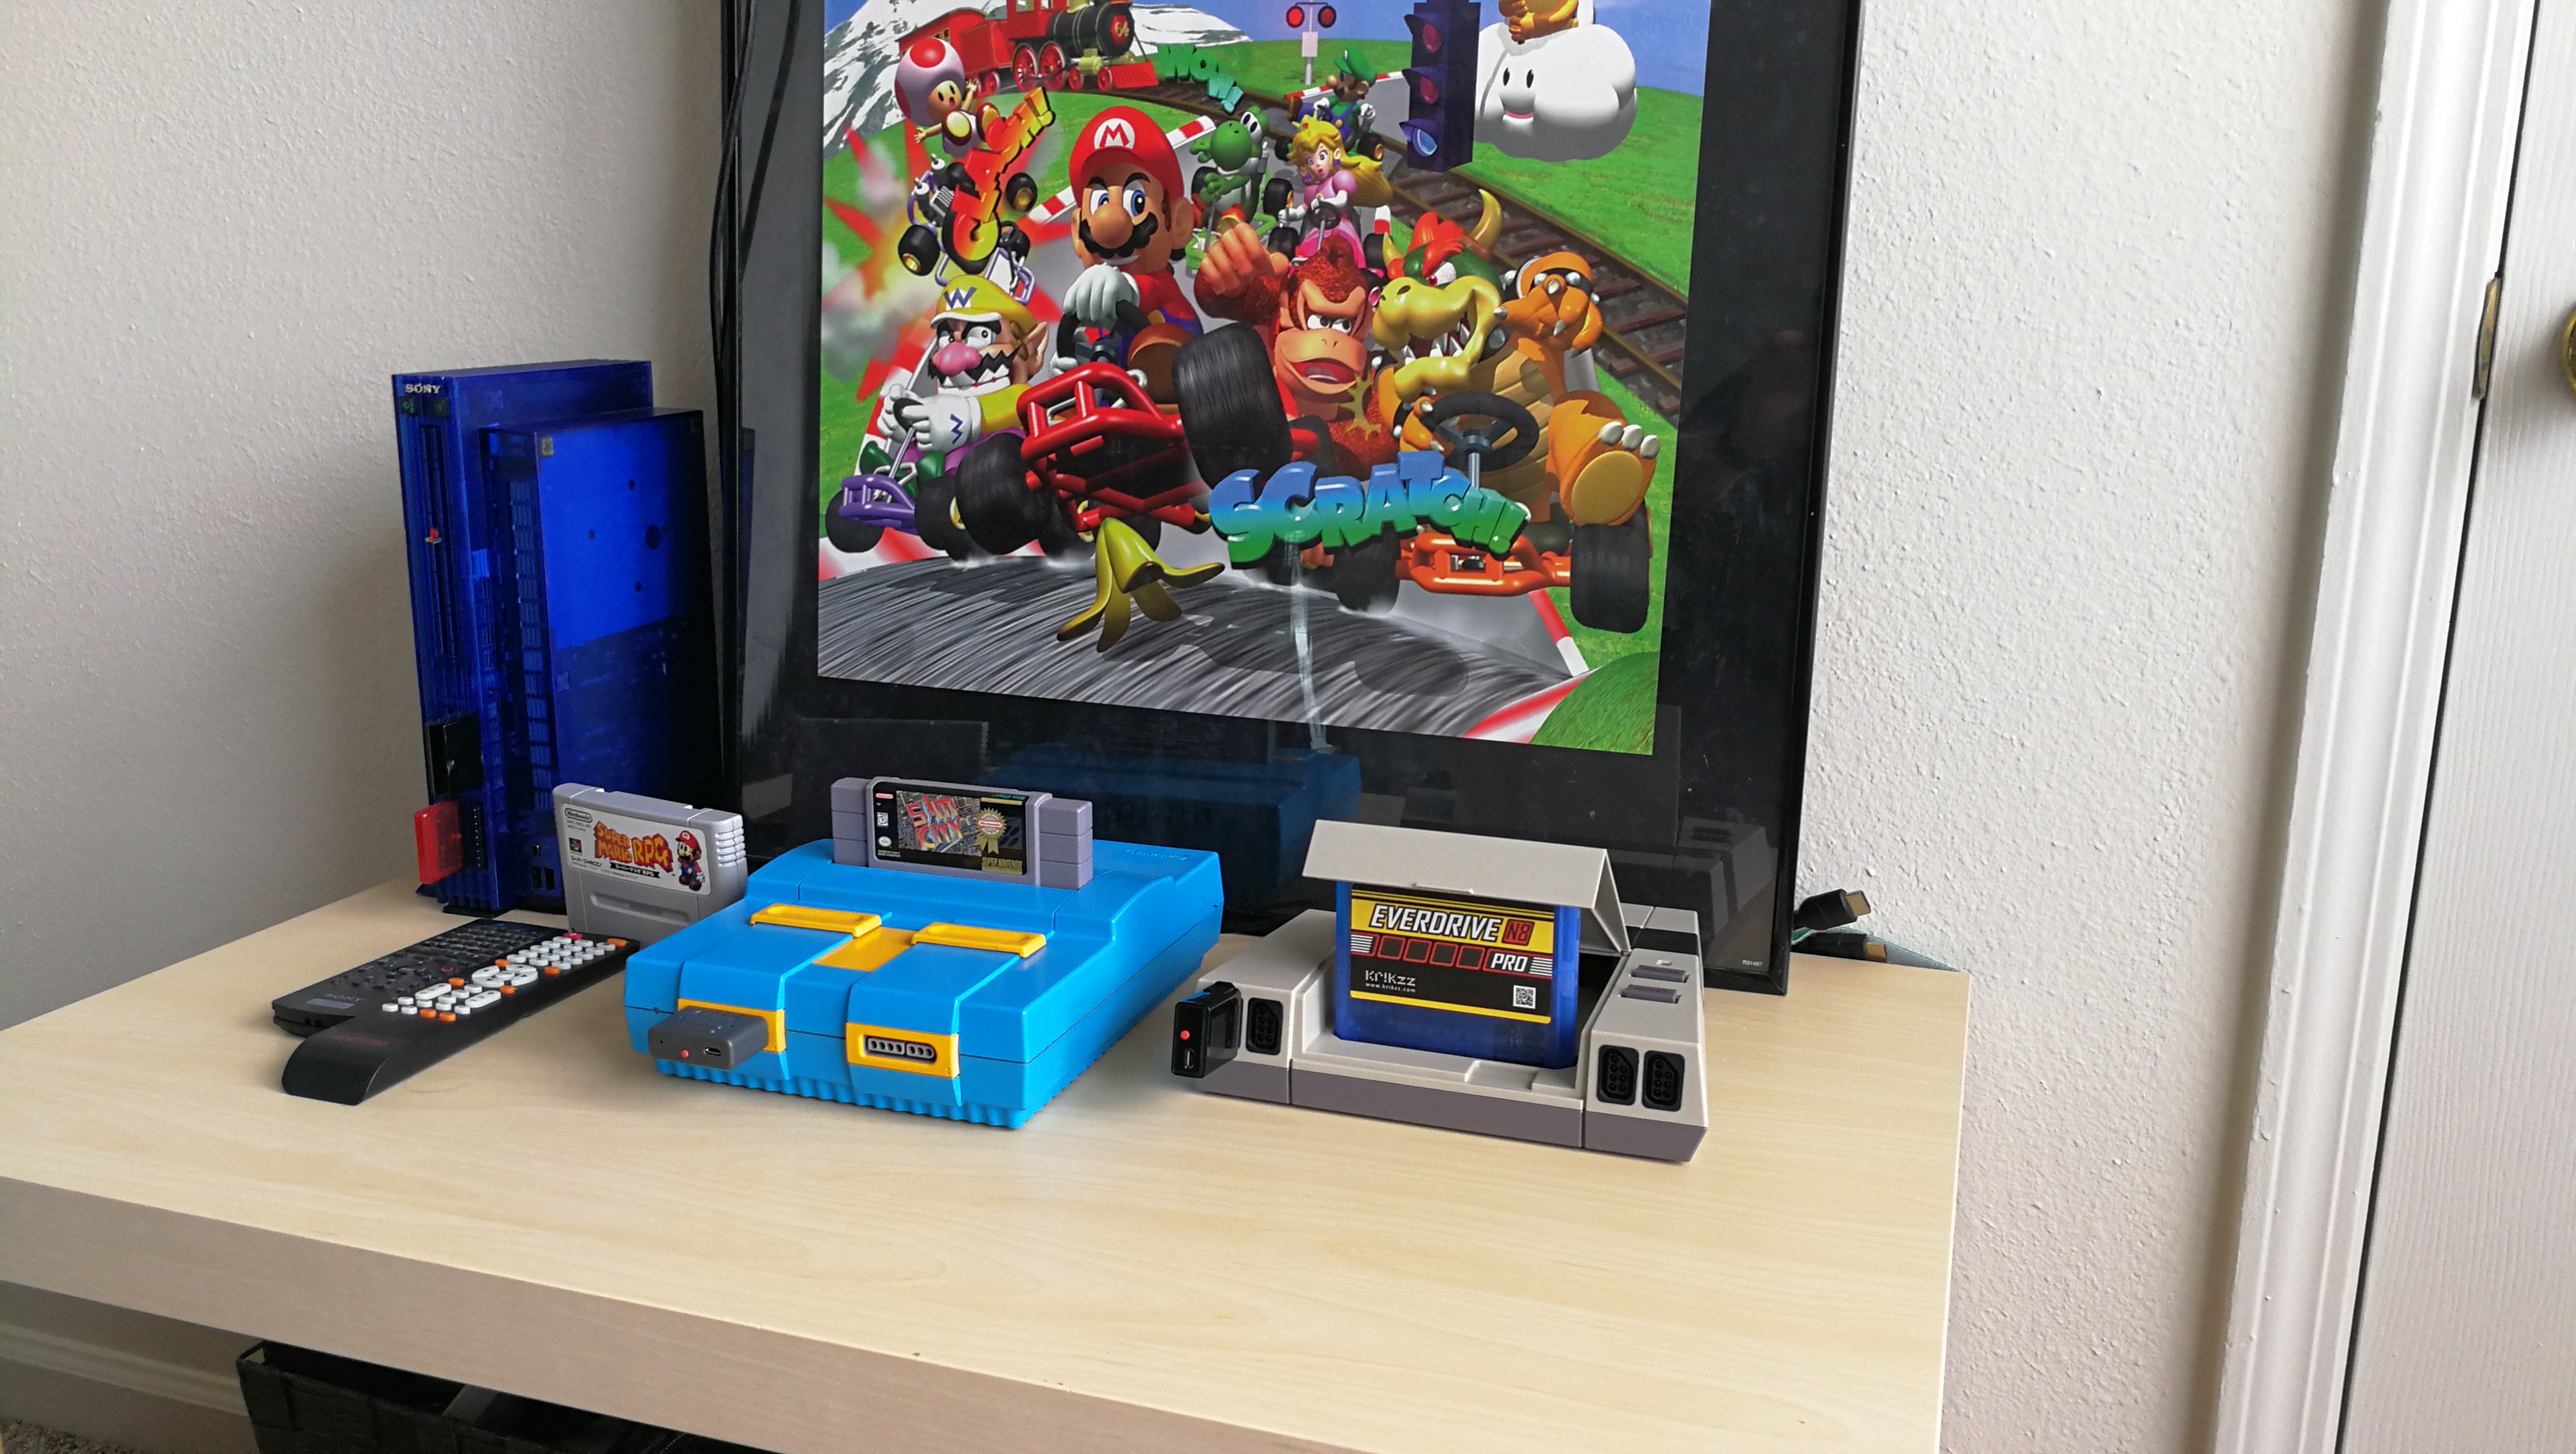
Time to test our work! I put the cartridge halves back together, fasten them with the Nintendo security screws, and place the cartridge in my Super Nintendo.

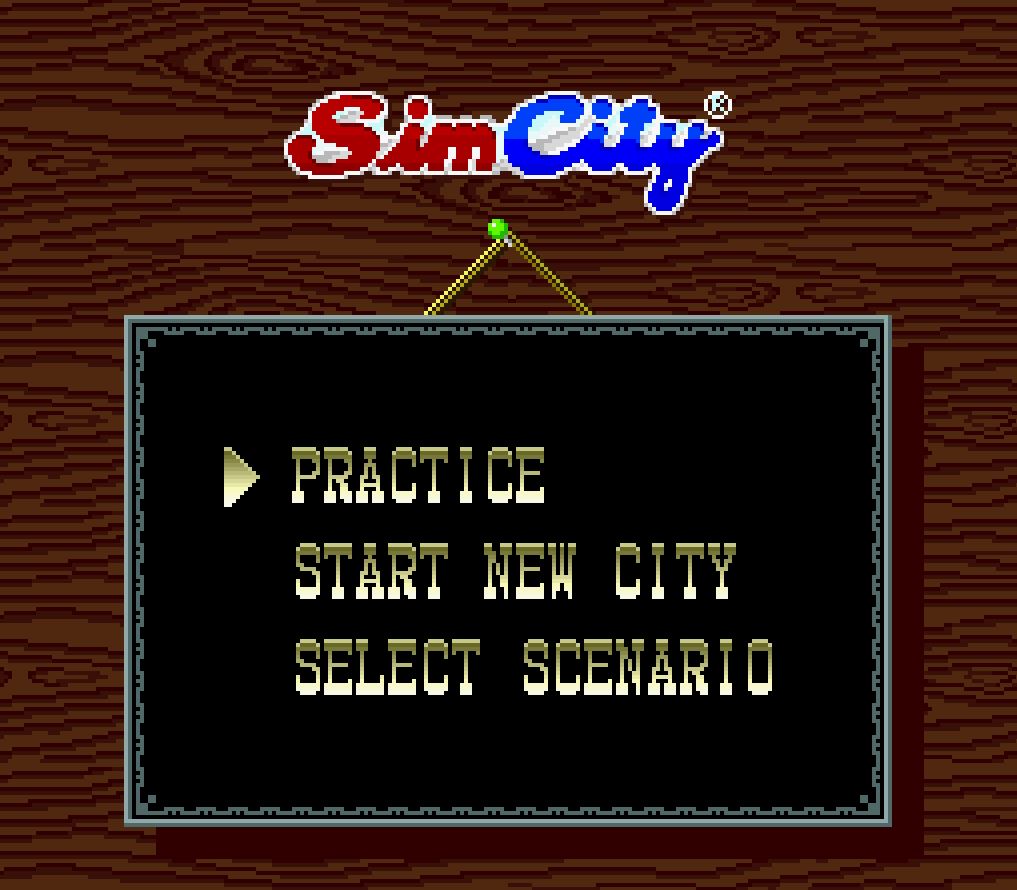
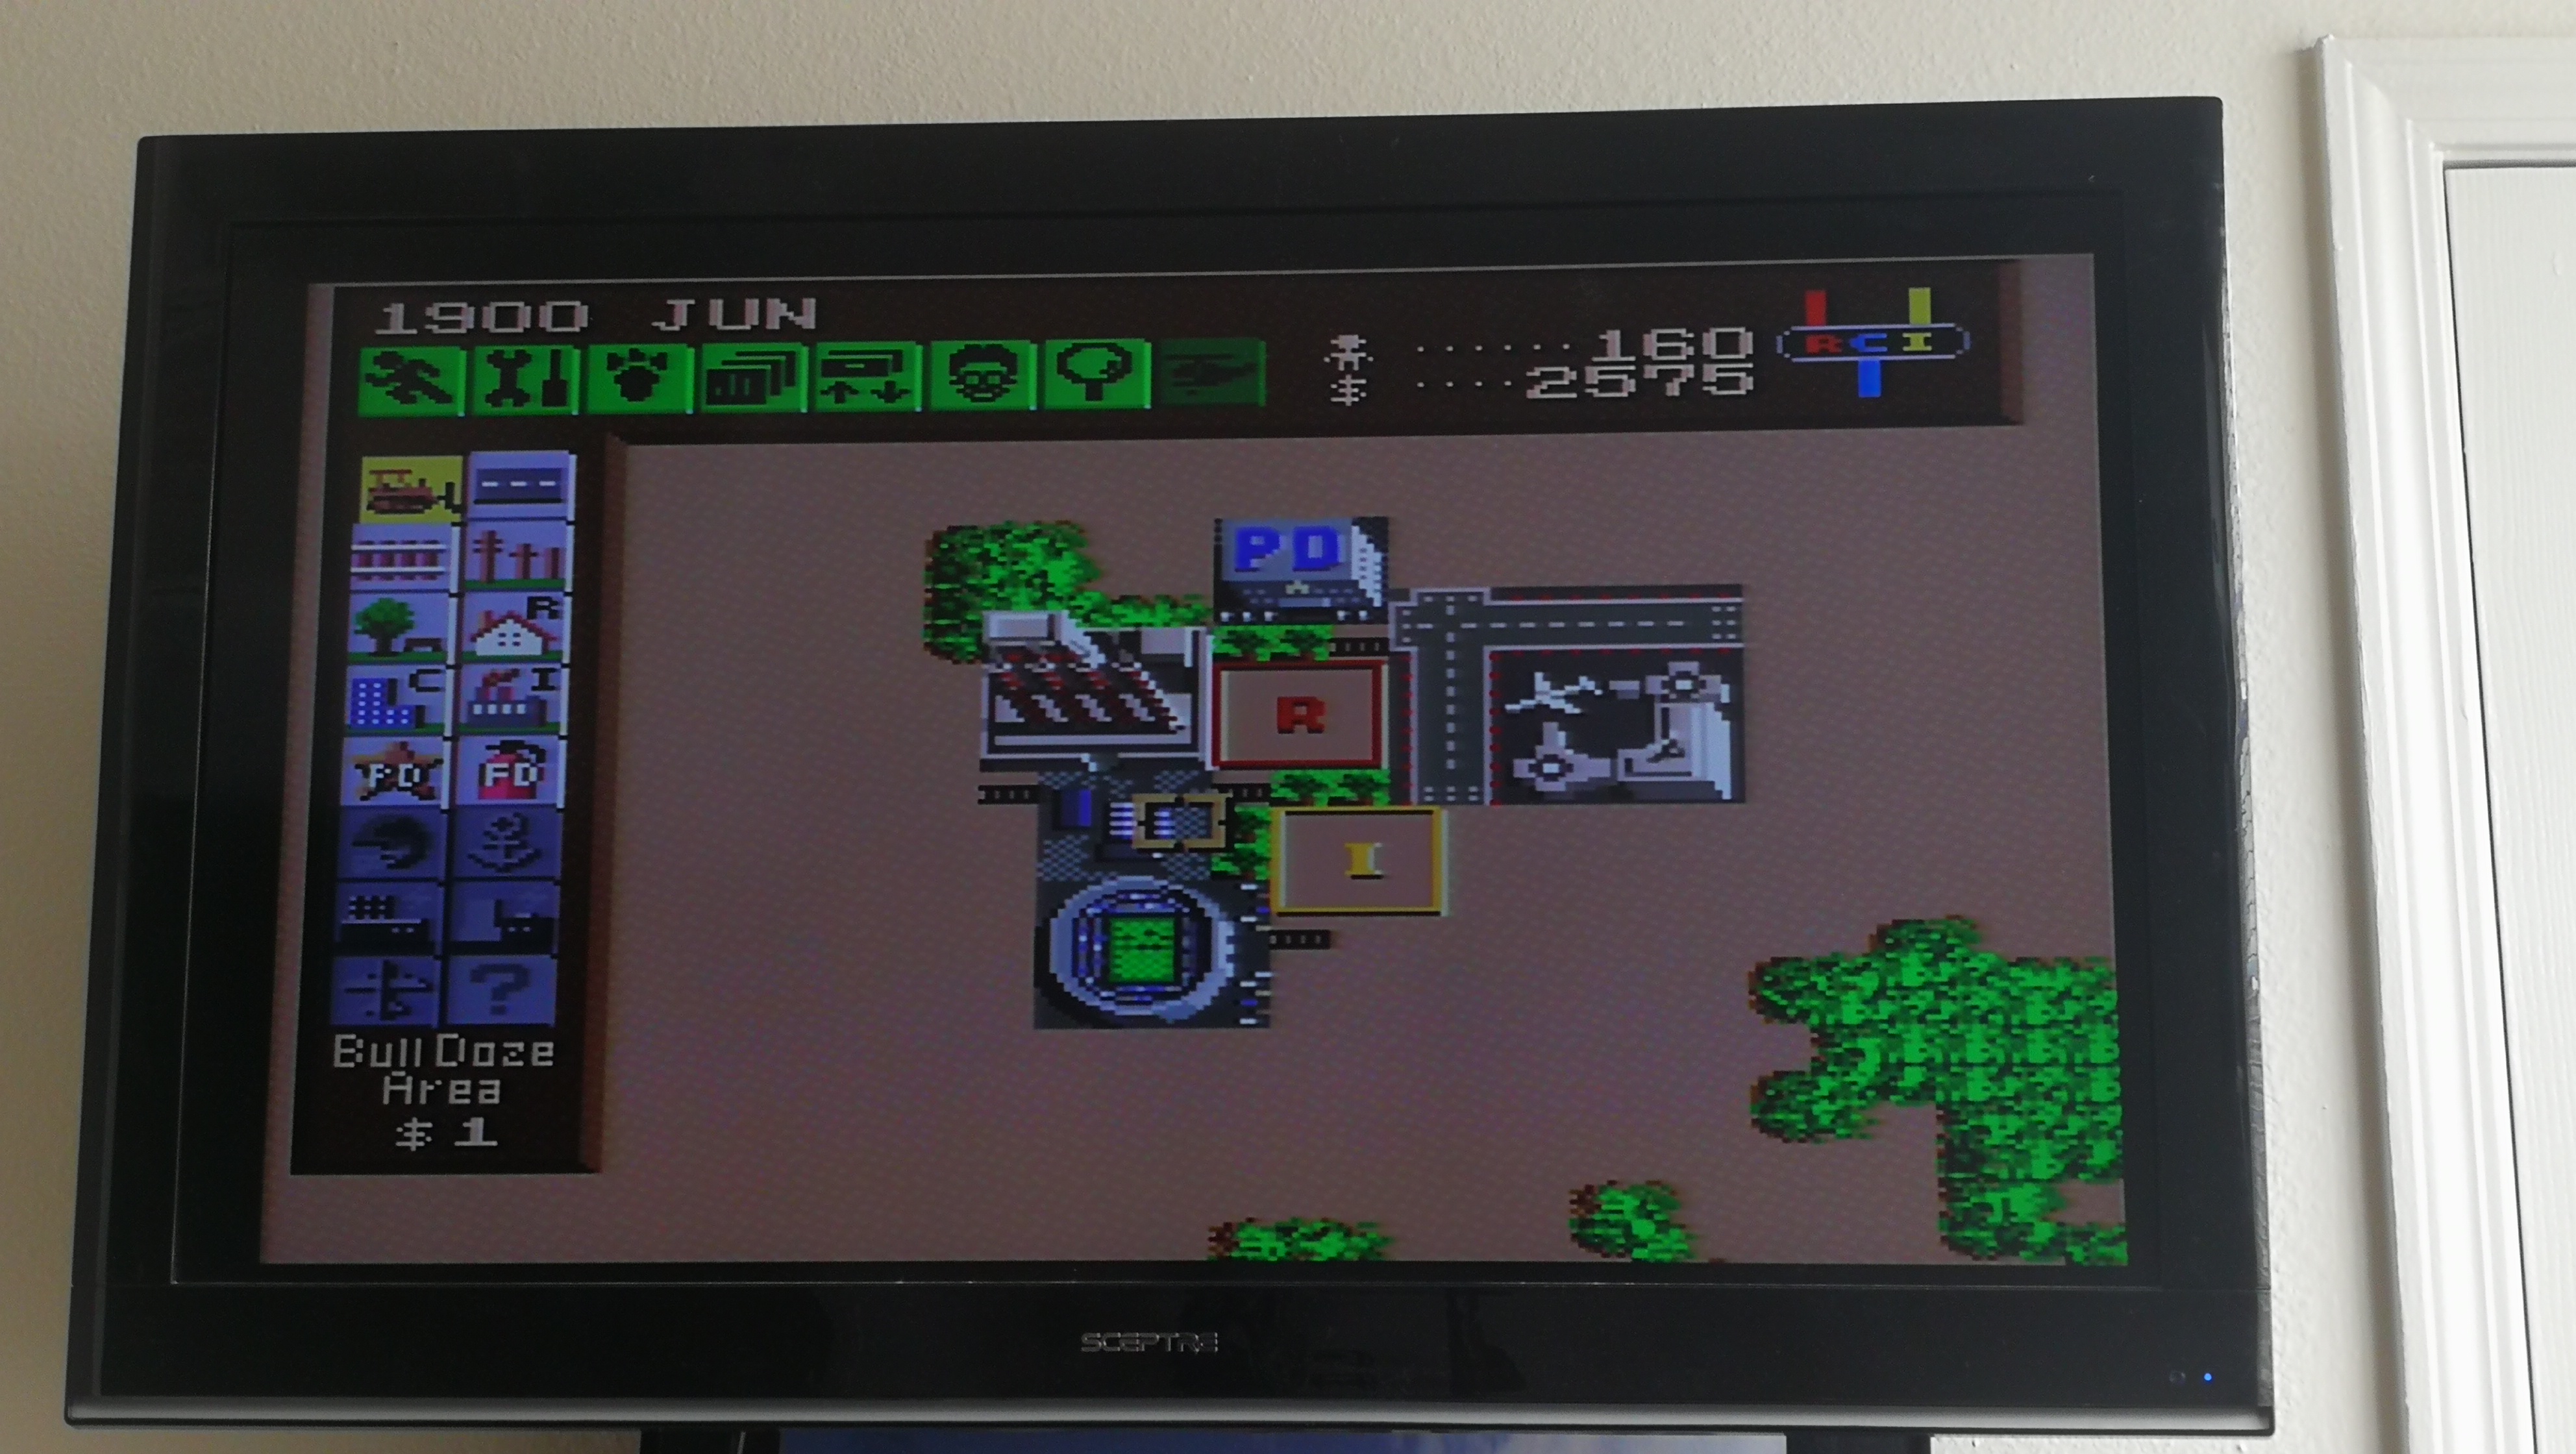
I create a simple little hamlet with some pollution issues, but 160 happy inhabitants. Then, I save it and turn the game off.
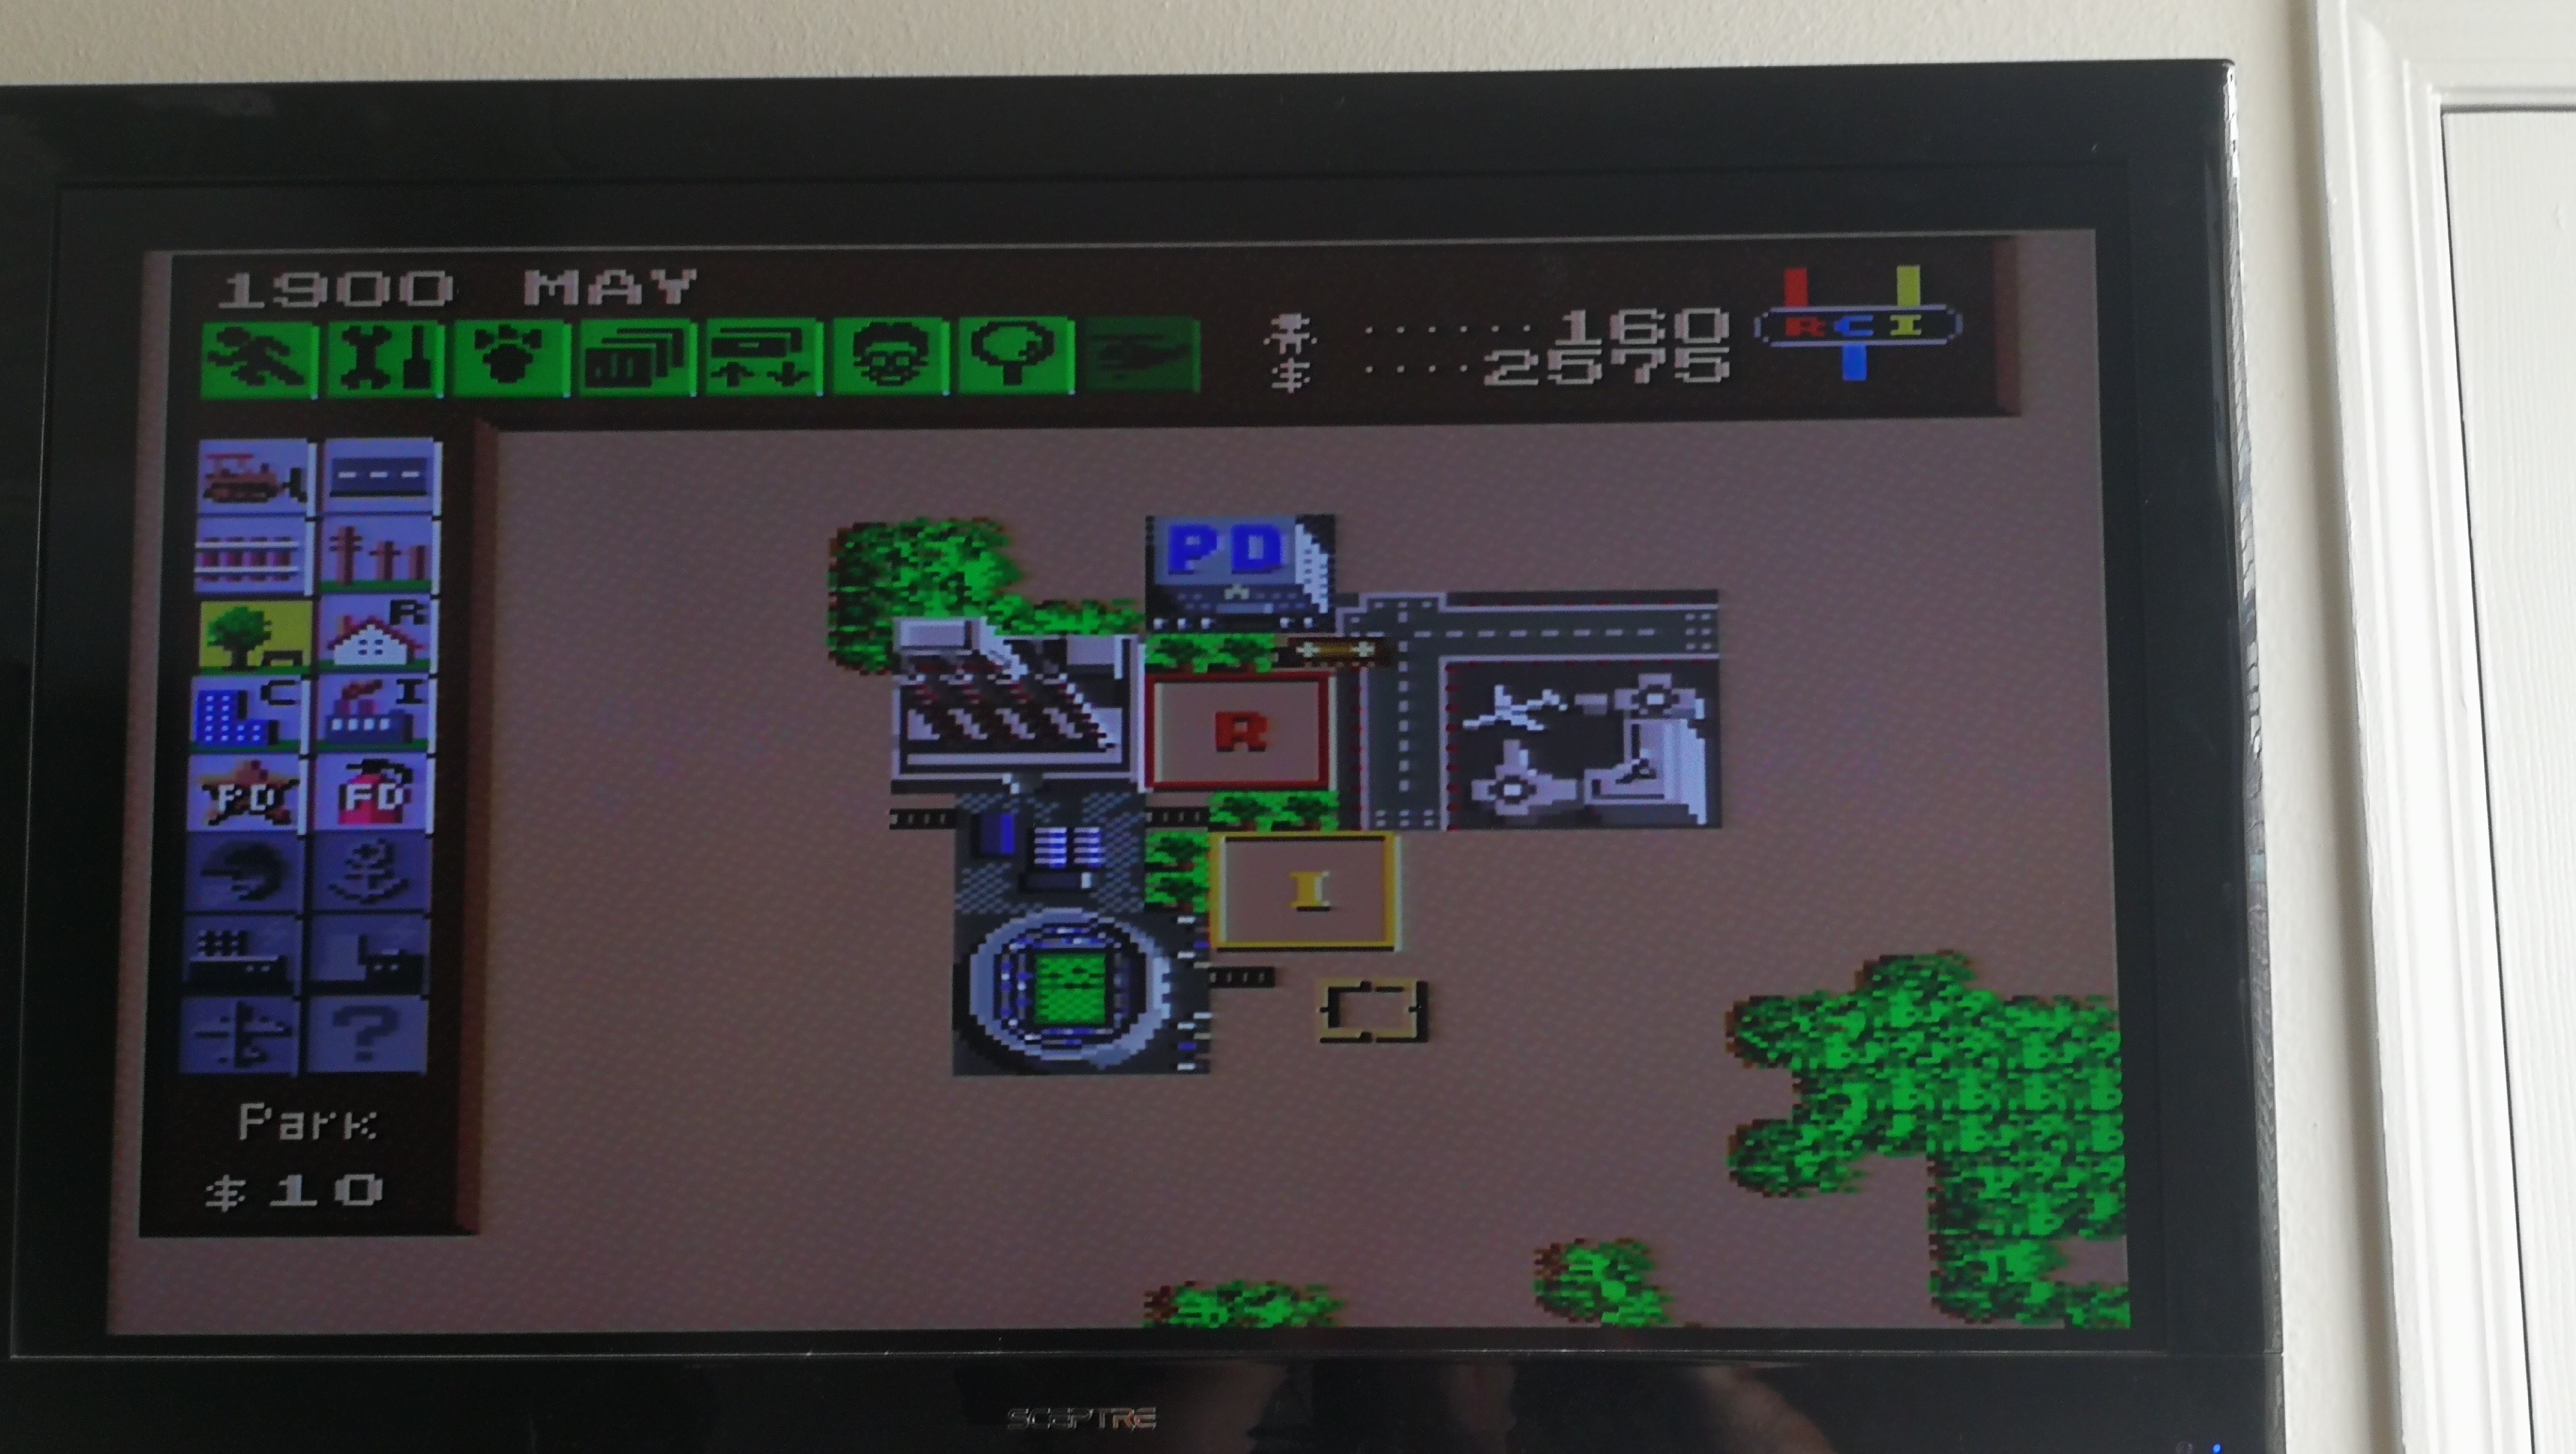
I remove the game from the console entirely. I put it back in and turn it on and off multiple times. Lo and behold, we now have the option to resume our saved city! The battery replacement fixed this problem! I can load my city and it's all just as I left it.
So, if your favorite game is a cartridge and stops saving your data, remember that there's a battery inside which is probably failing. This is a pretty entry-level fix, so dive right in and replace that offending battery! Happy gaming!