
In this article I will be wrapping up the remaining mods I wanted to perform on my GameCube. For a while now my disc drive has been intermittently failing to read discs, so I will be doing an adjustment to the laser's voltage regulator setting. Also, because sometimes I could not get the disc to read, I was not always able to boot into Swiss (which I installed in the previous article). So I will be installing a Raspberry Pi Pico using the PicoBoot IPL replacement (explained in detail below). This will allow the system to boot automatically into Swiss without the need of a disc and accompanying save file exploit.
Laser voltage adjustment
First, a teardown to the disc drive so we can adjust the voltage regulator. This time the photos are from my actual work!
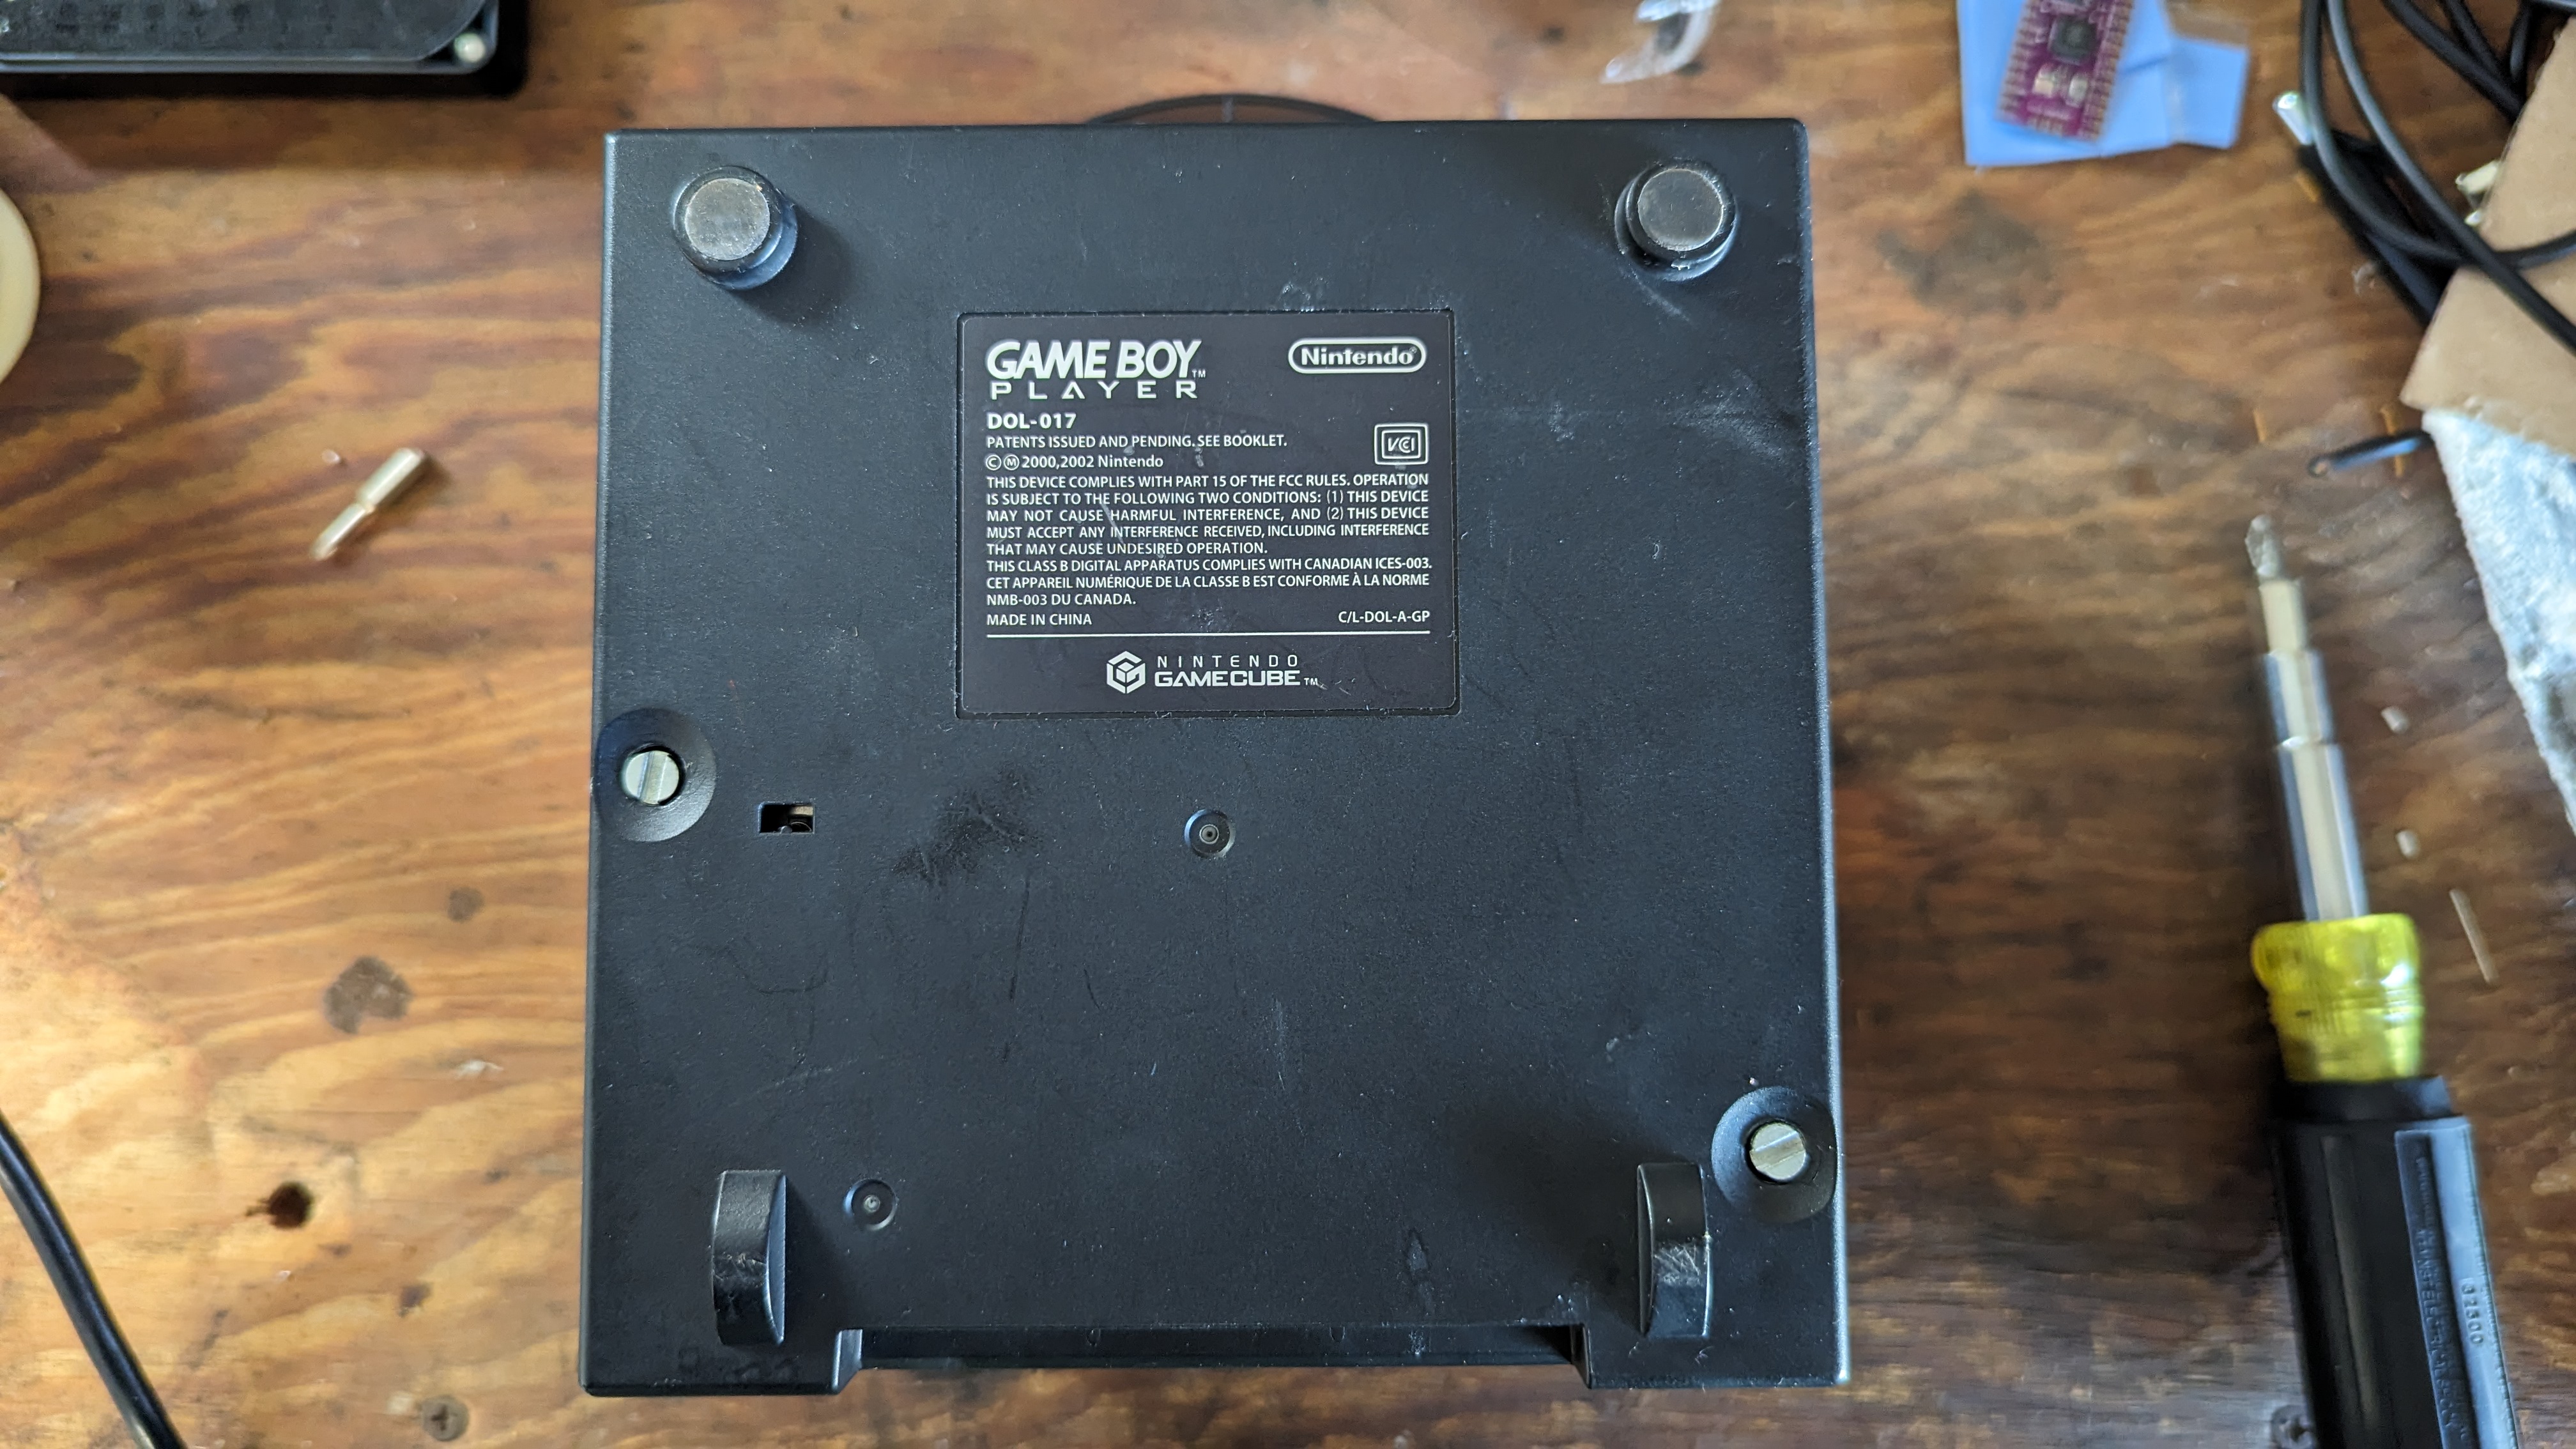
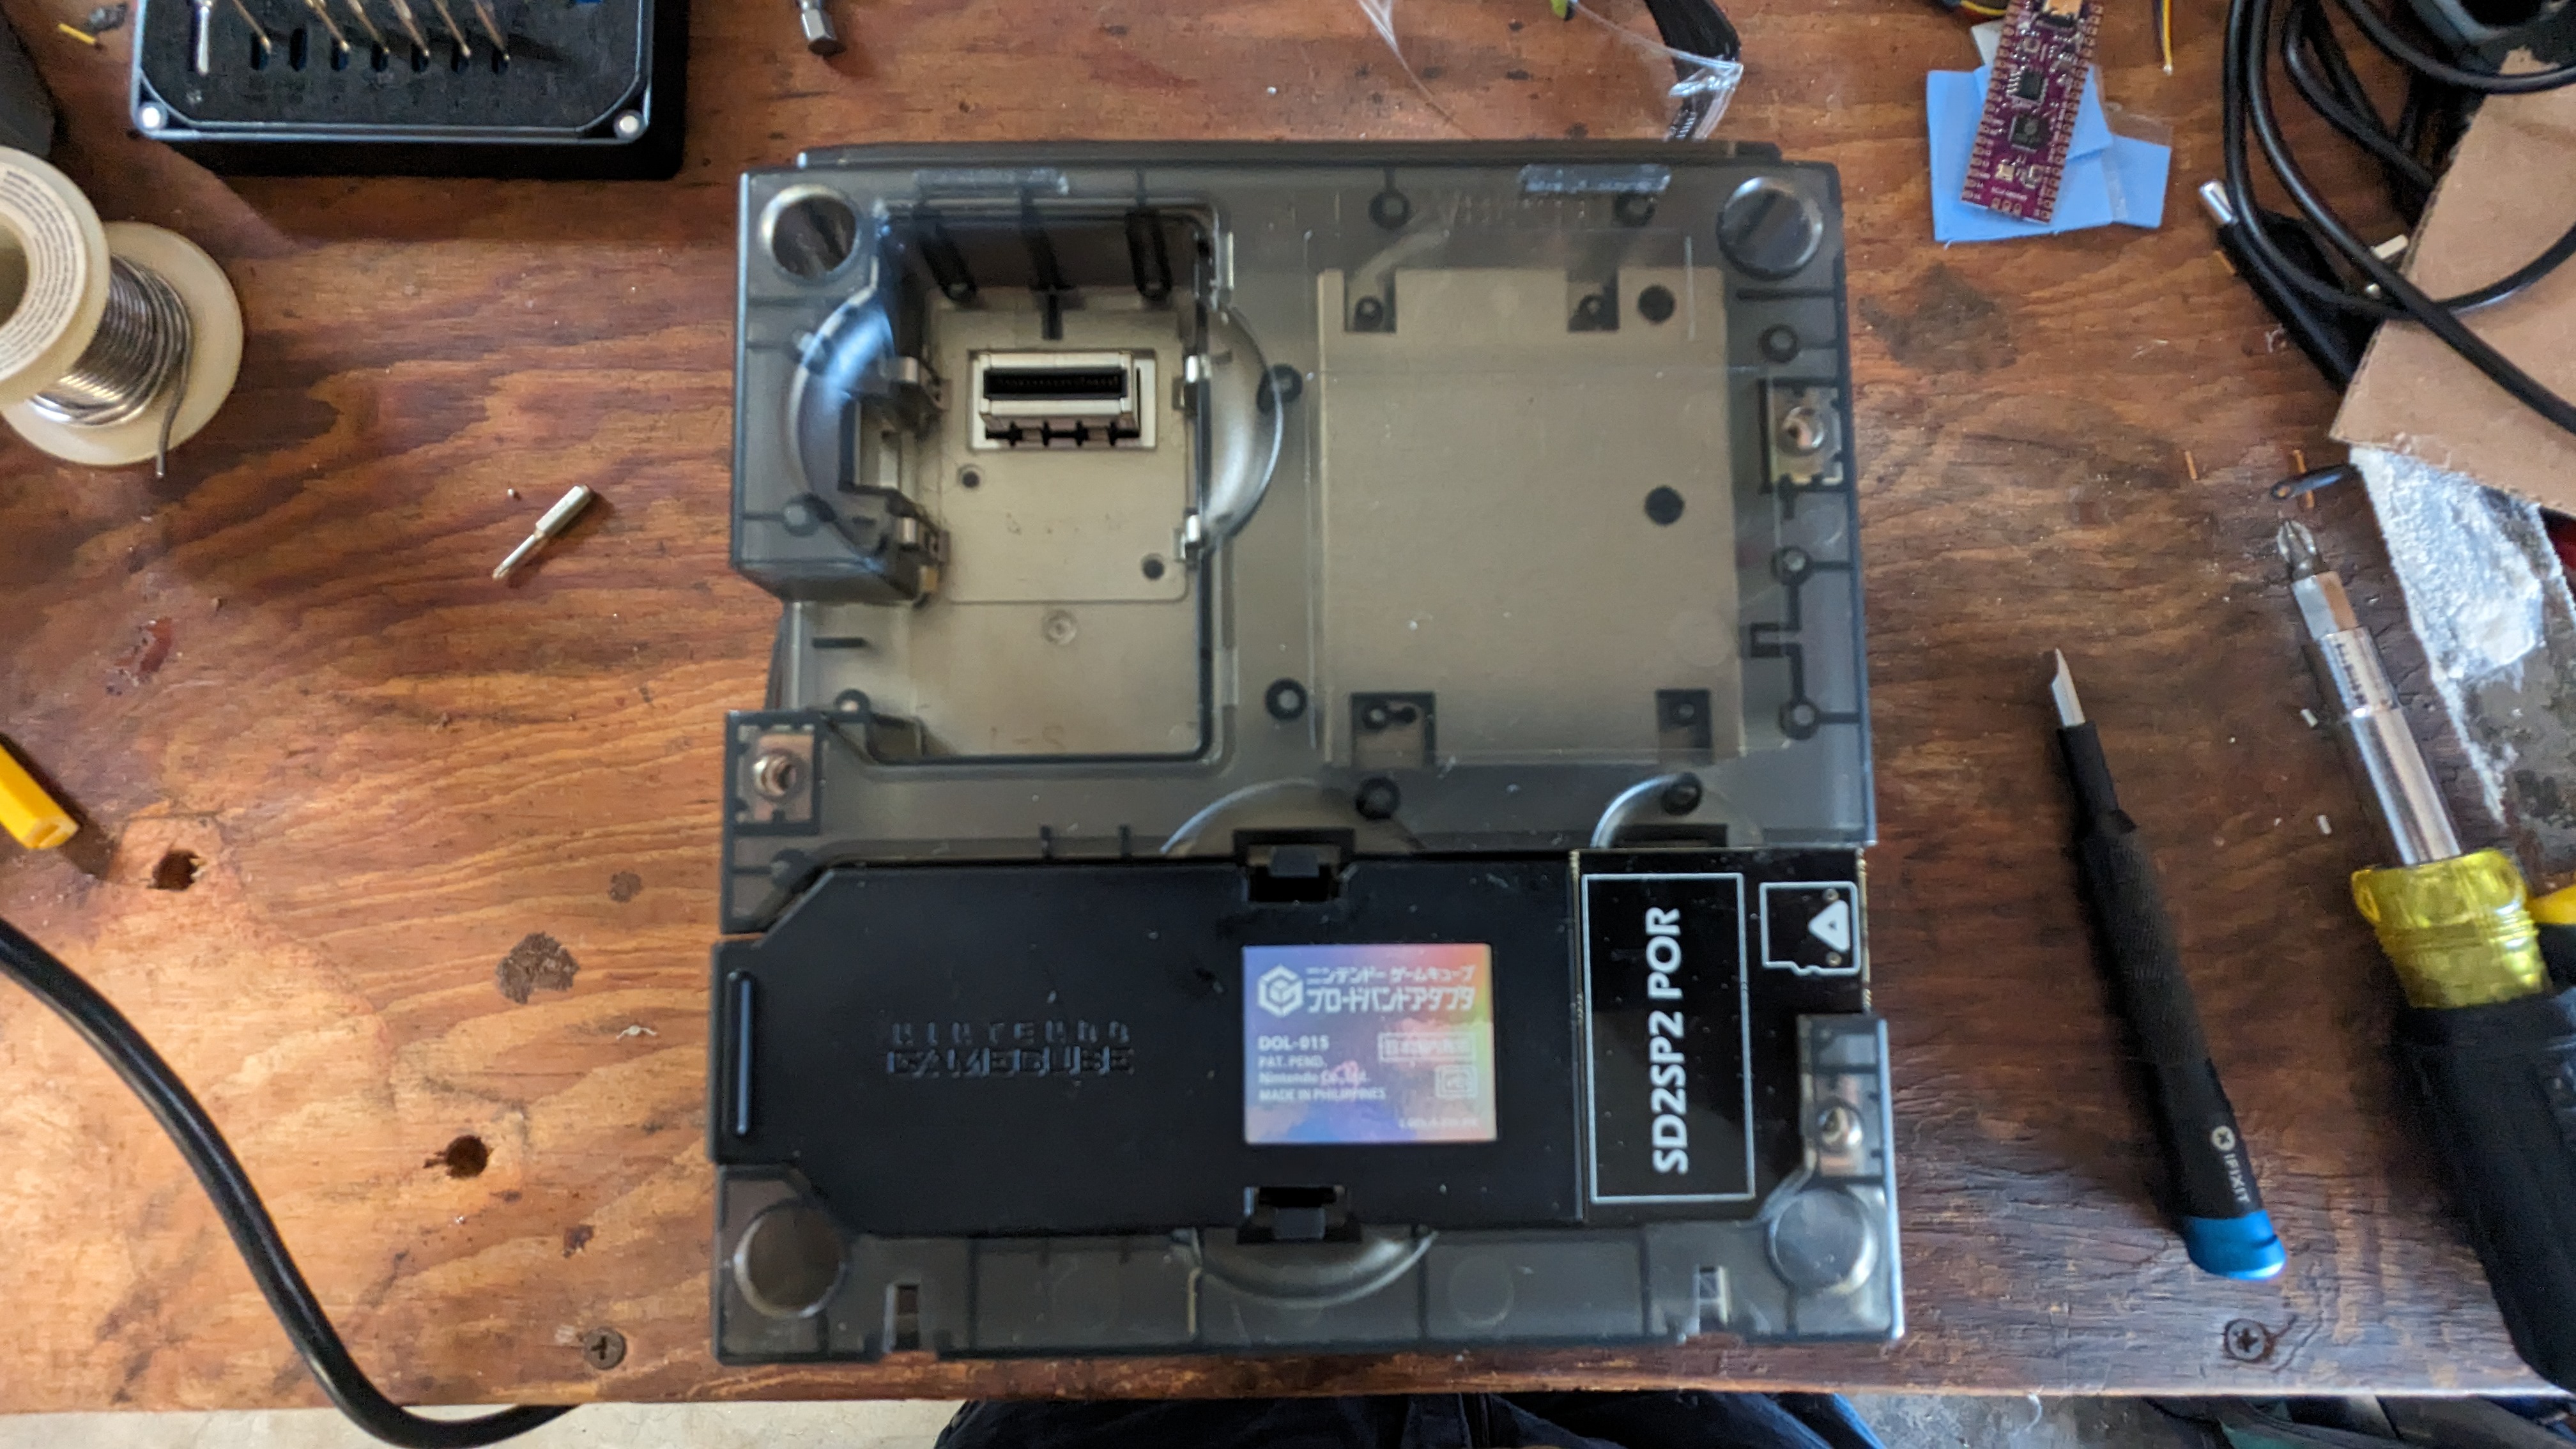
This begins with removing the Game Boy Player from the bottom of the GameCube, and then removing the Hi-Speed Ethernet adaptor and my SD2SP2 (installed in the previous article for Swiss support).
Now we can remove the top cover and access the hardware stack, starting with the disc drive on top.
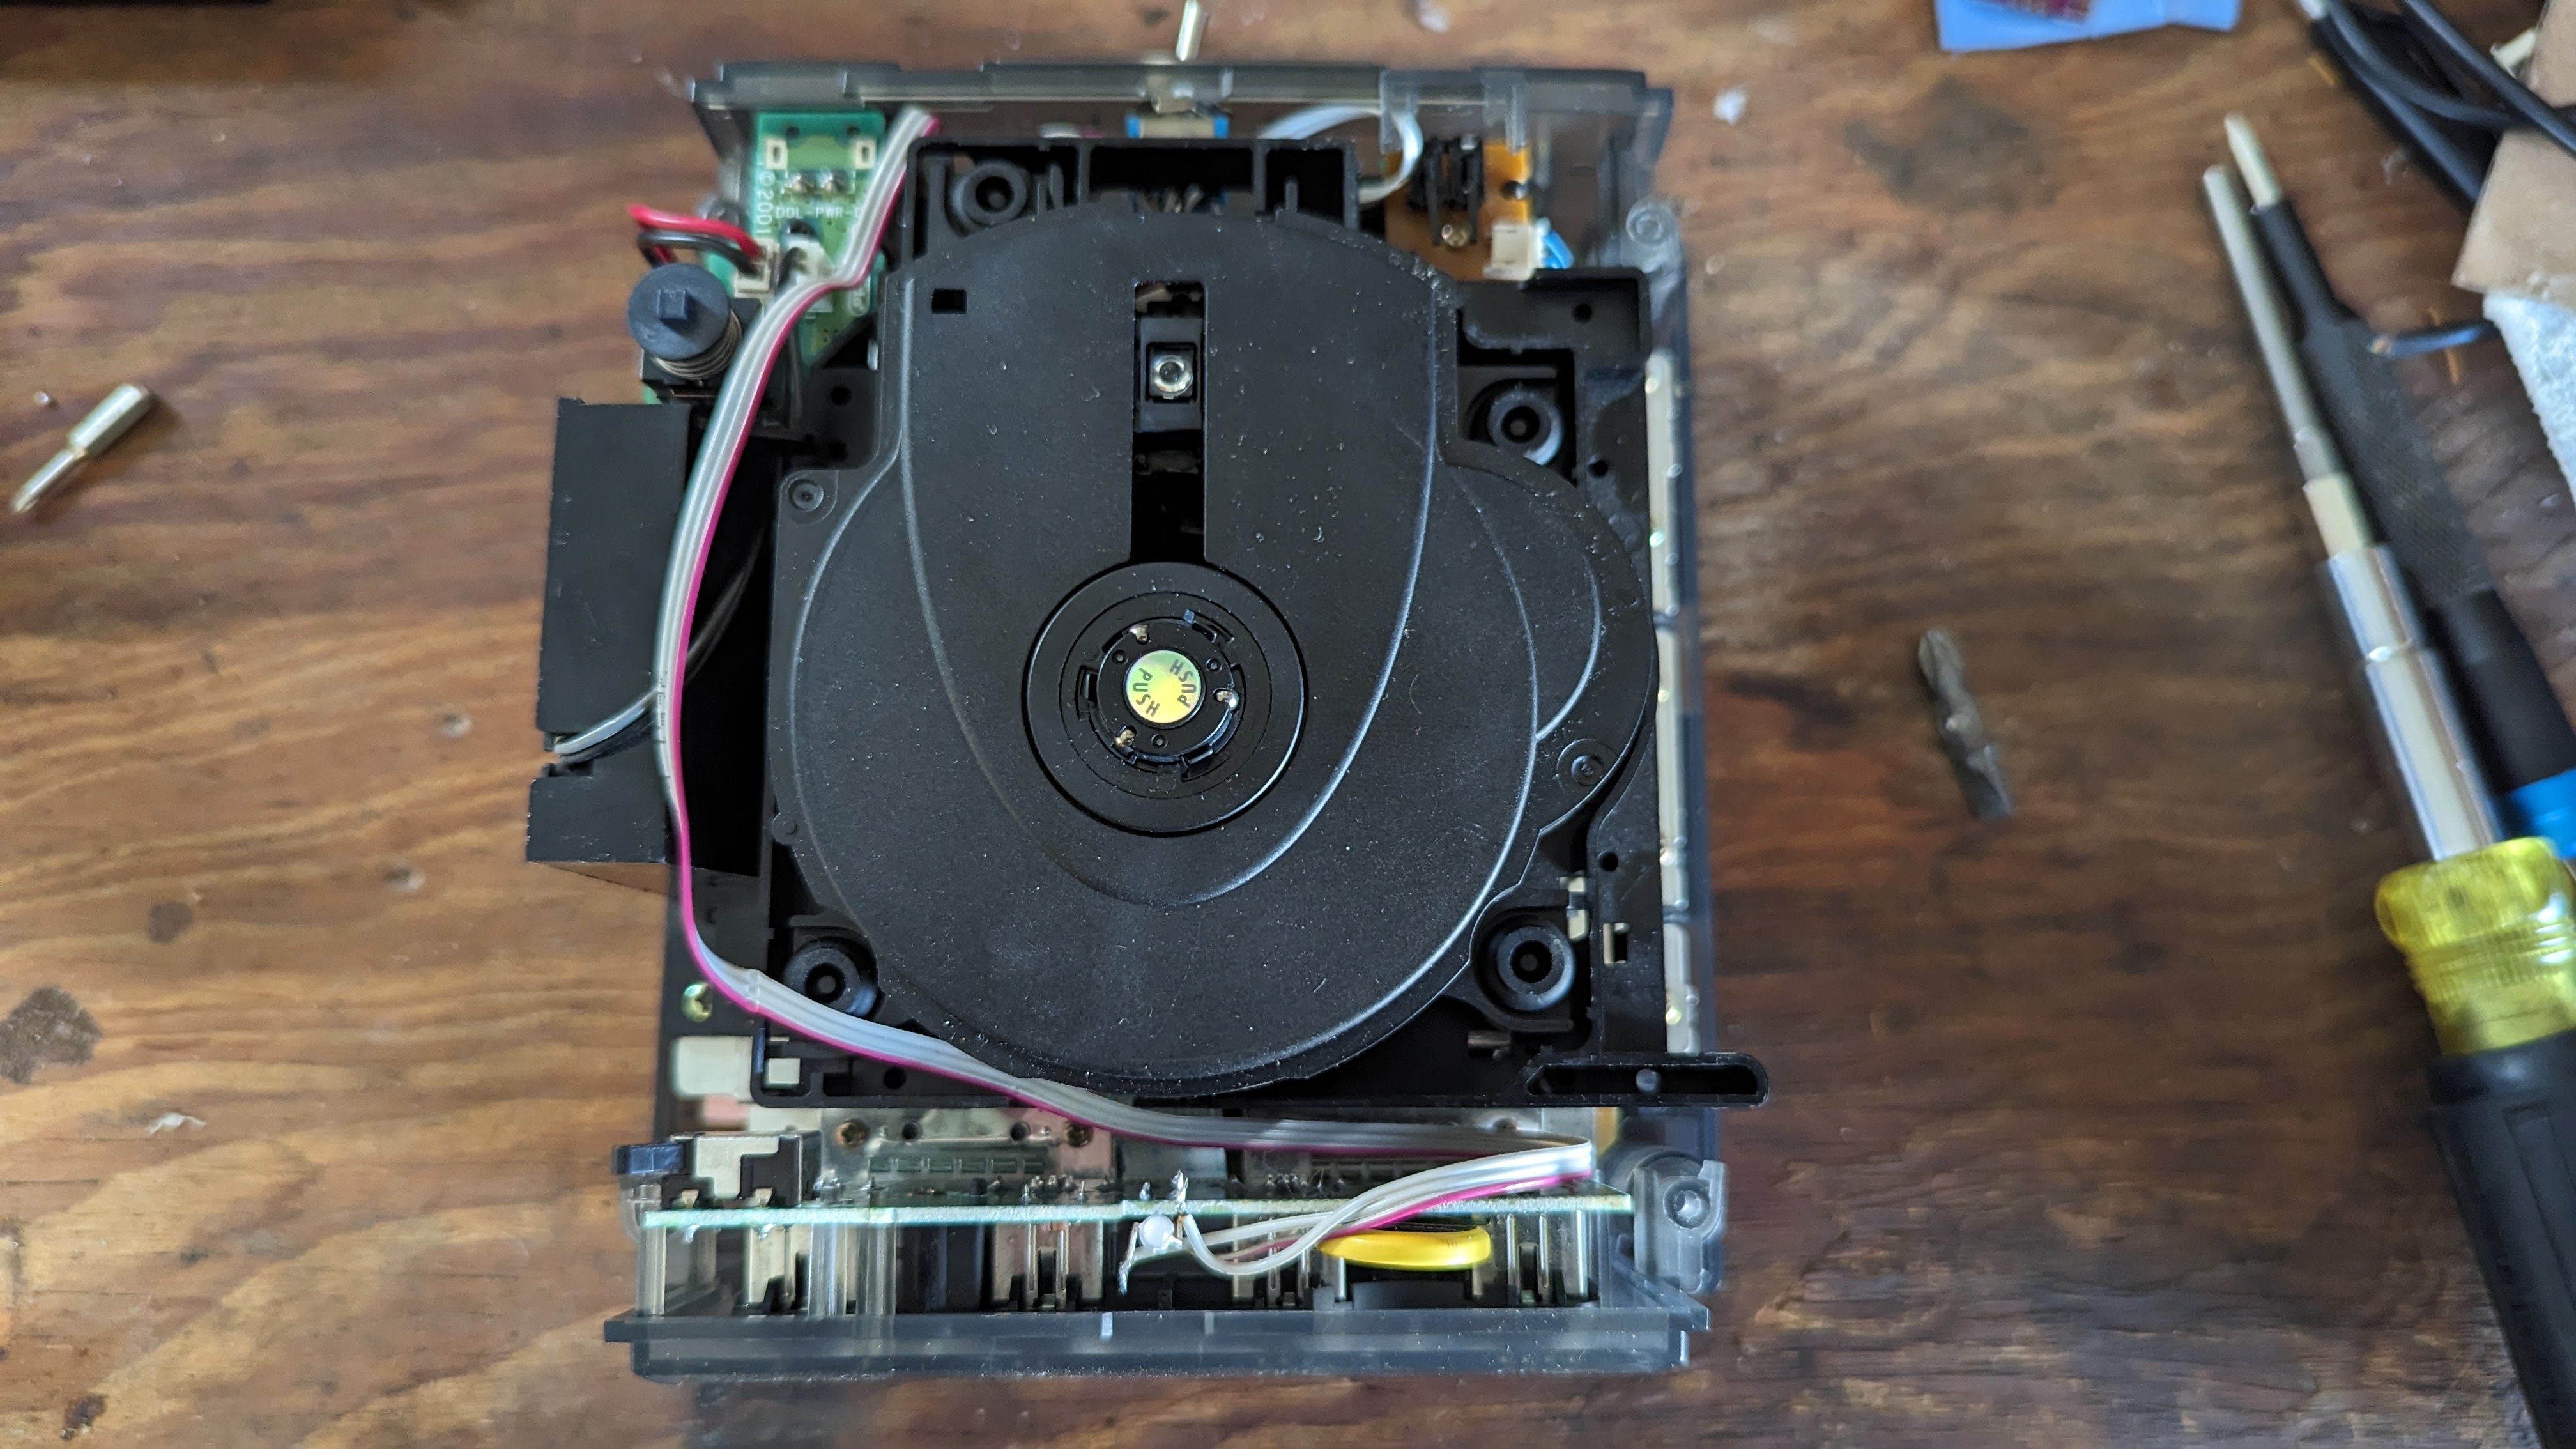
Beside the disc drive unit, you can also see the lid switch I broke in the last mod. Oops! As noted in the previous article, I soldered a bypass wire so it always registers the lid as closed. This isn't necessarily the best way to fix it, but I could not find the replacement part for less than $40, and I promise not to stare into the laser.
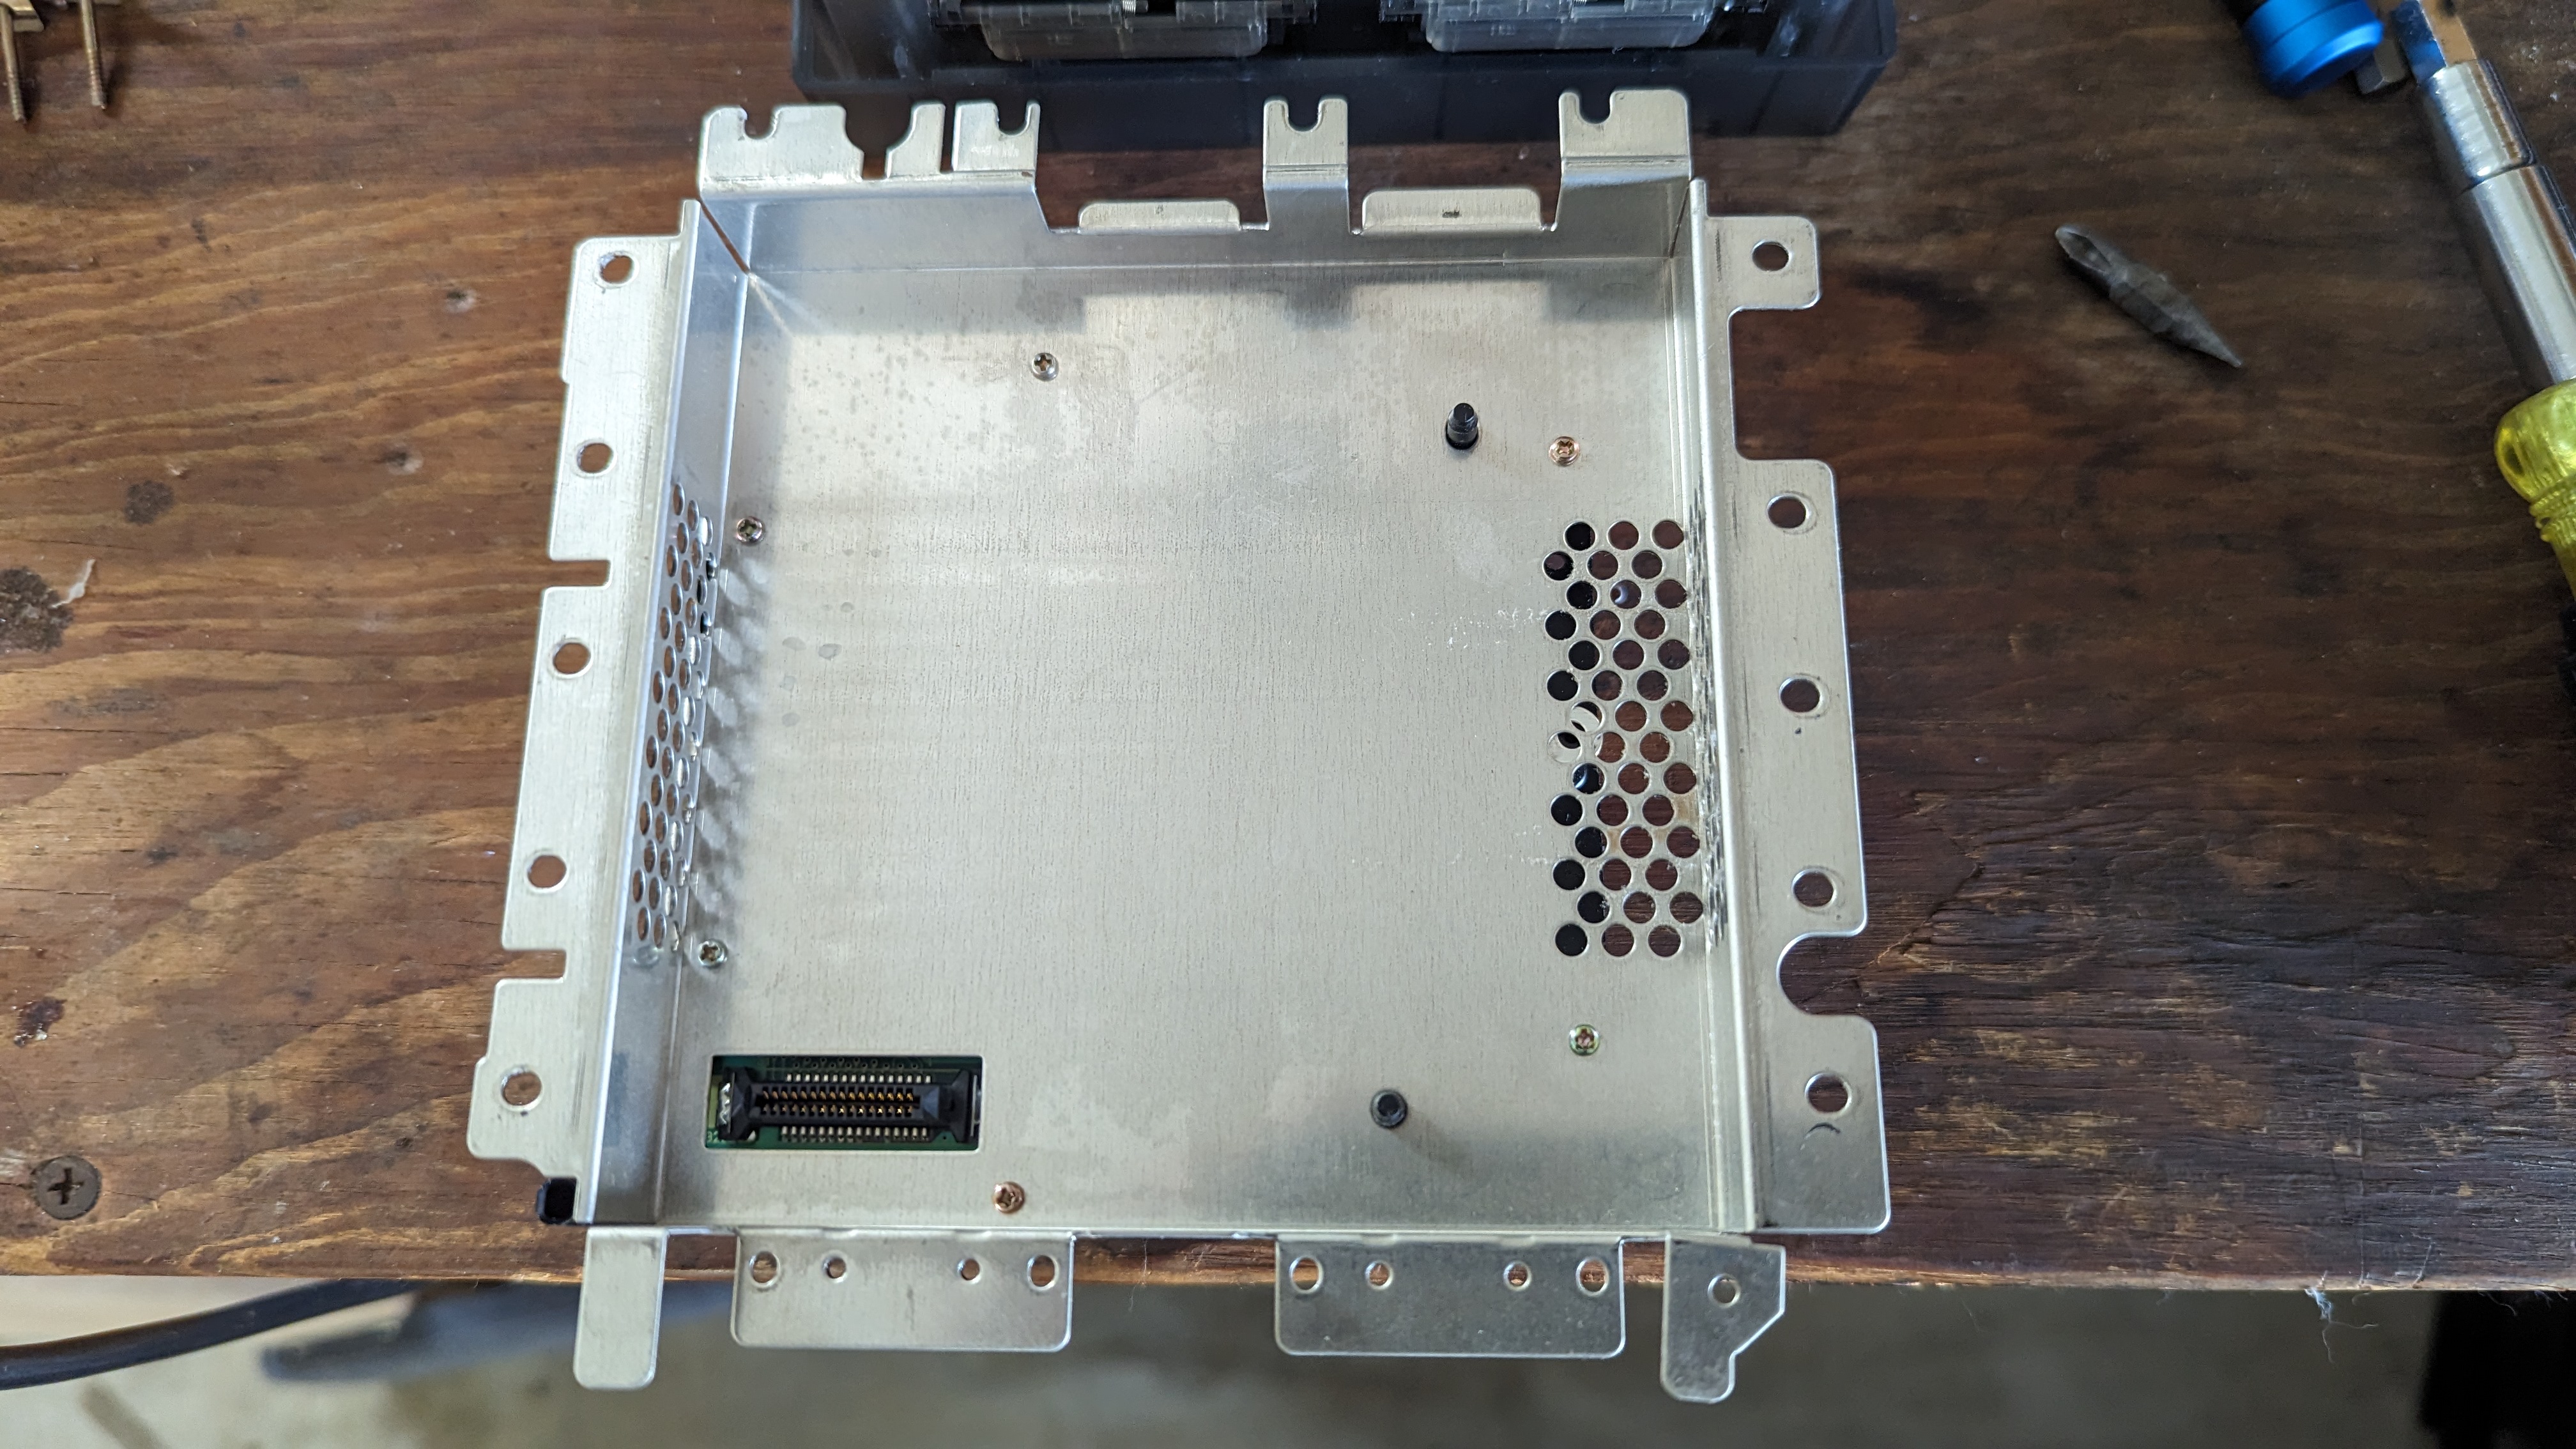
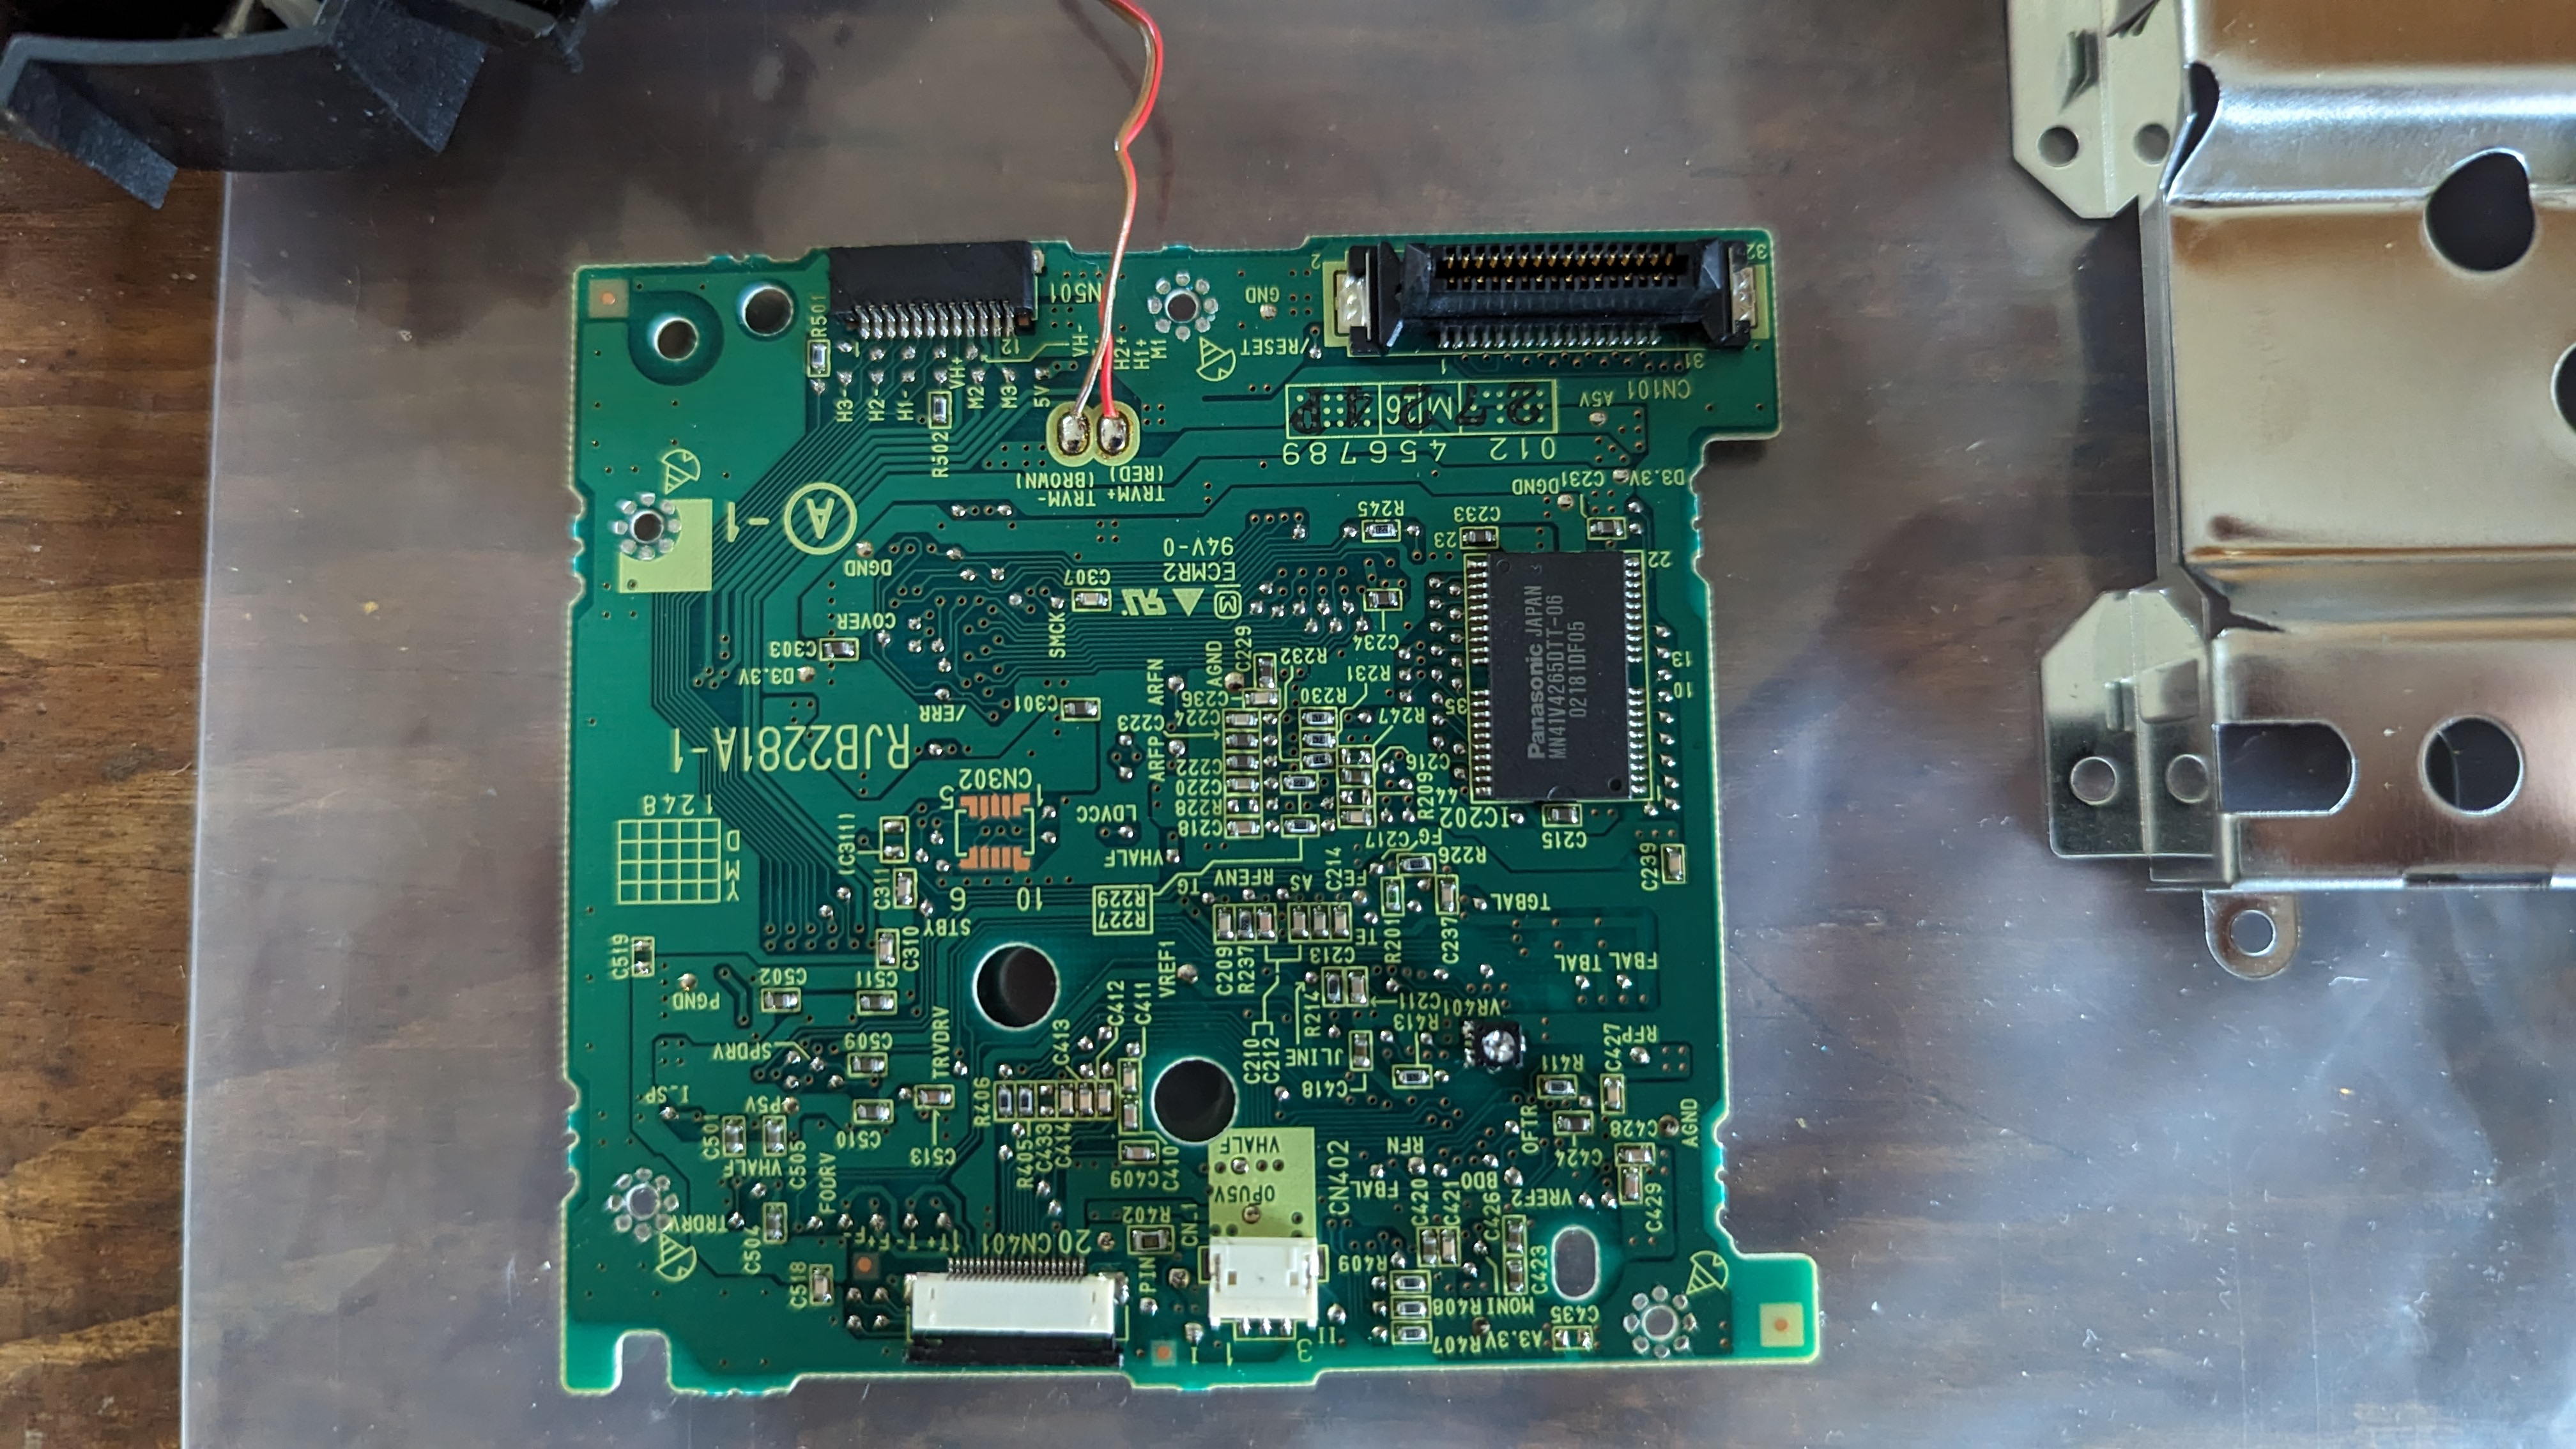
Once the screws alongside the disc drive unit are removed, we need to remove the unit and turn it upside down to remove the metal shield from the bottom. That exposes the laser control board which contains the voltage regulator potentiometer we need to adjust.
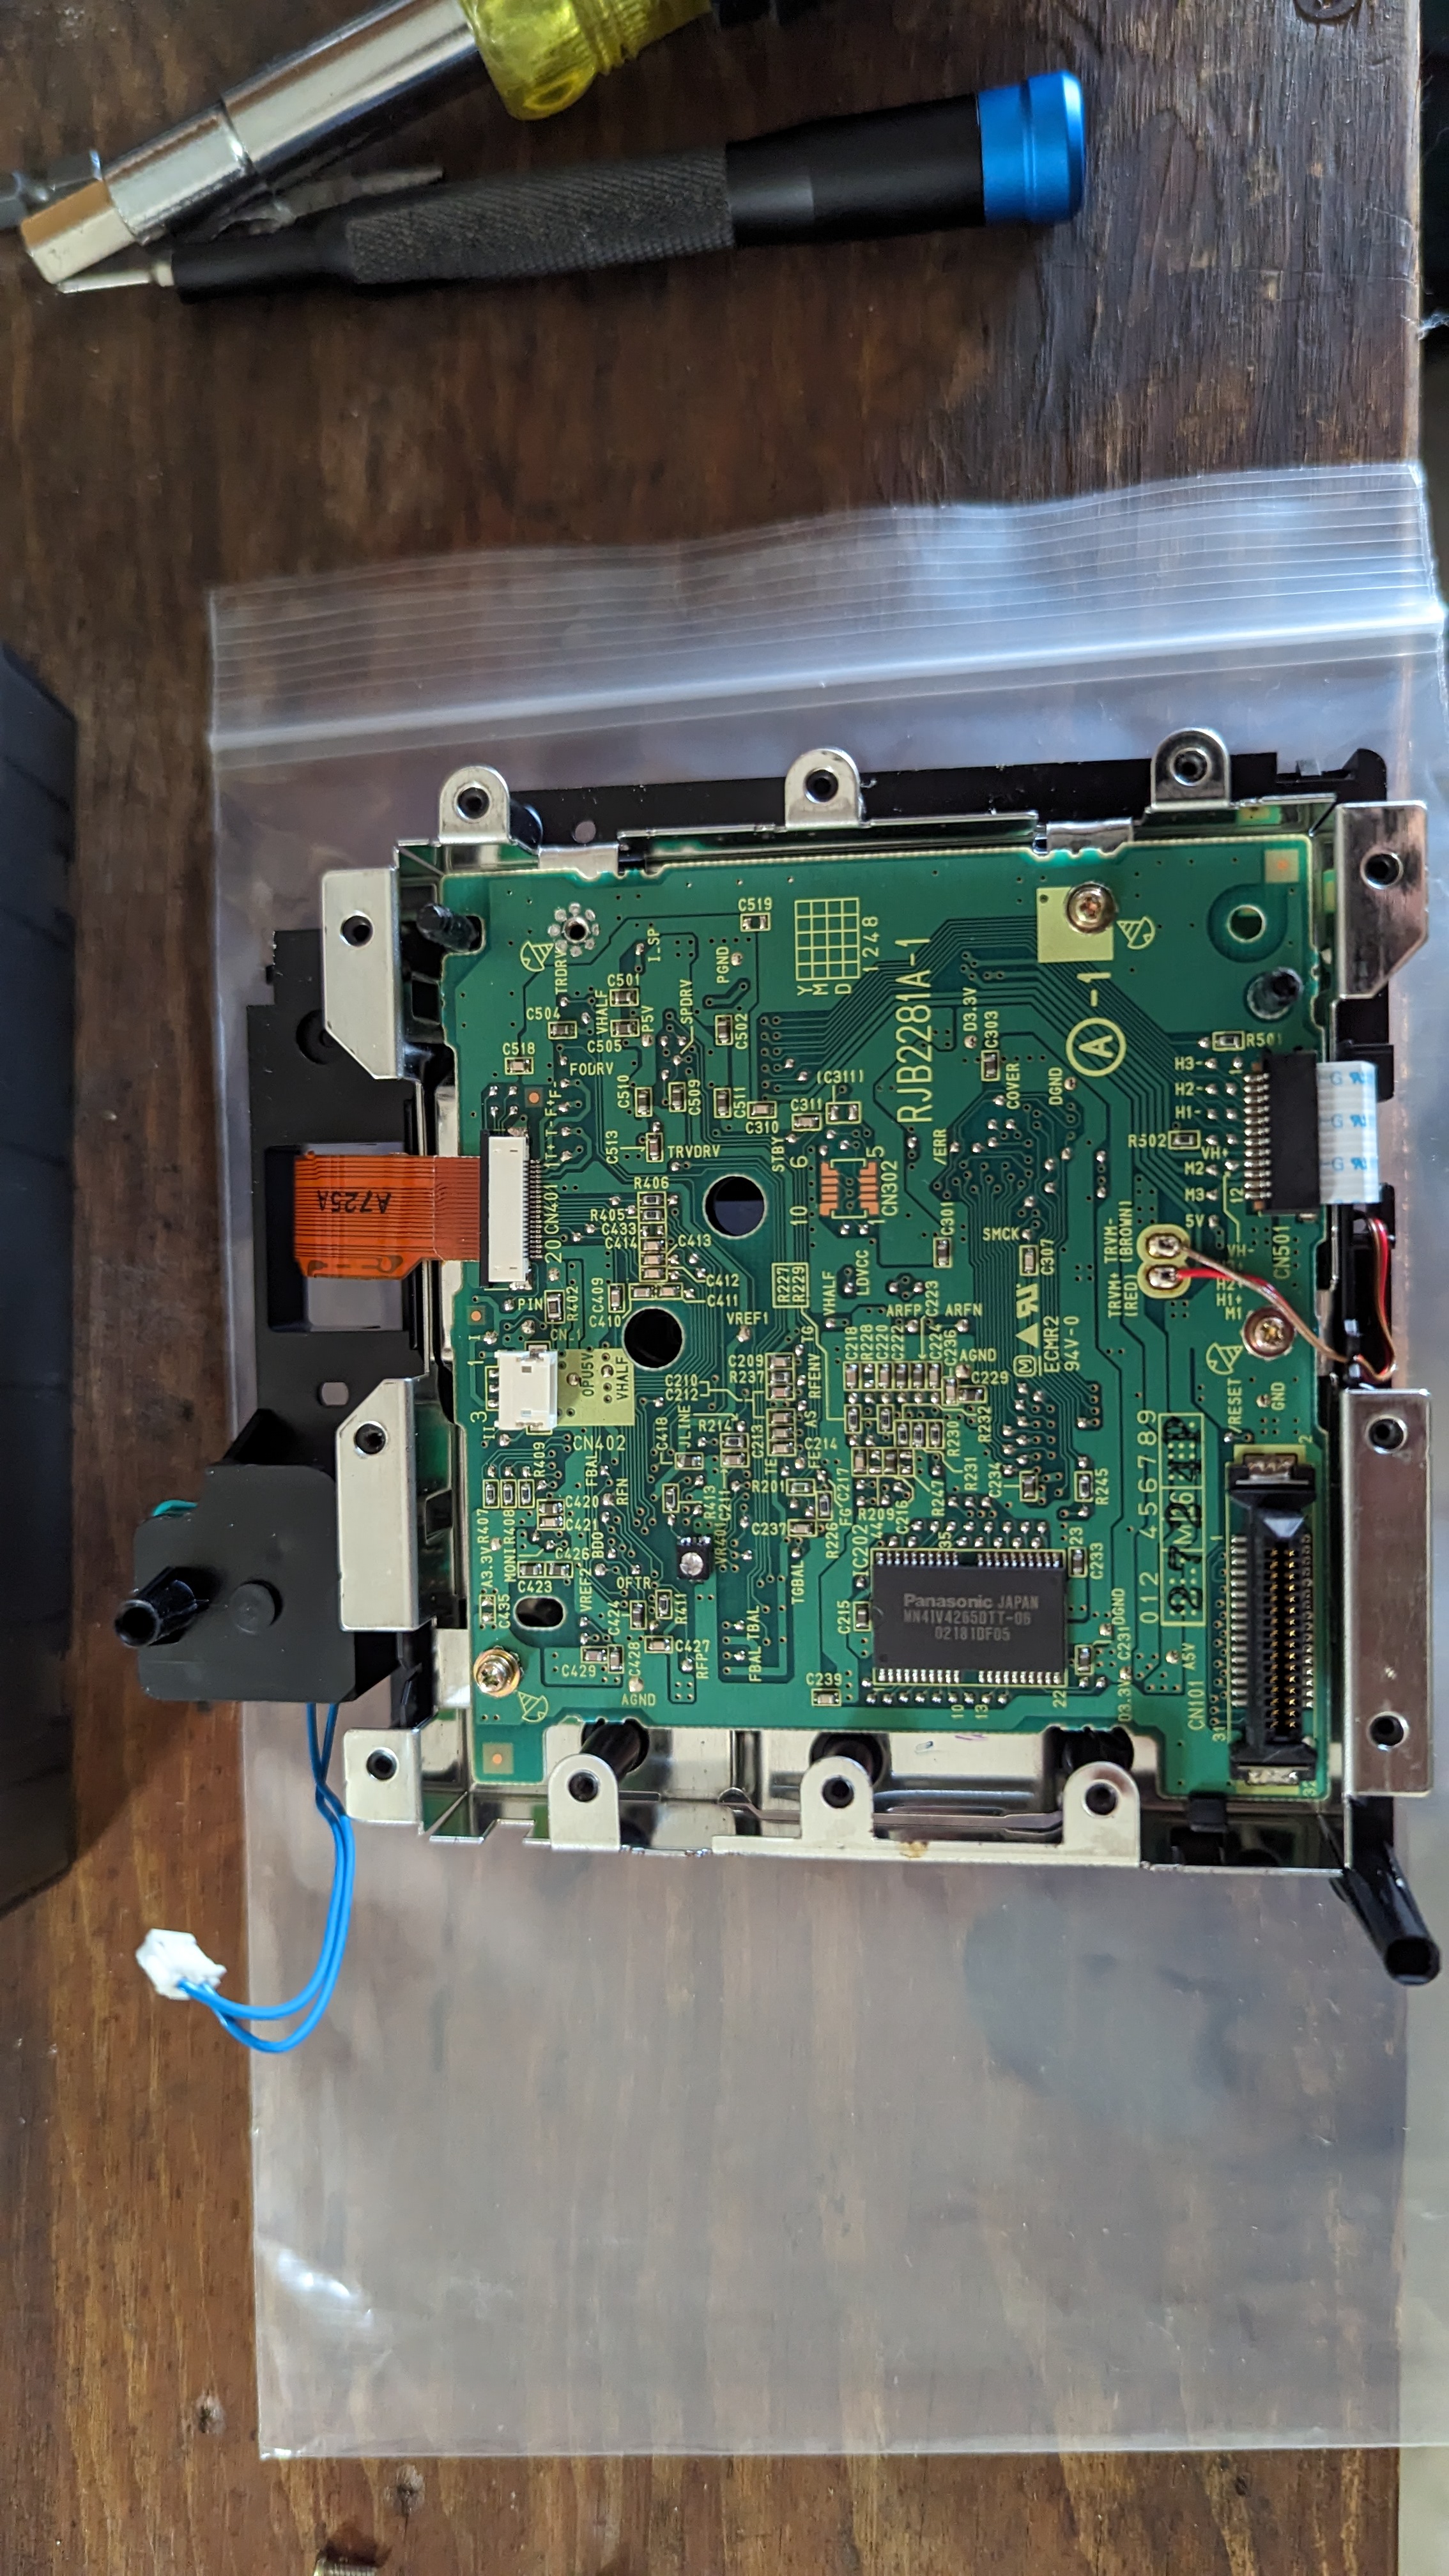
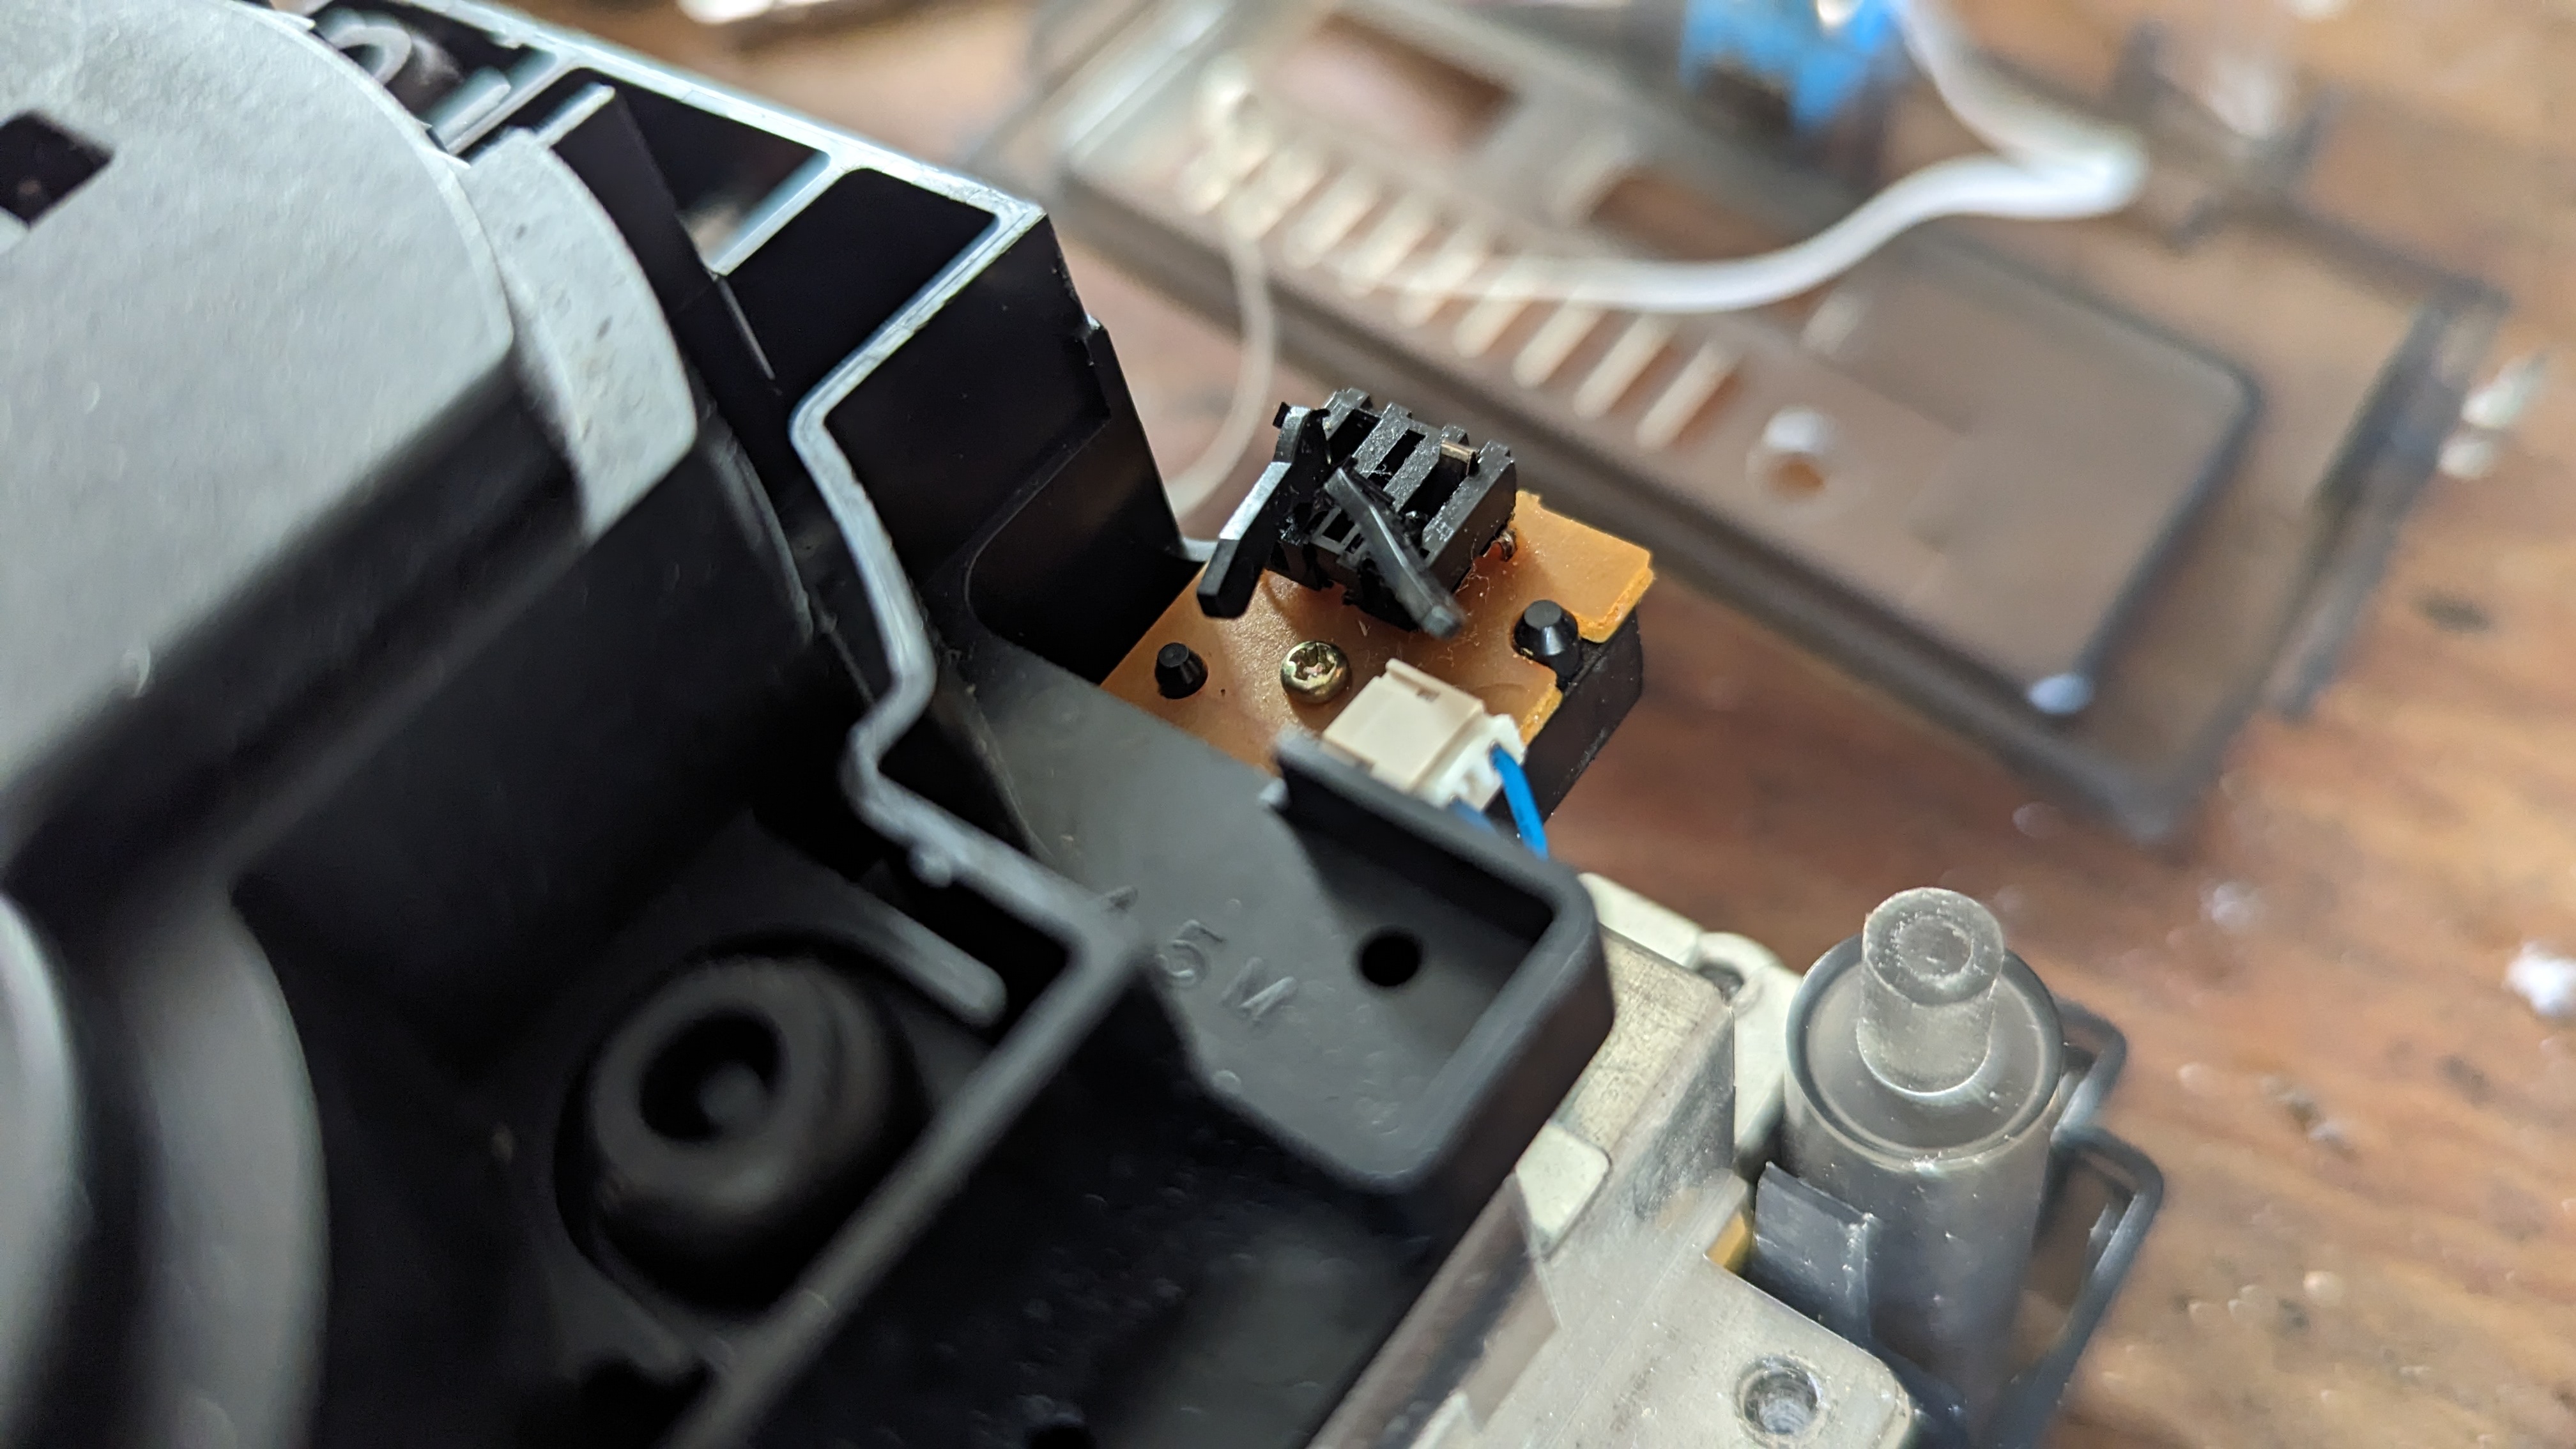
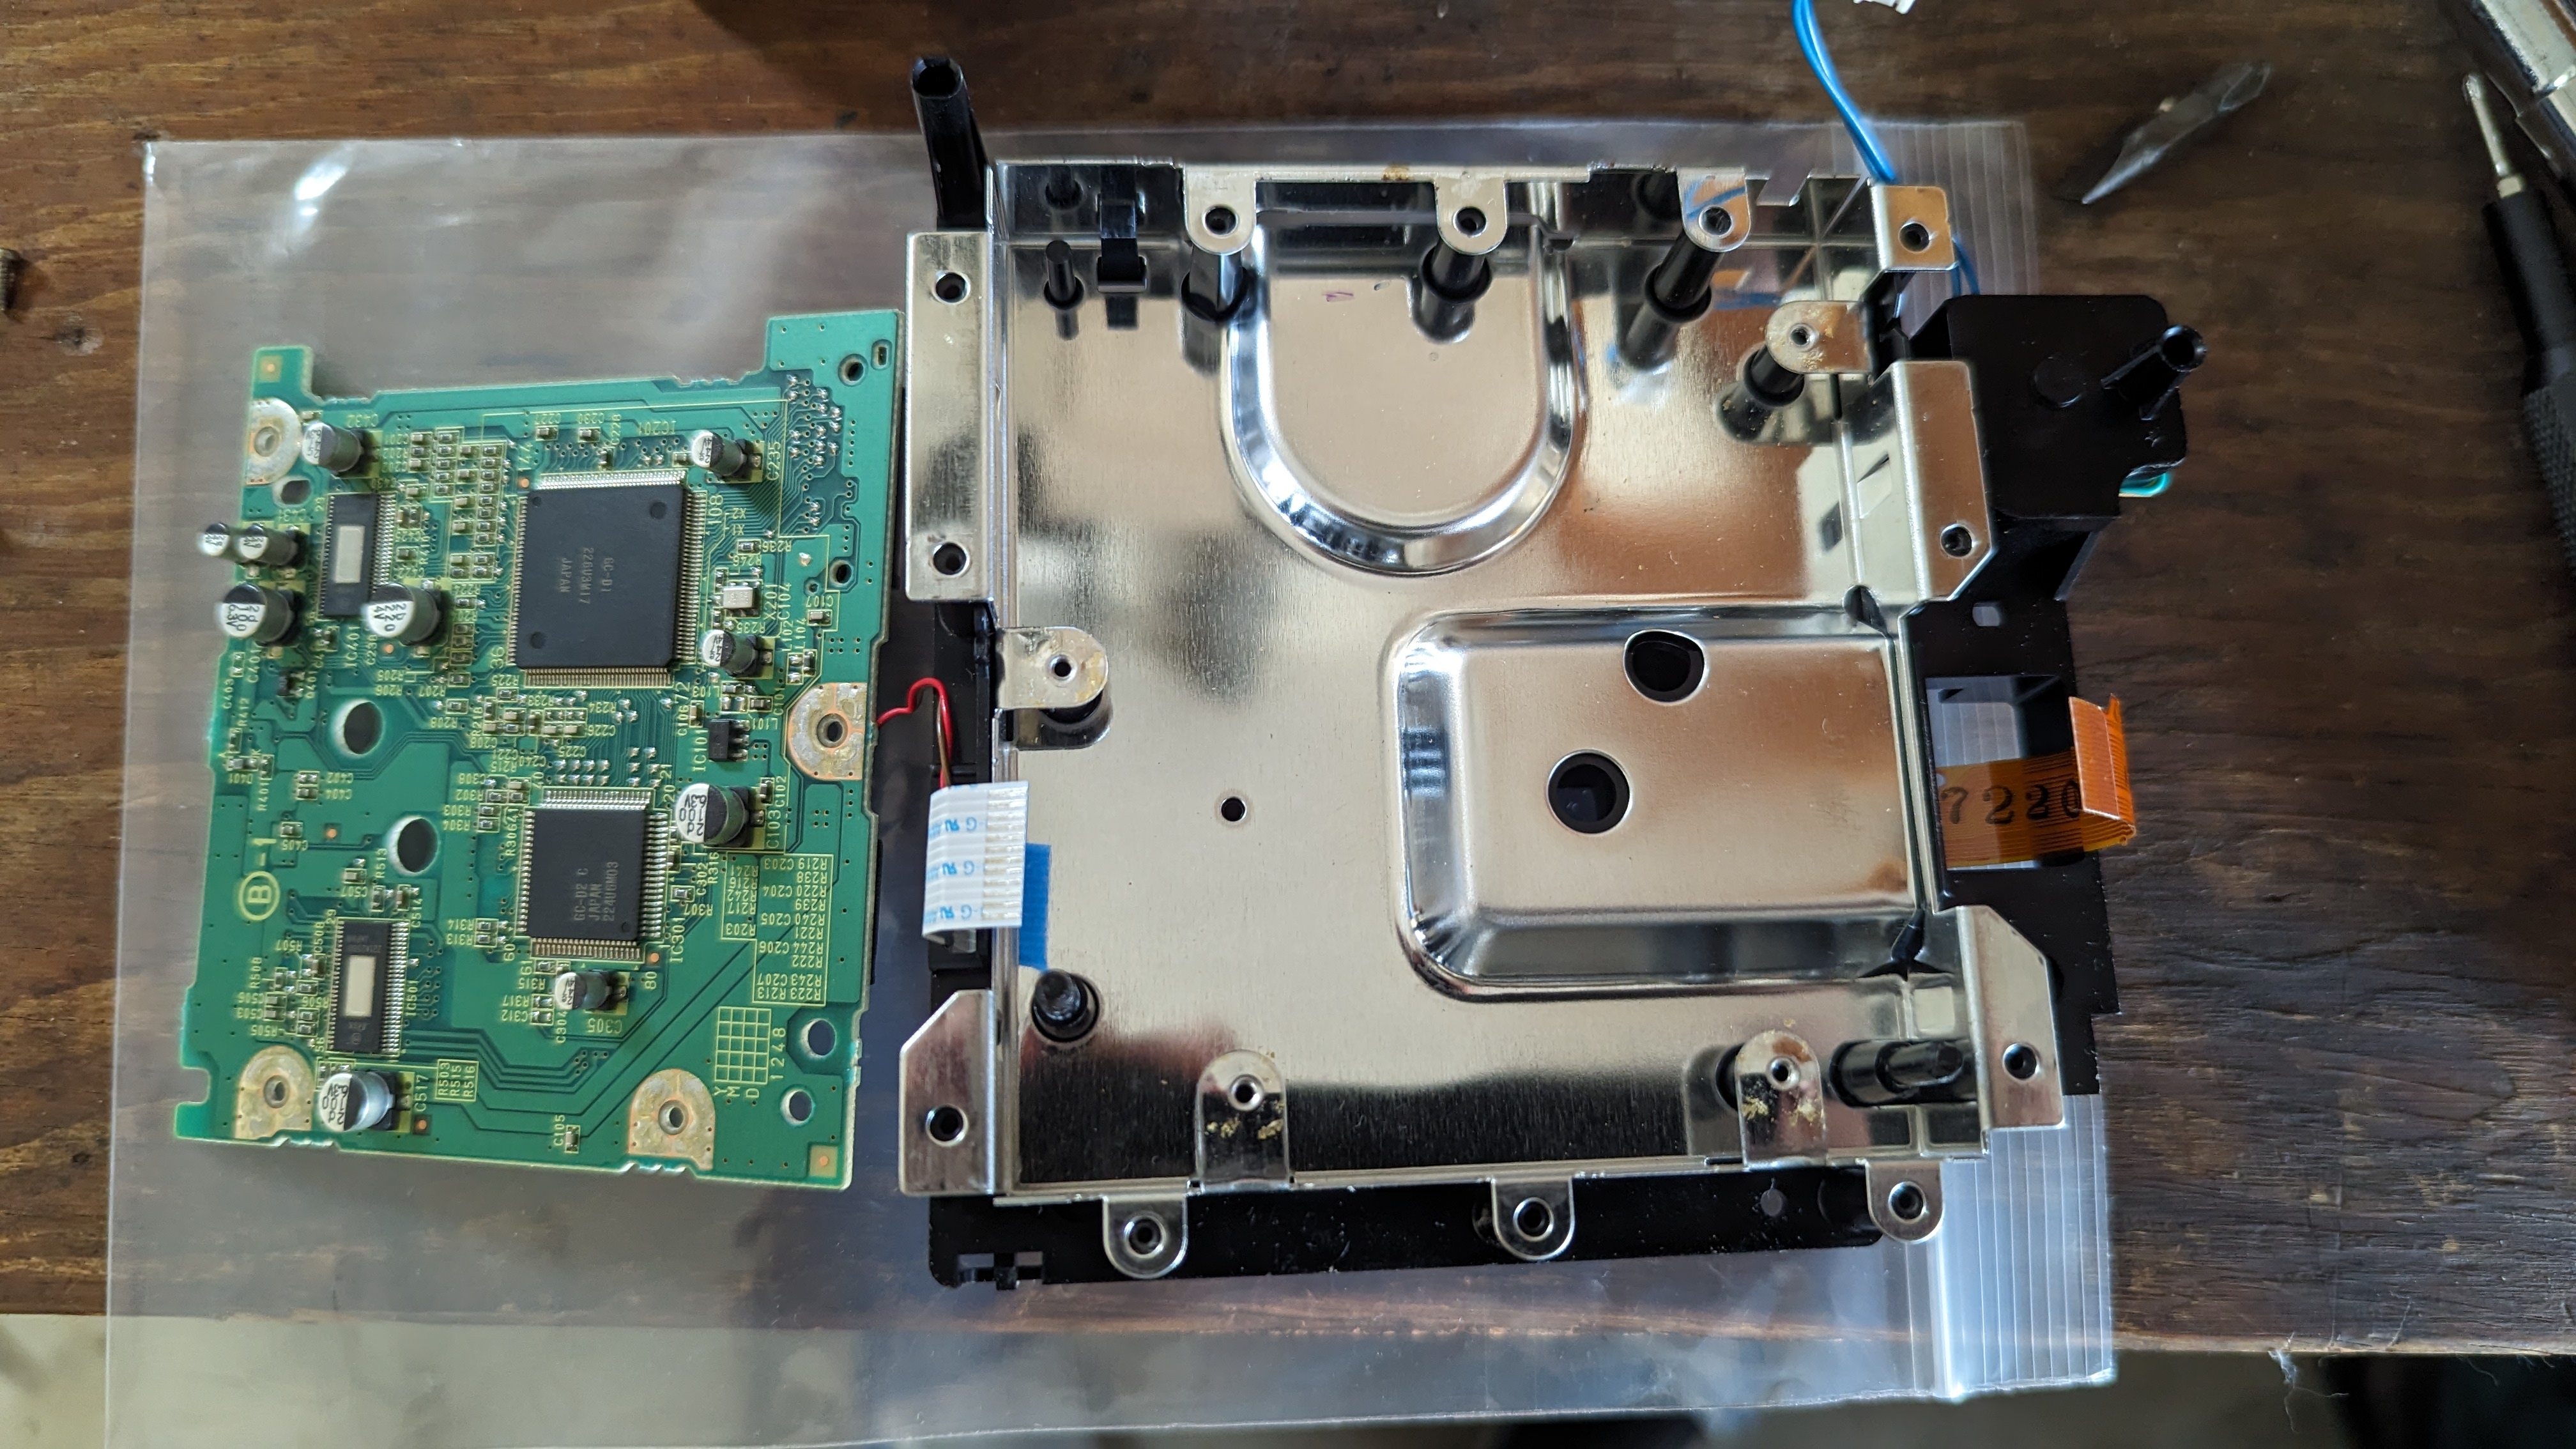
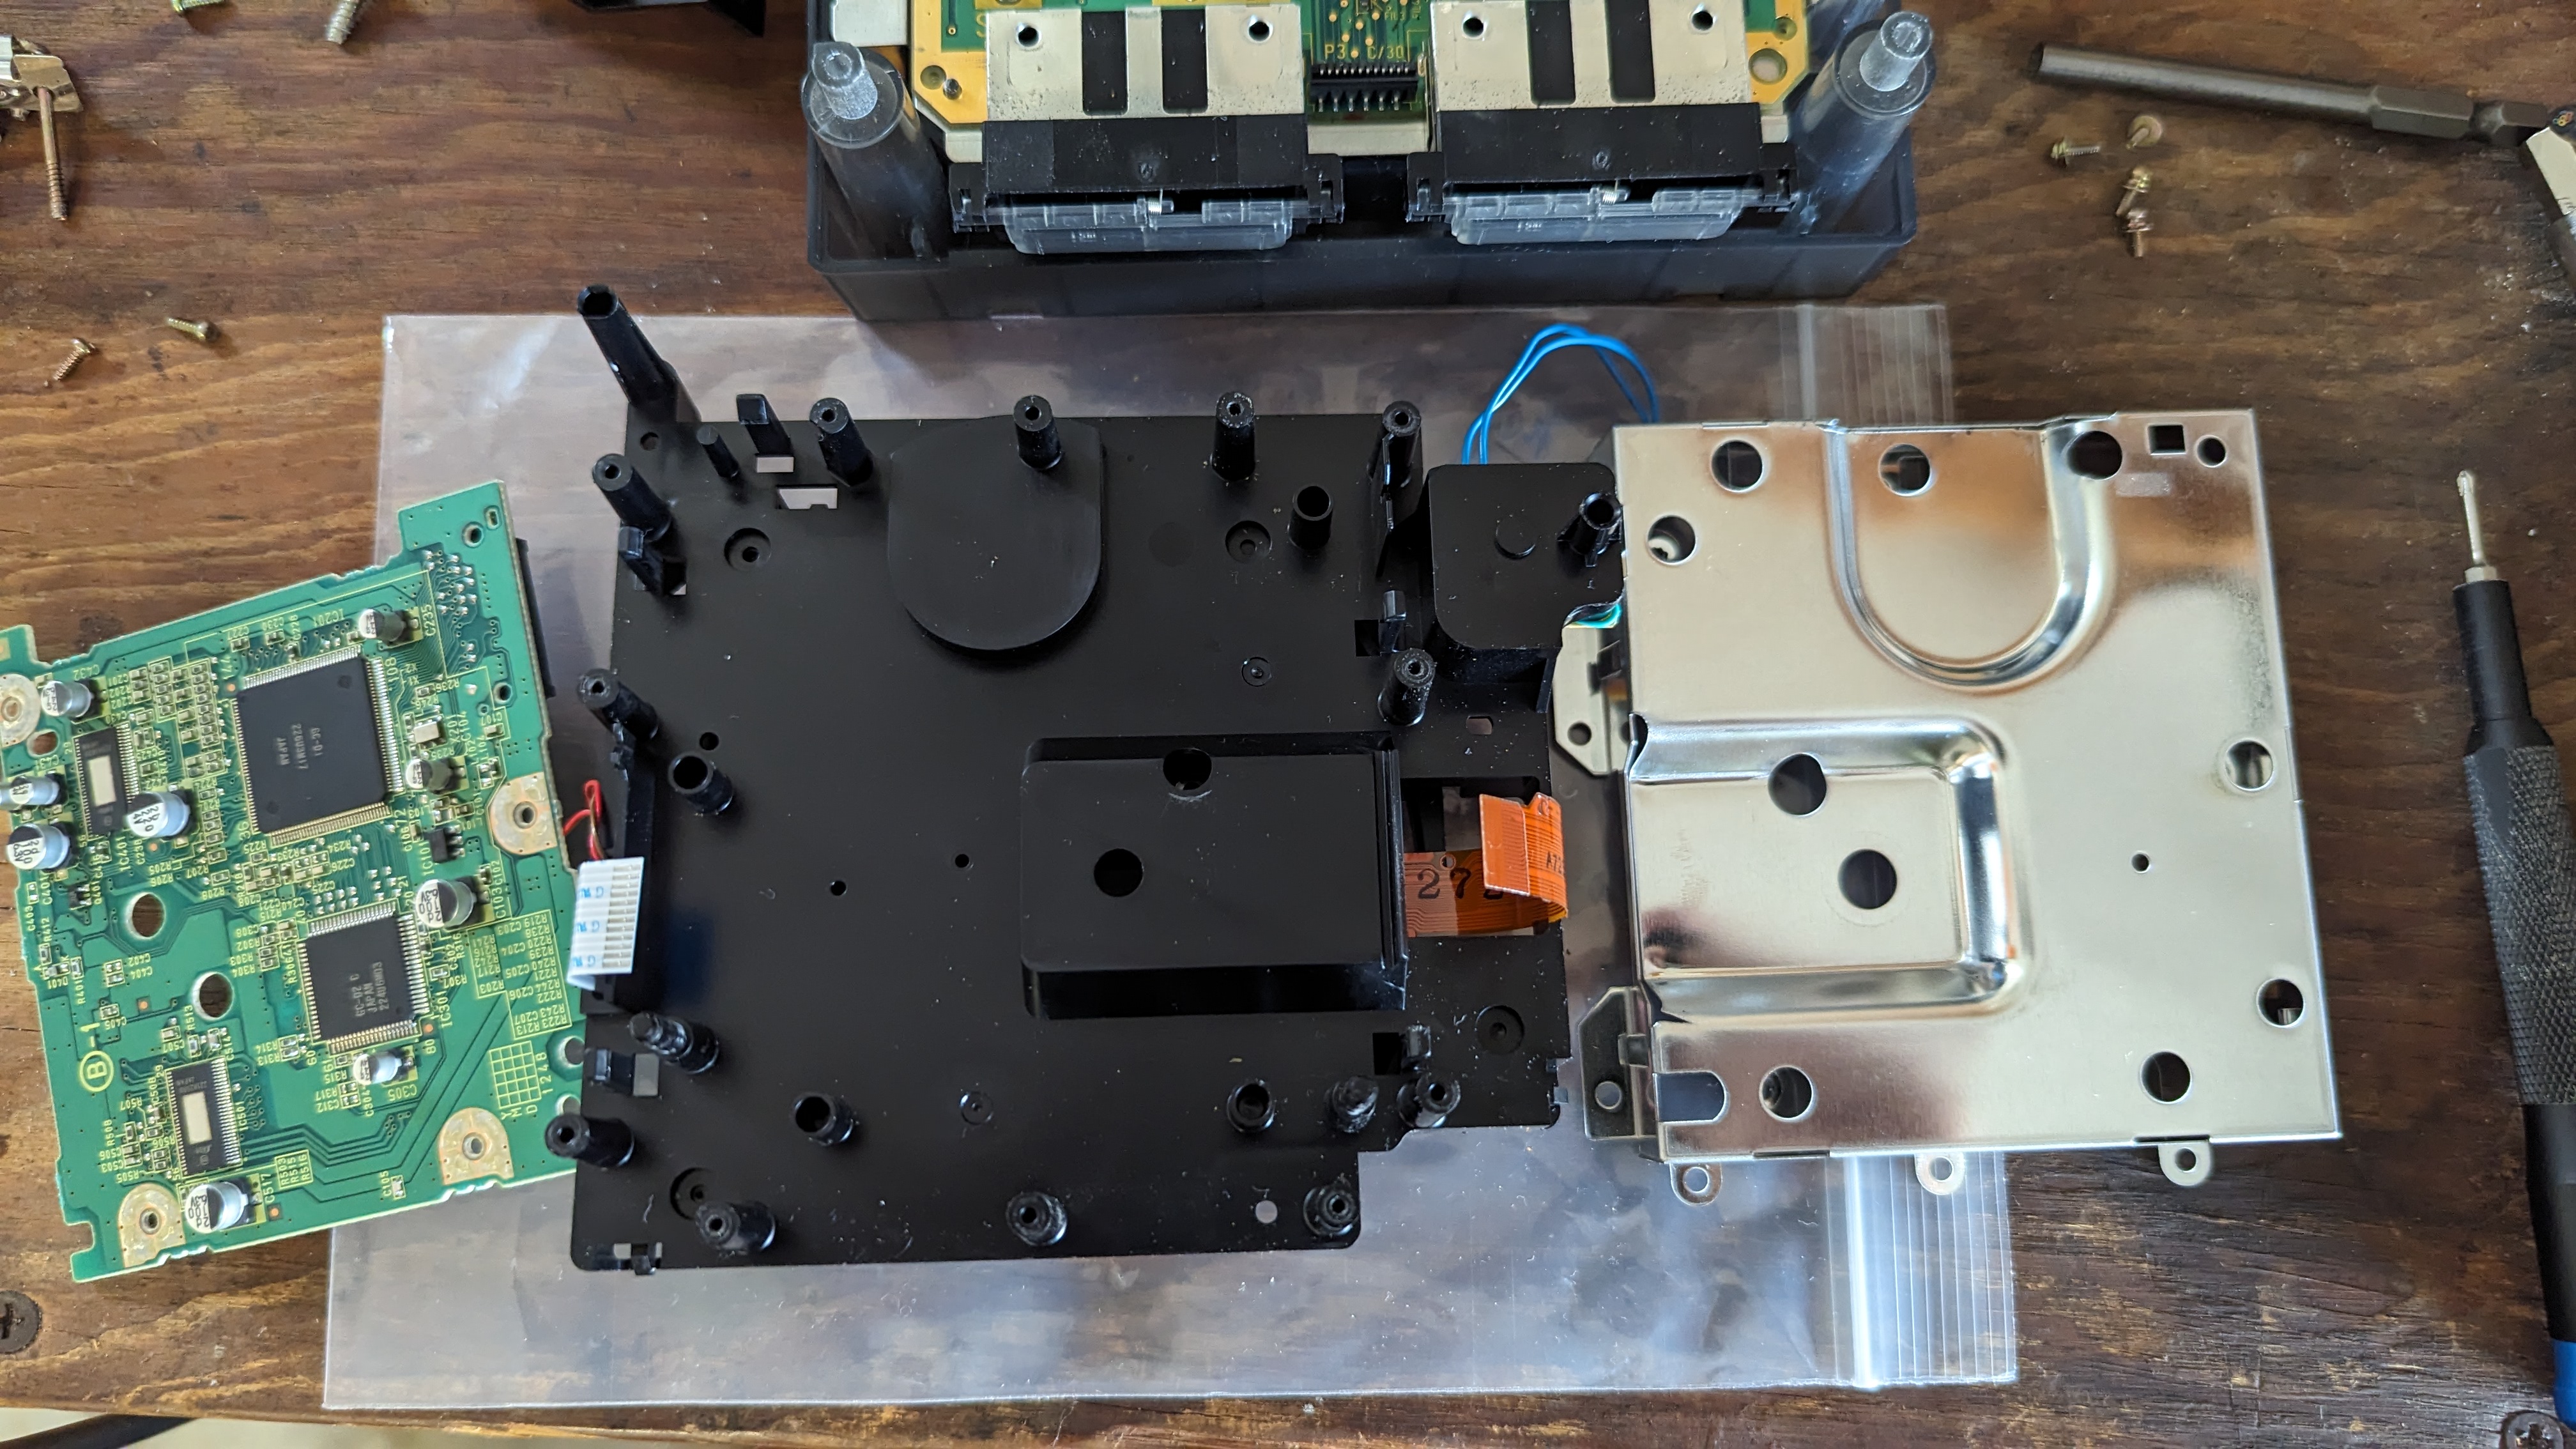
Because I wanted to (or maybe because I wrongly might have thought the potentiometer was on the other side of the board), I went ahead and disassembled the rest of the laser assembly. First the ribbon cables get removed from the board, then the retaining screws are removed. There are retaining clips along the outside of the black plastic laser housing. Once those are pushed in, the whole assembly can be separated.
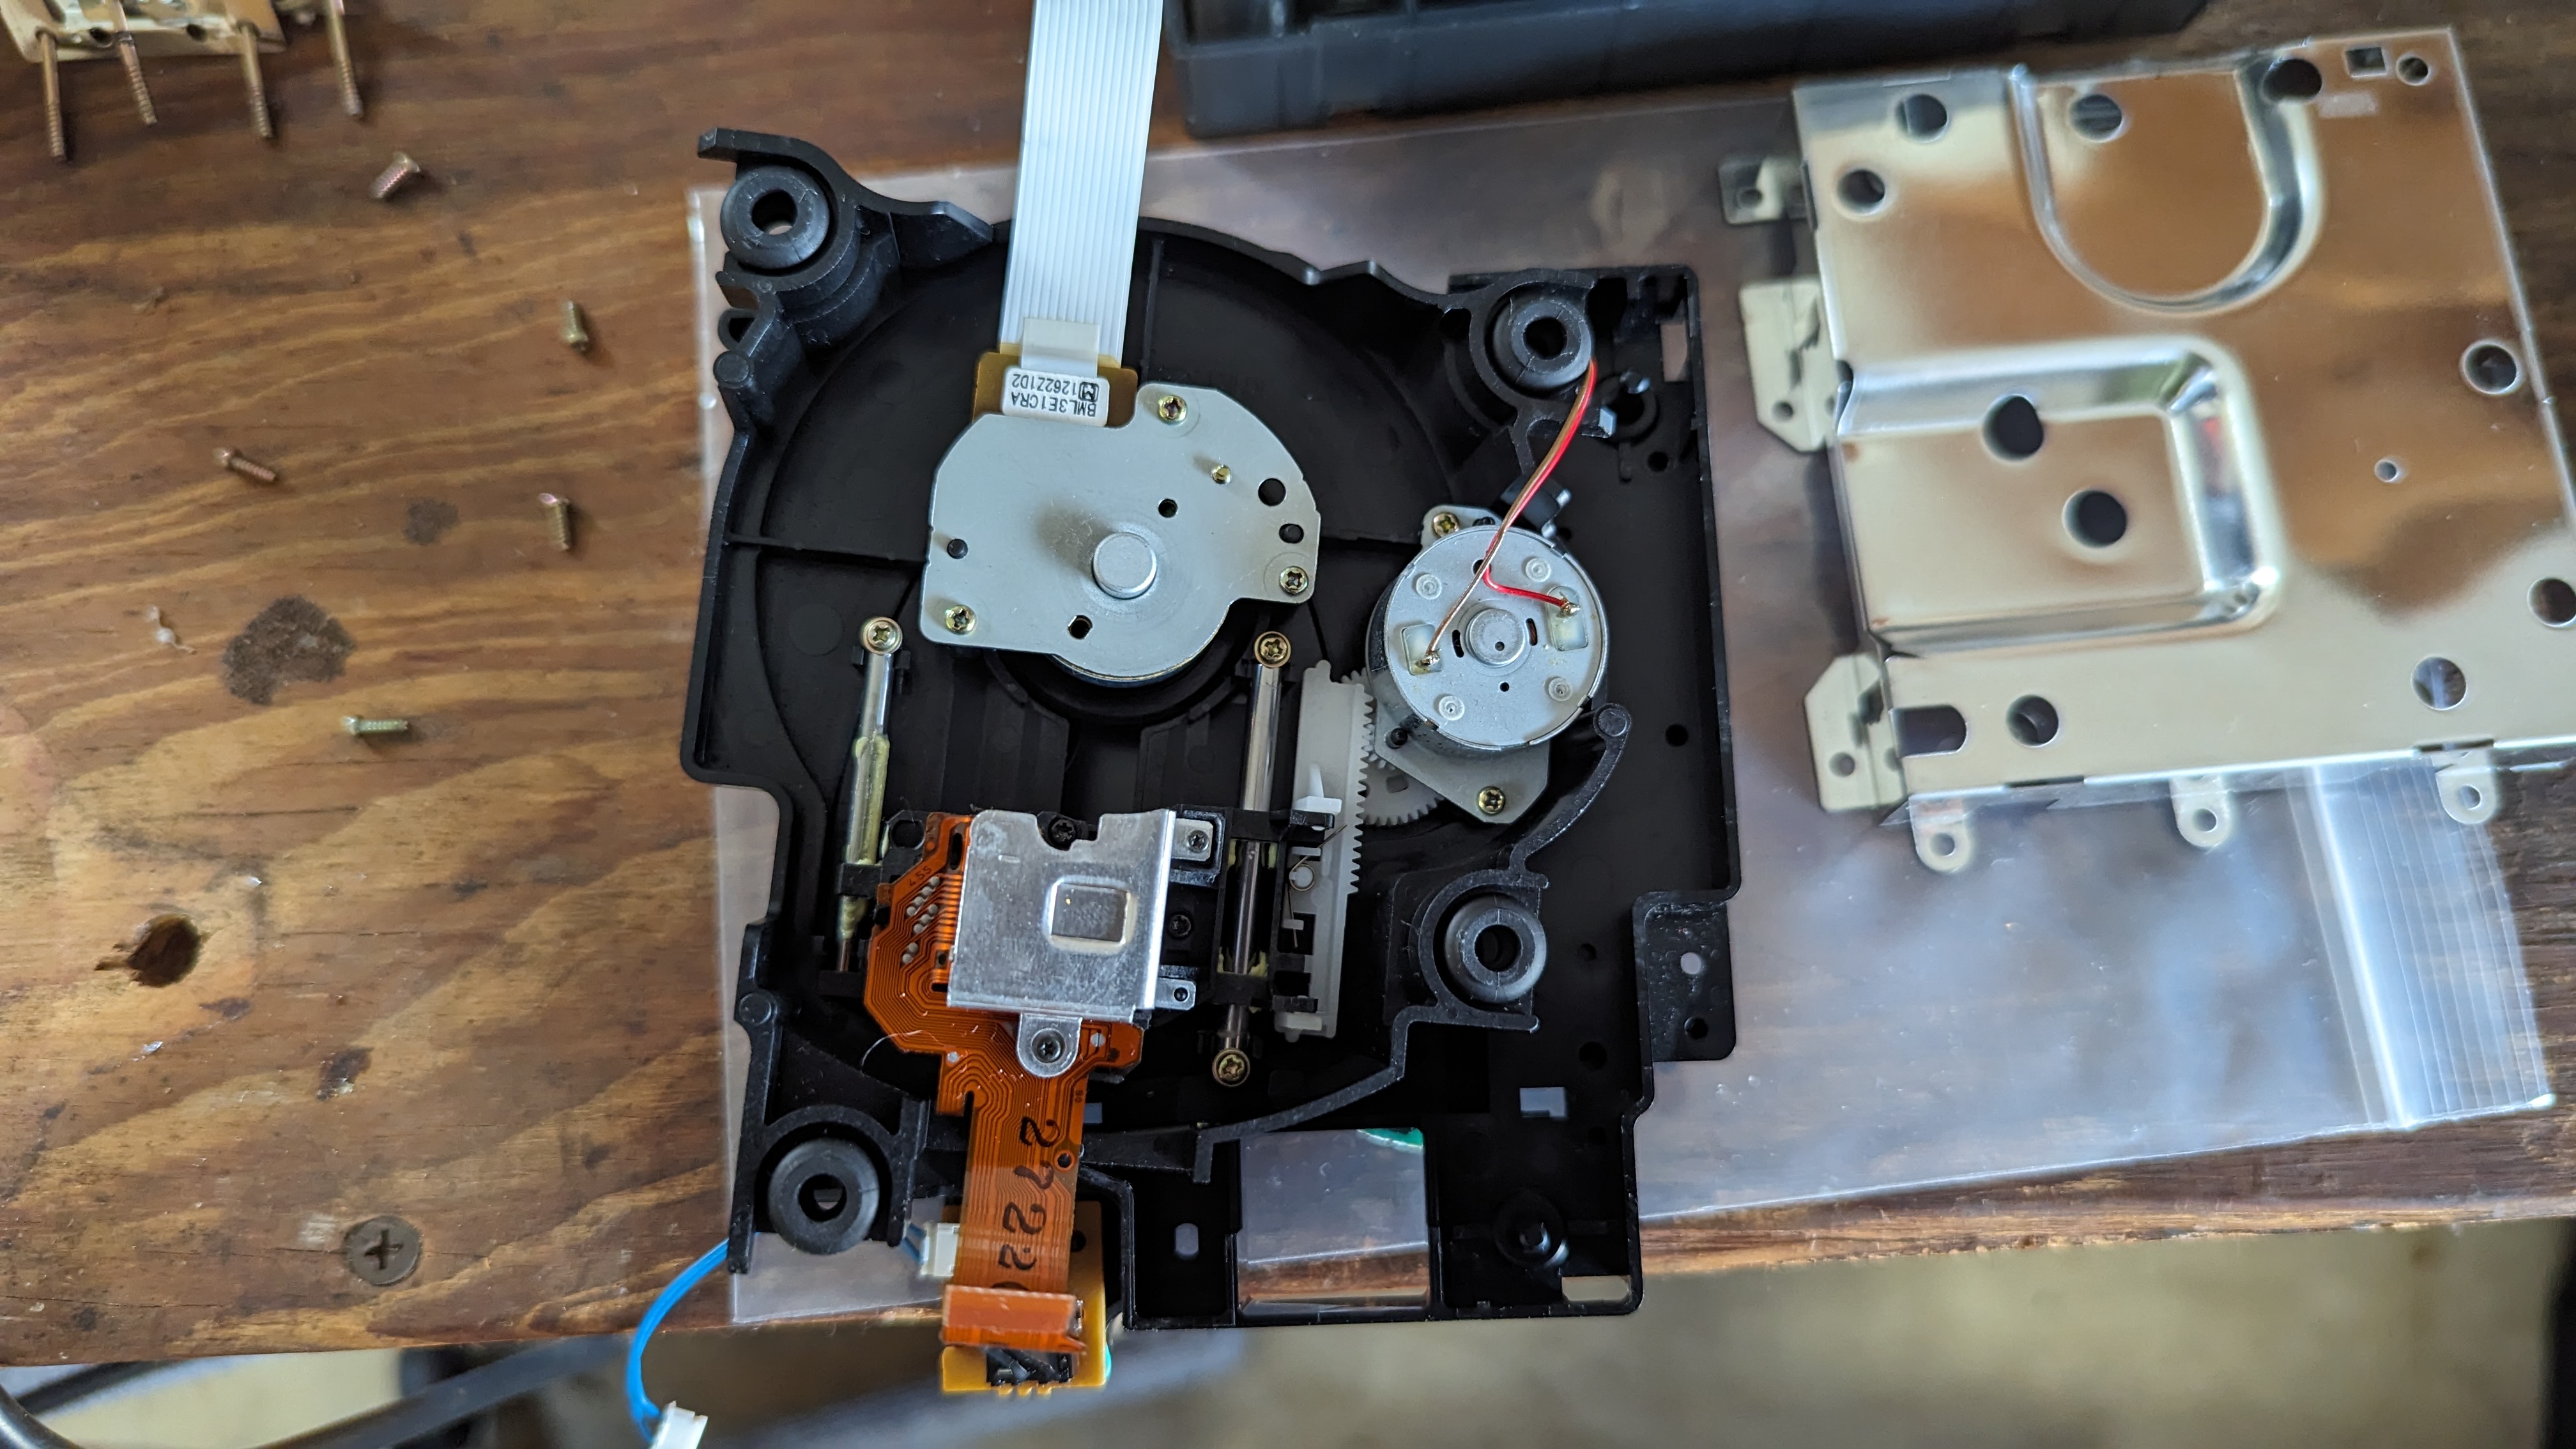
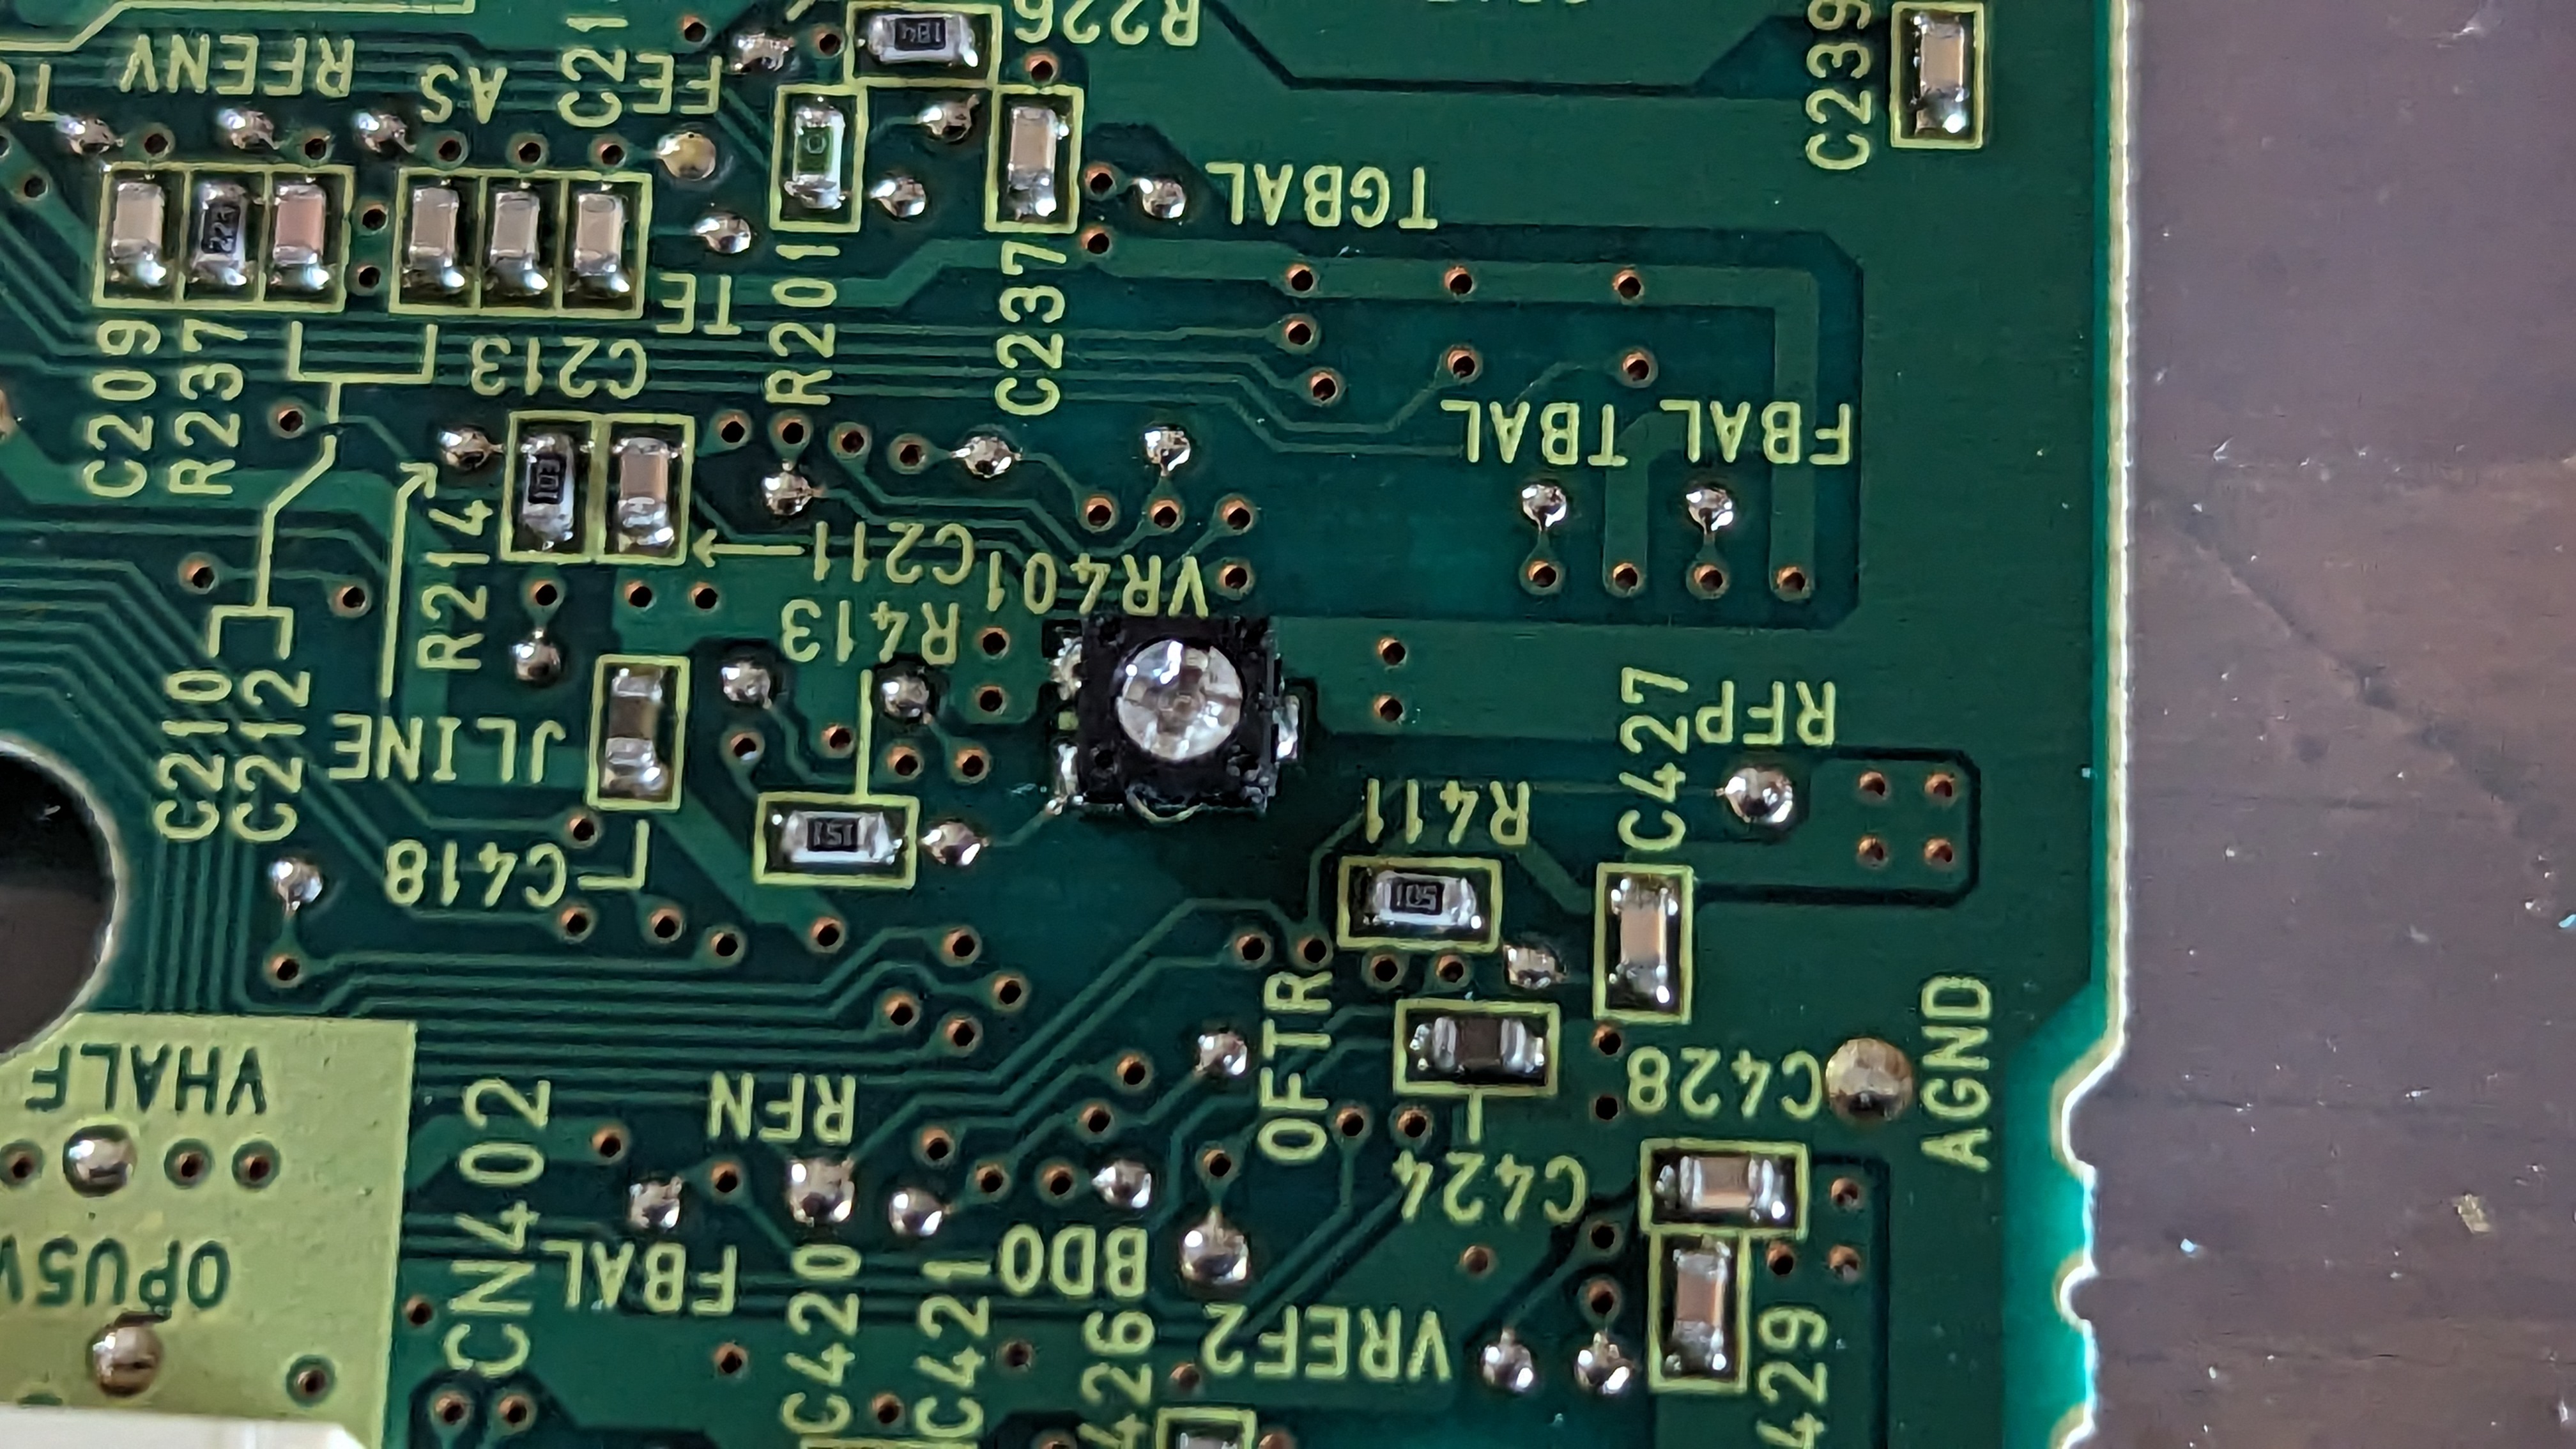
After all that, I reassembled the laser assembly and located the component labeled VR401, which is the laser's voltage regulator potentiometer which needed adjustment. Adjusting this potentiometer slightly causes the laser to get more voltage, thus improving it's ability to read discs. This is only a temporary fix, as eventually the drive will fail again. Hence my interest in installing PicoBoot, which I will cover next. I turned the potentiometer clockwise by about a degree or two.
PicoBoot explanation and installation
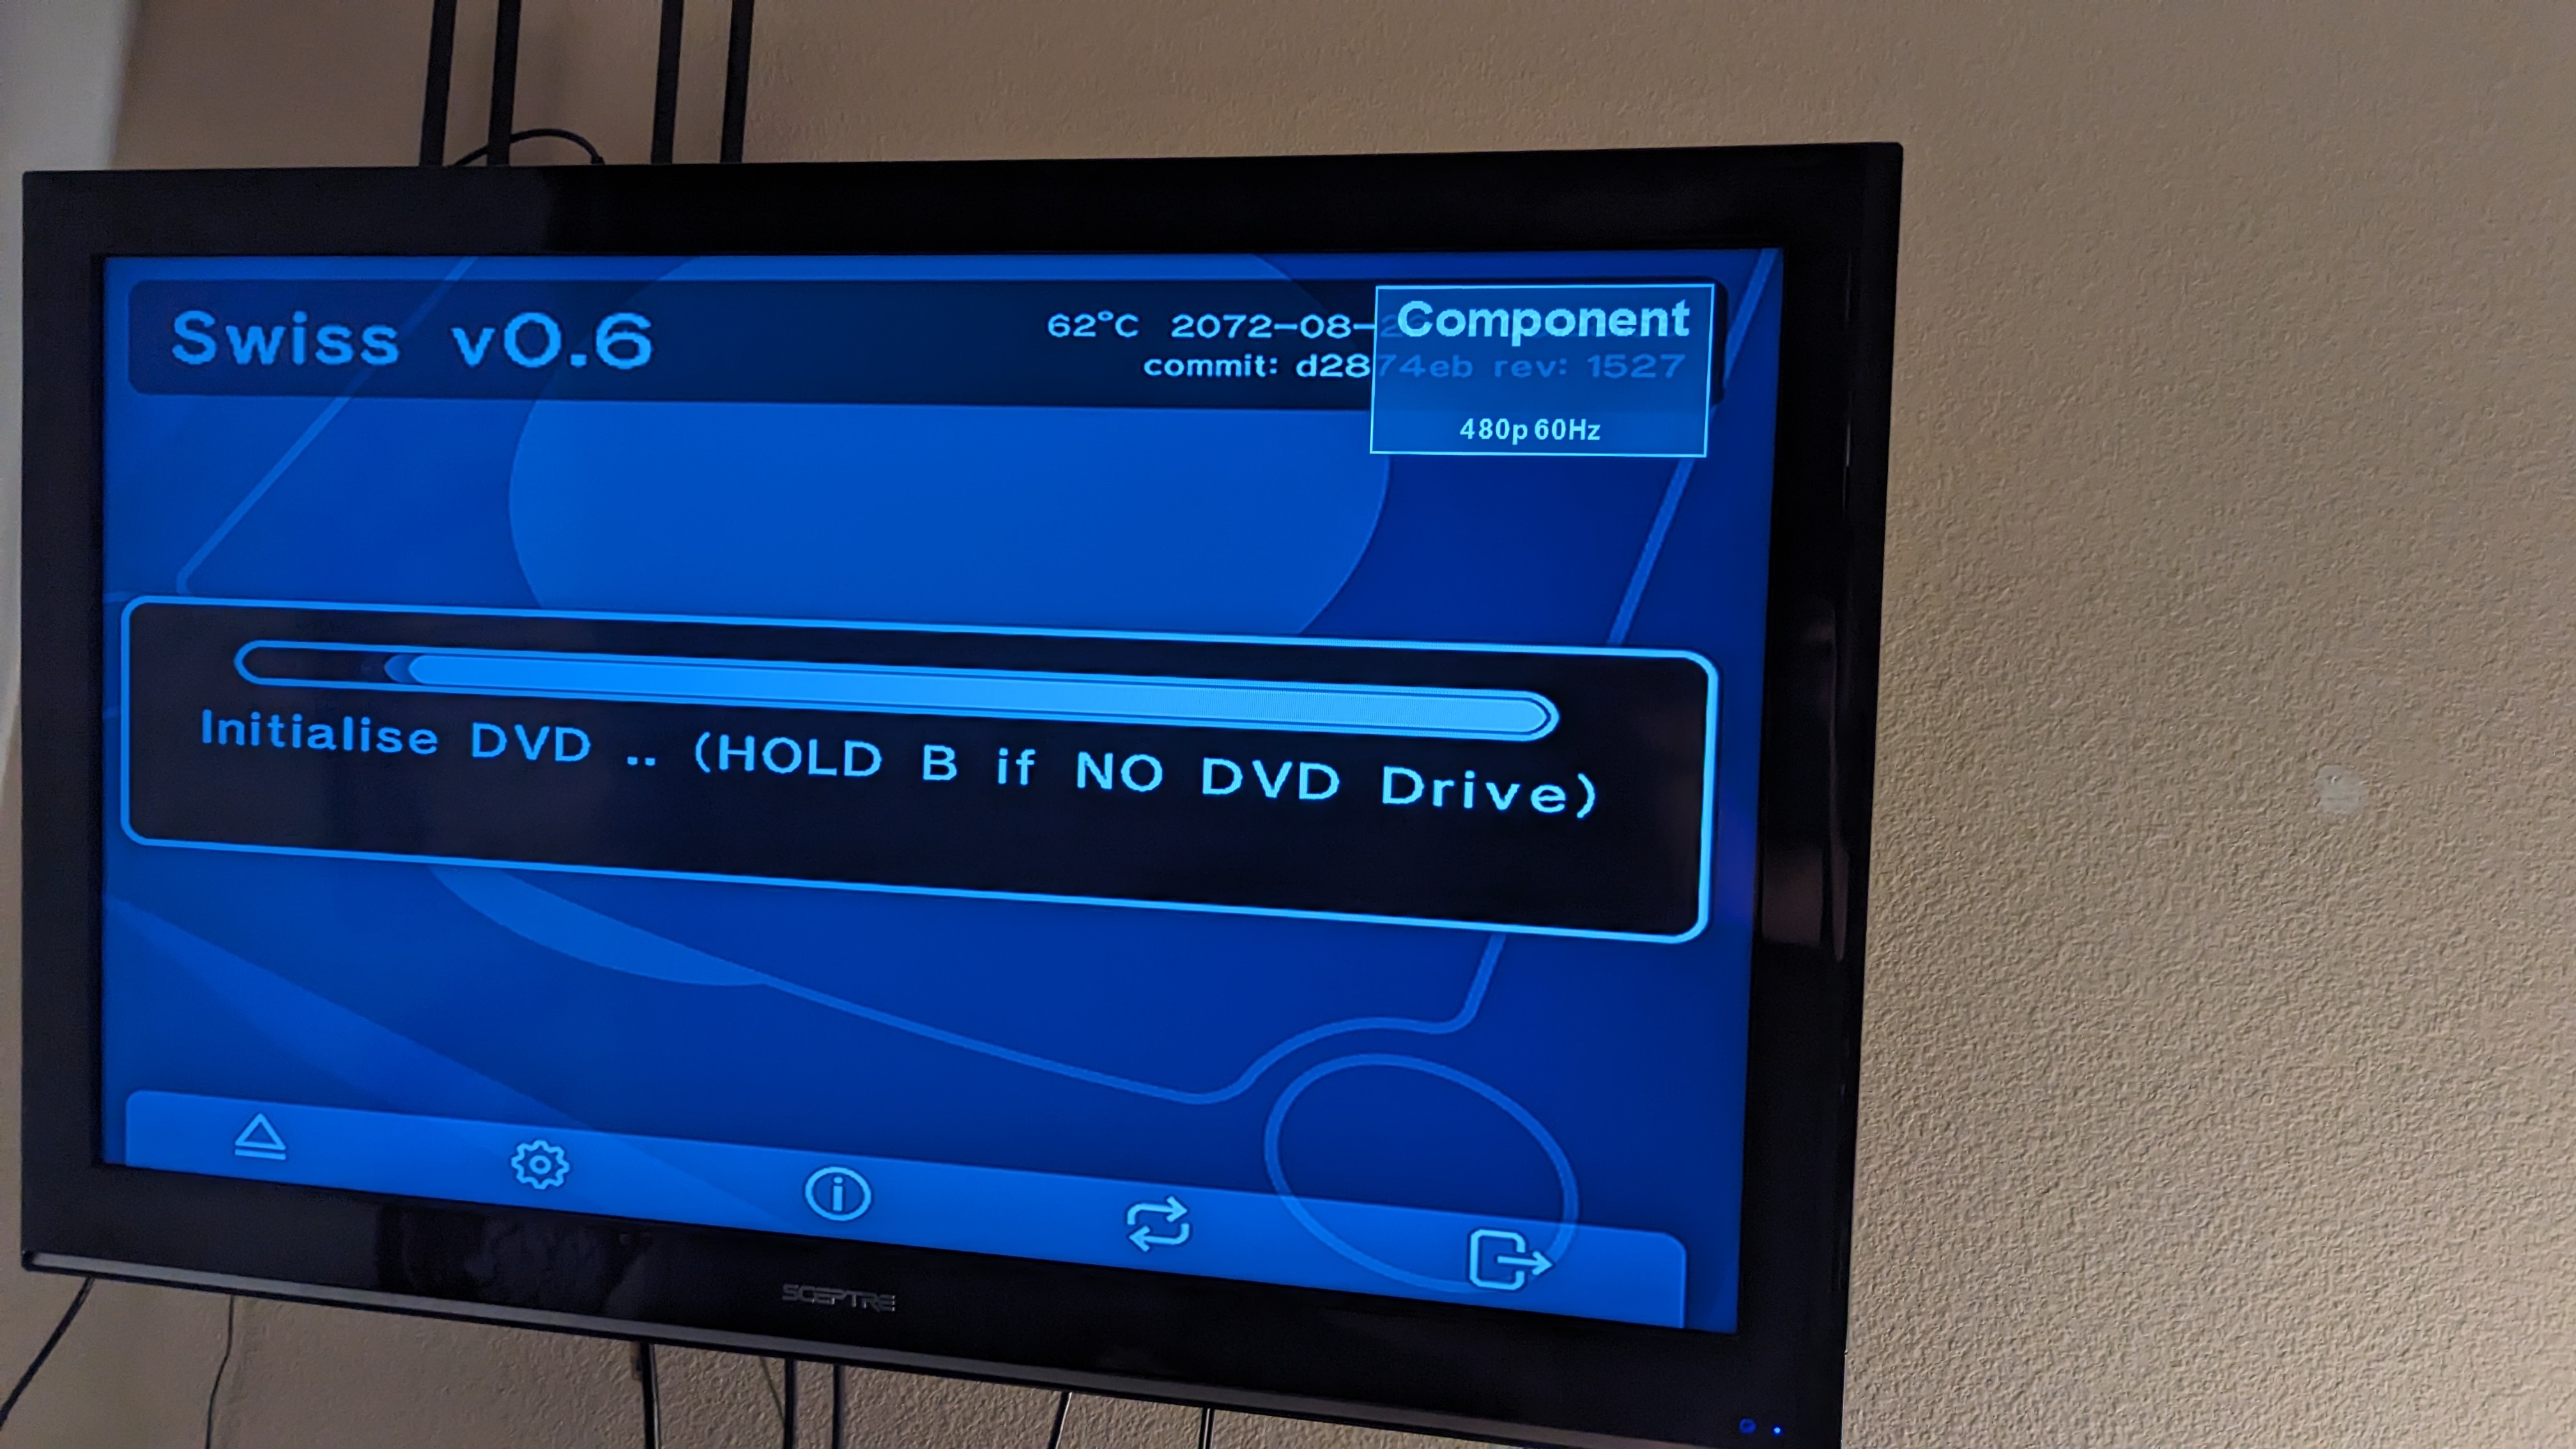
To explain PicoBoot, it might help to first explain what Swiss is and how my prior access to Swiss worked.
Swiss is a piece of software which allows booting games from the SD card loaded in the SD2SP2 adapter I installed last time. It also allows me to play games from Europe in whatever language I want to; a feature disabled in any non-Europe GameCube. I can also force many games to play in progressive scan mode, which improves the video quality especially with games with a lot of motion (such as F-Zero GX).
To access a non-Nintendo piece of software like Swiss, it is necessary to trick the GameCube into loading arbitrary code. This is accomplished by loading a specifically crafted save file into one of a handful of games. The save file crashes the game and causes the GameCube to look for an alternate program to load as a failsafe. Swiss is saved on the memory card with a filename that the GameCube looks for. Hence, following that process causes Swiss to get loaded.
The problem is that this requires you to 1) possess one of these crashable games, and 2) that you can successfully boot a disc in order to load the save file. PicoBoot solves both of those potential roadblocks.
PicoBoot is a GameCube IPL replacement. IPL stands for Initial Program Load. Normally the GameCube starts with a logo screen from which you can access the hardware configuration options. Once that window of time passes, the GameCube tries to boot whatever is in the disc drive. That's the standard IPL process. PicoBoot is a piece of software that gets loaded to a very small Raspberry Pi Pico. The Pico is soldered to a number of spots on the GameCube mainboard, which allow it to bypass the GameCube's standard IPL and replace it with it's own.
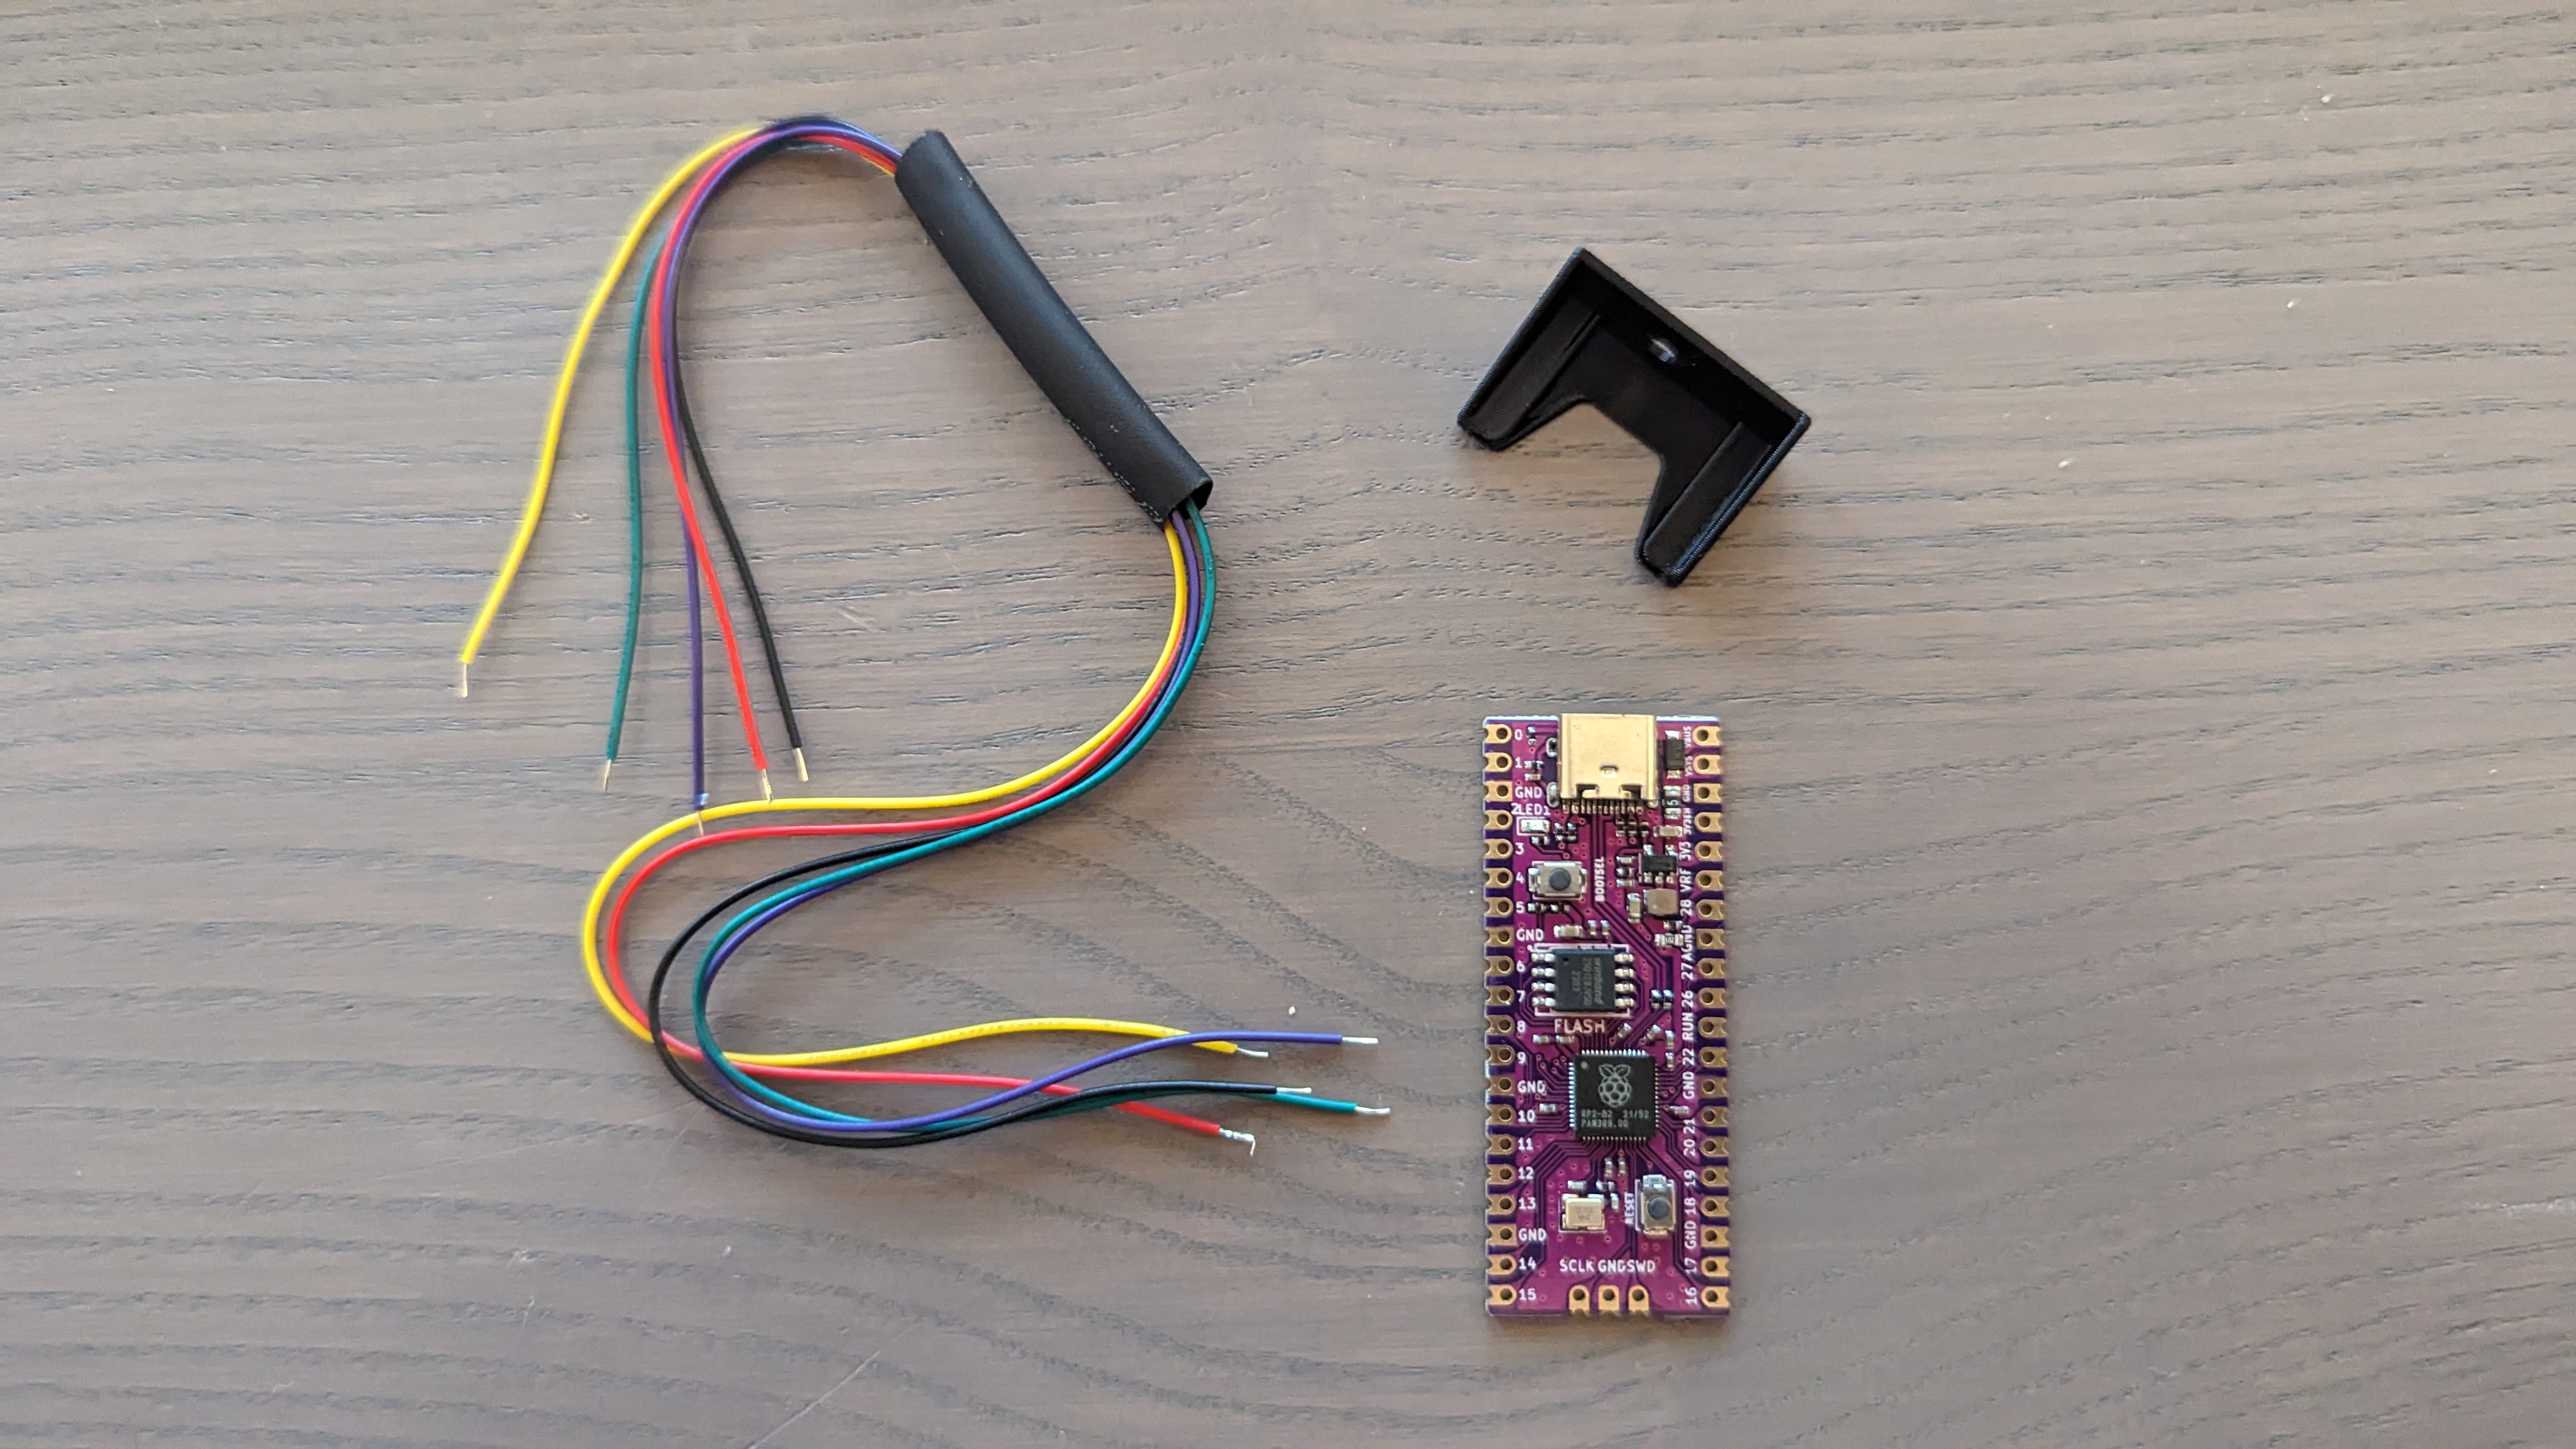
Here's the kit I ordered from AliExpress, from Bitfunx. It came with the wiring I would need, the Raspberry Pi Pico (or at least a knockoff version), as well as a handy mounting bracket for holding the Pico.
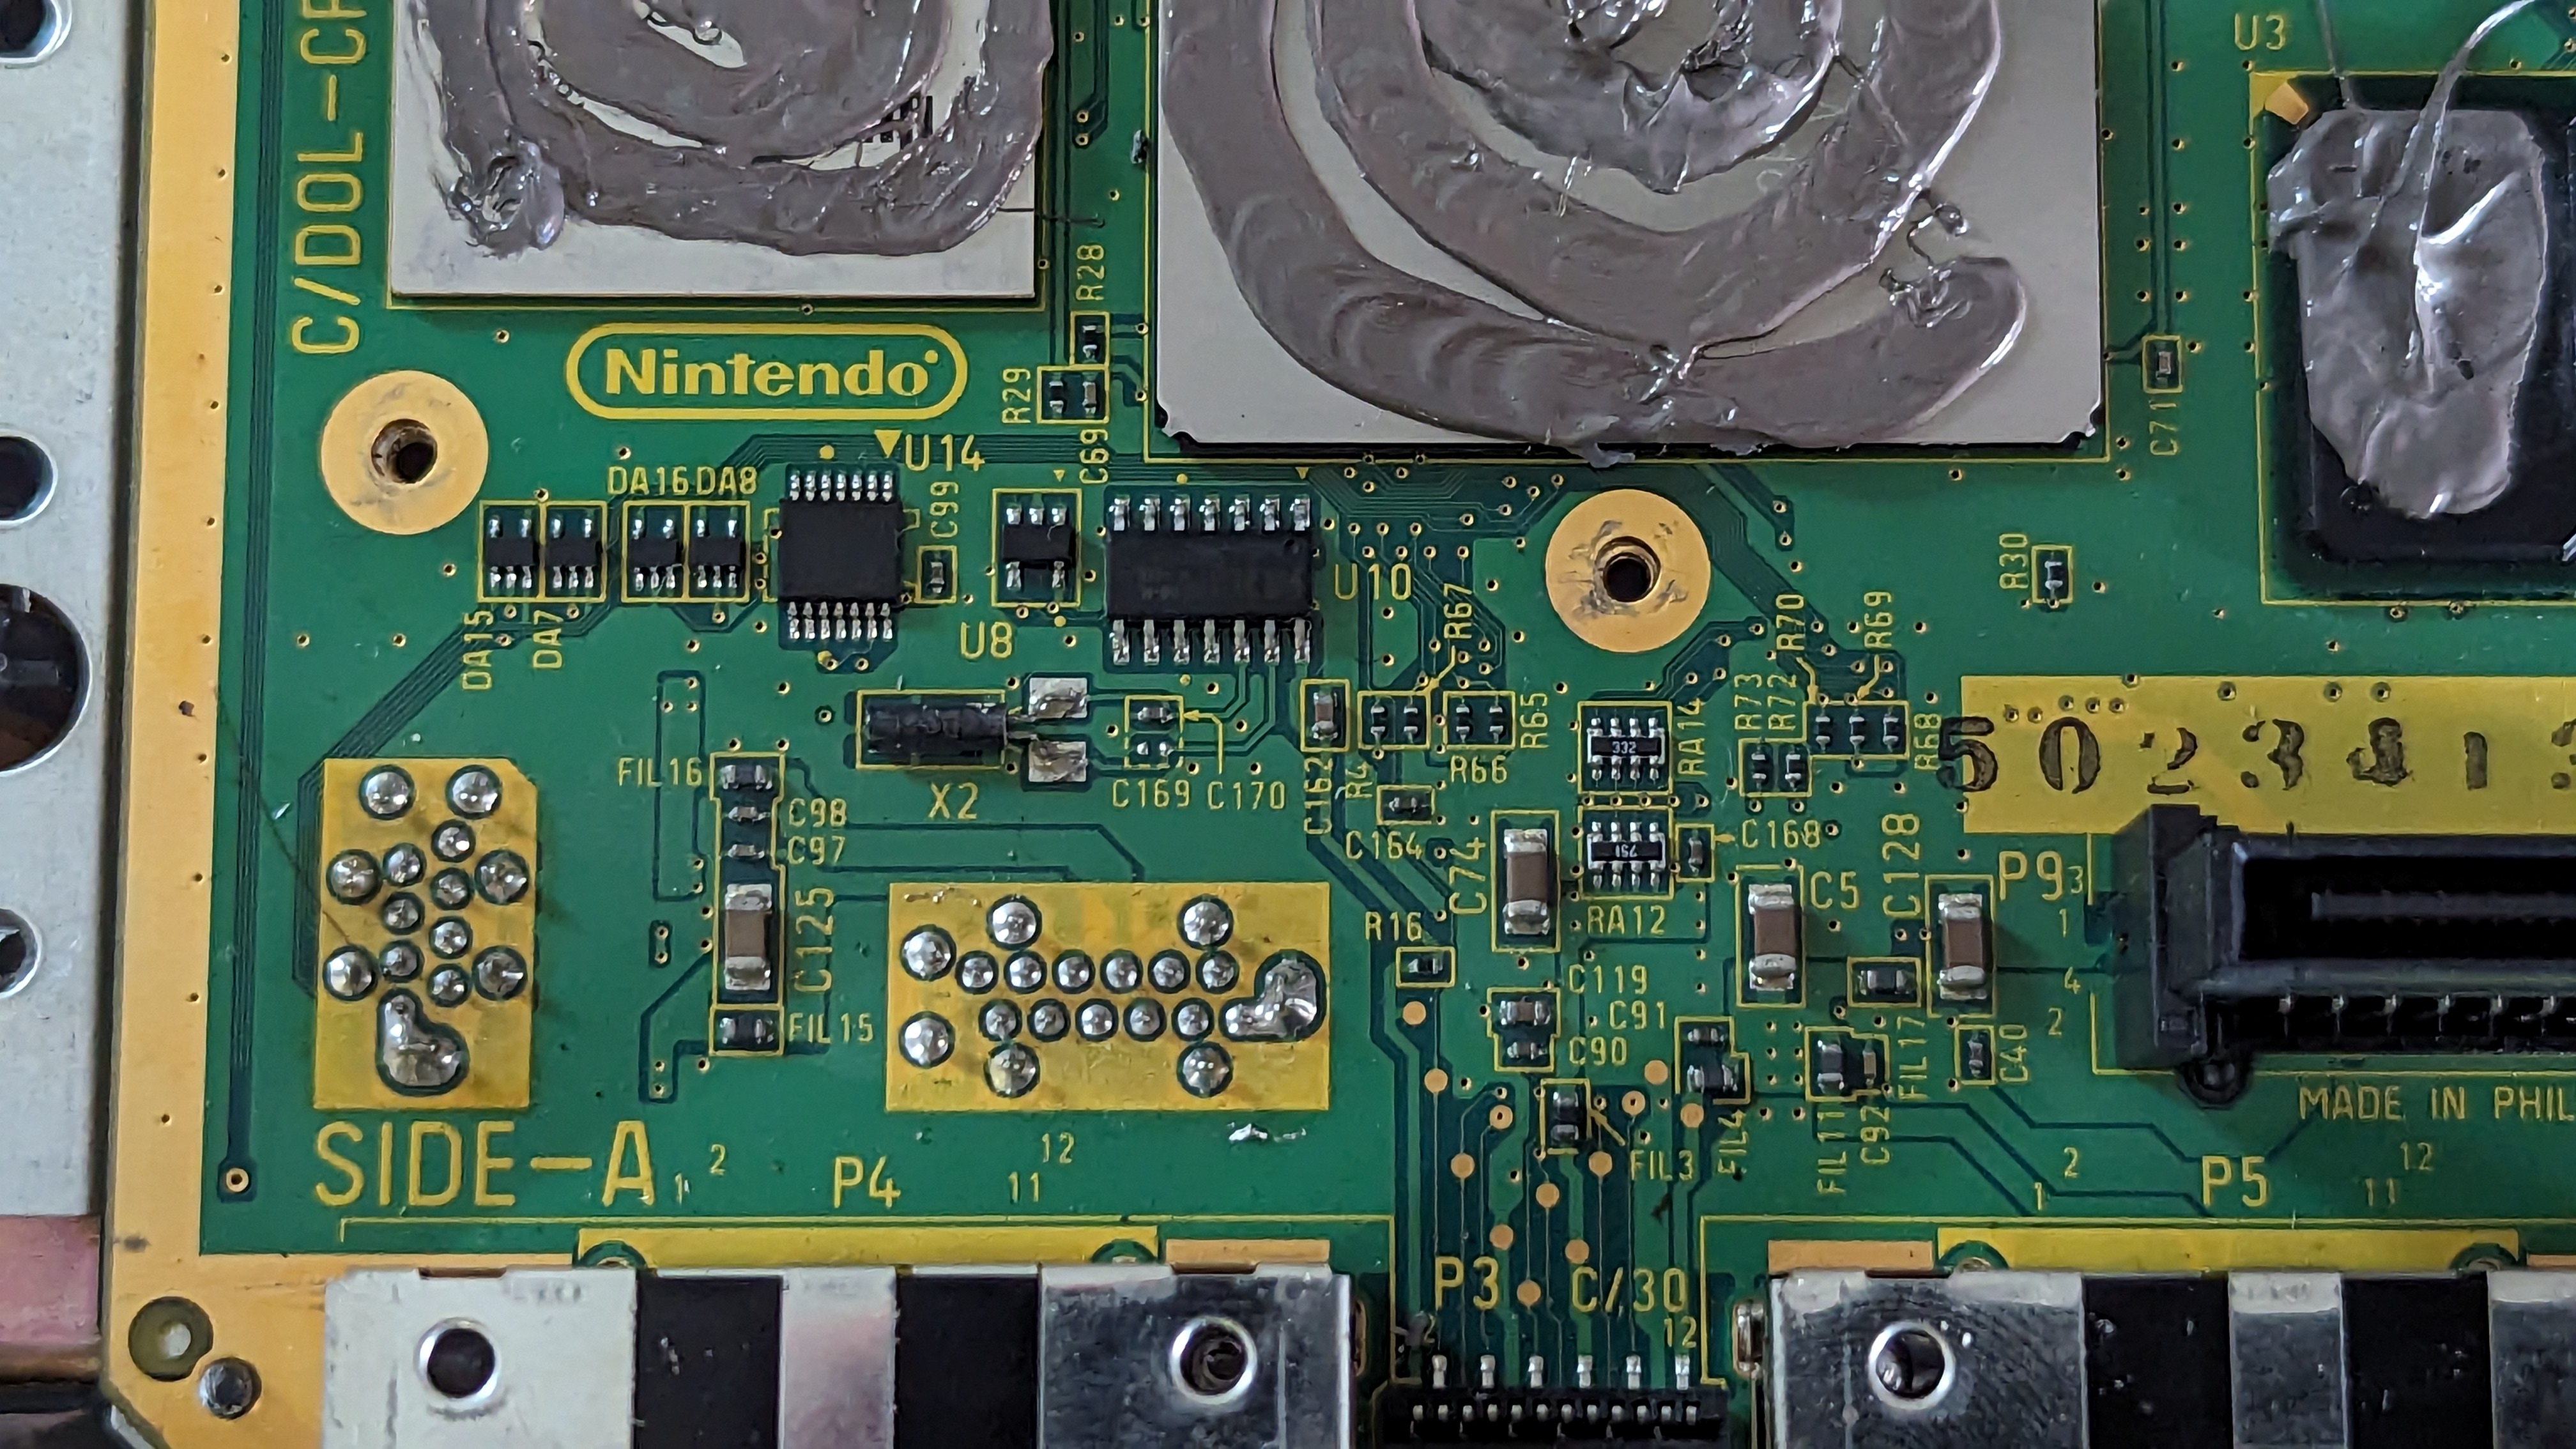
Since I've already removed the laser assembly, all that is needed now is to remove the large heatsink from the processor and related chipset. The location where we will be soldering the Pico's wiring is located next to the main CPU, opposite to where I previously installed the region switch (the light grey wiring).

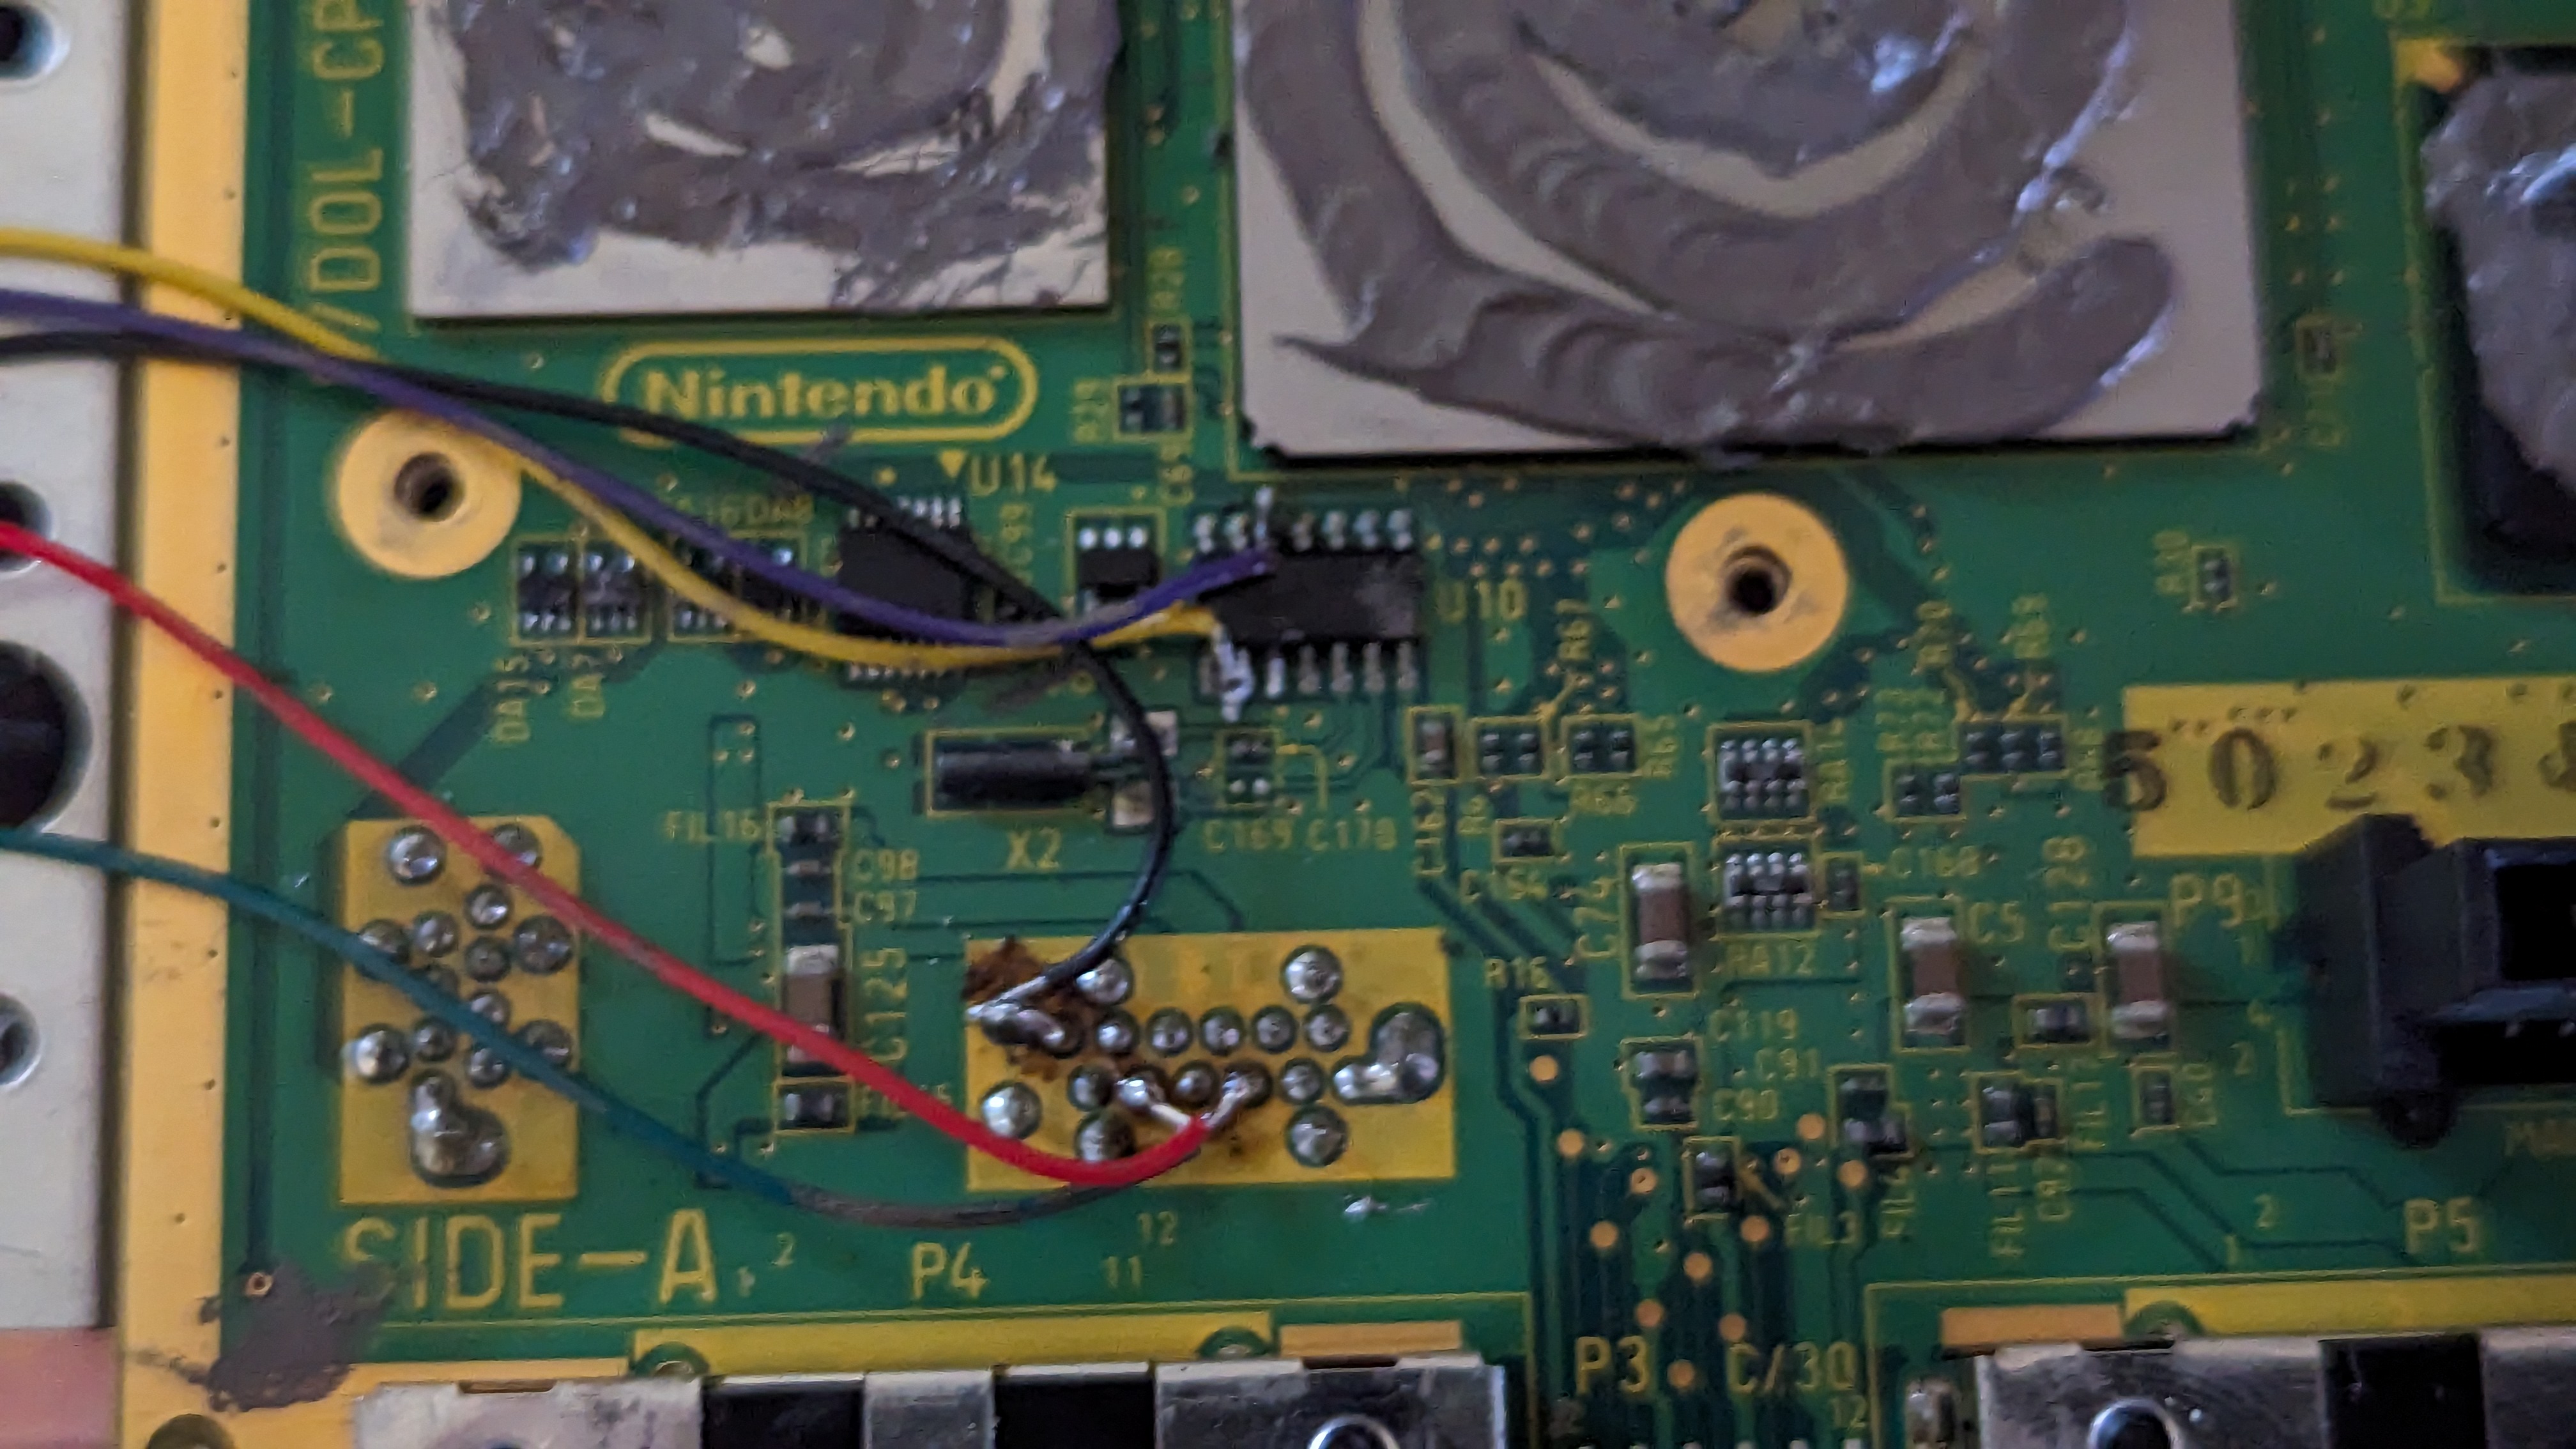
Here are the wires soldered into place.
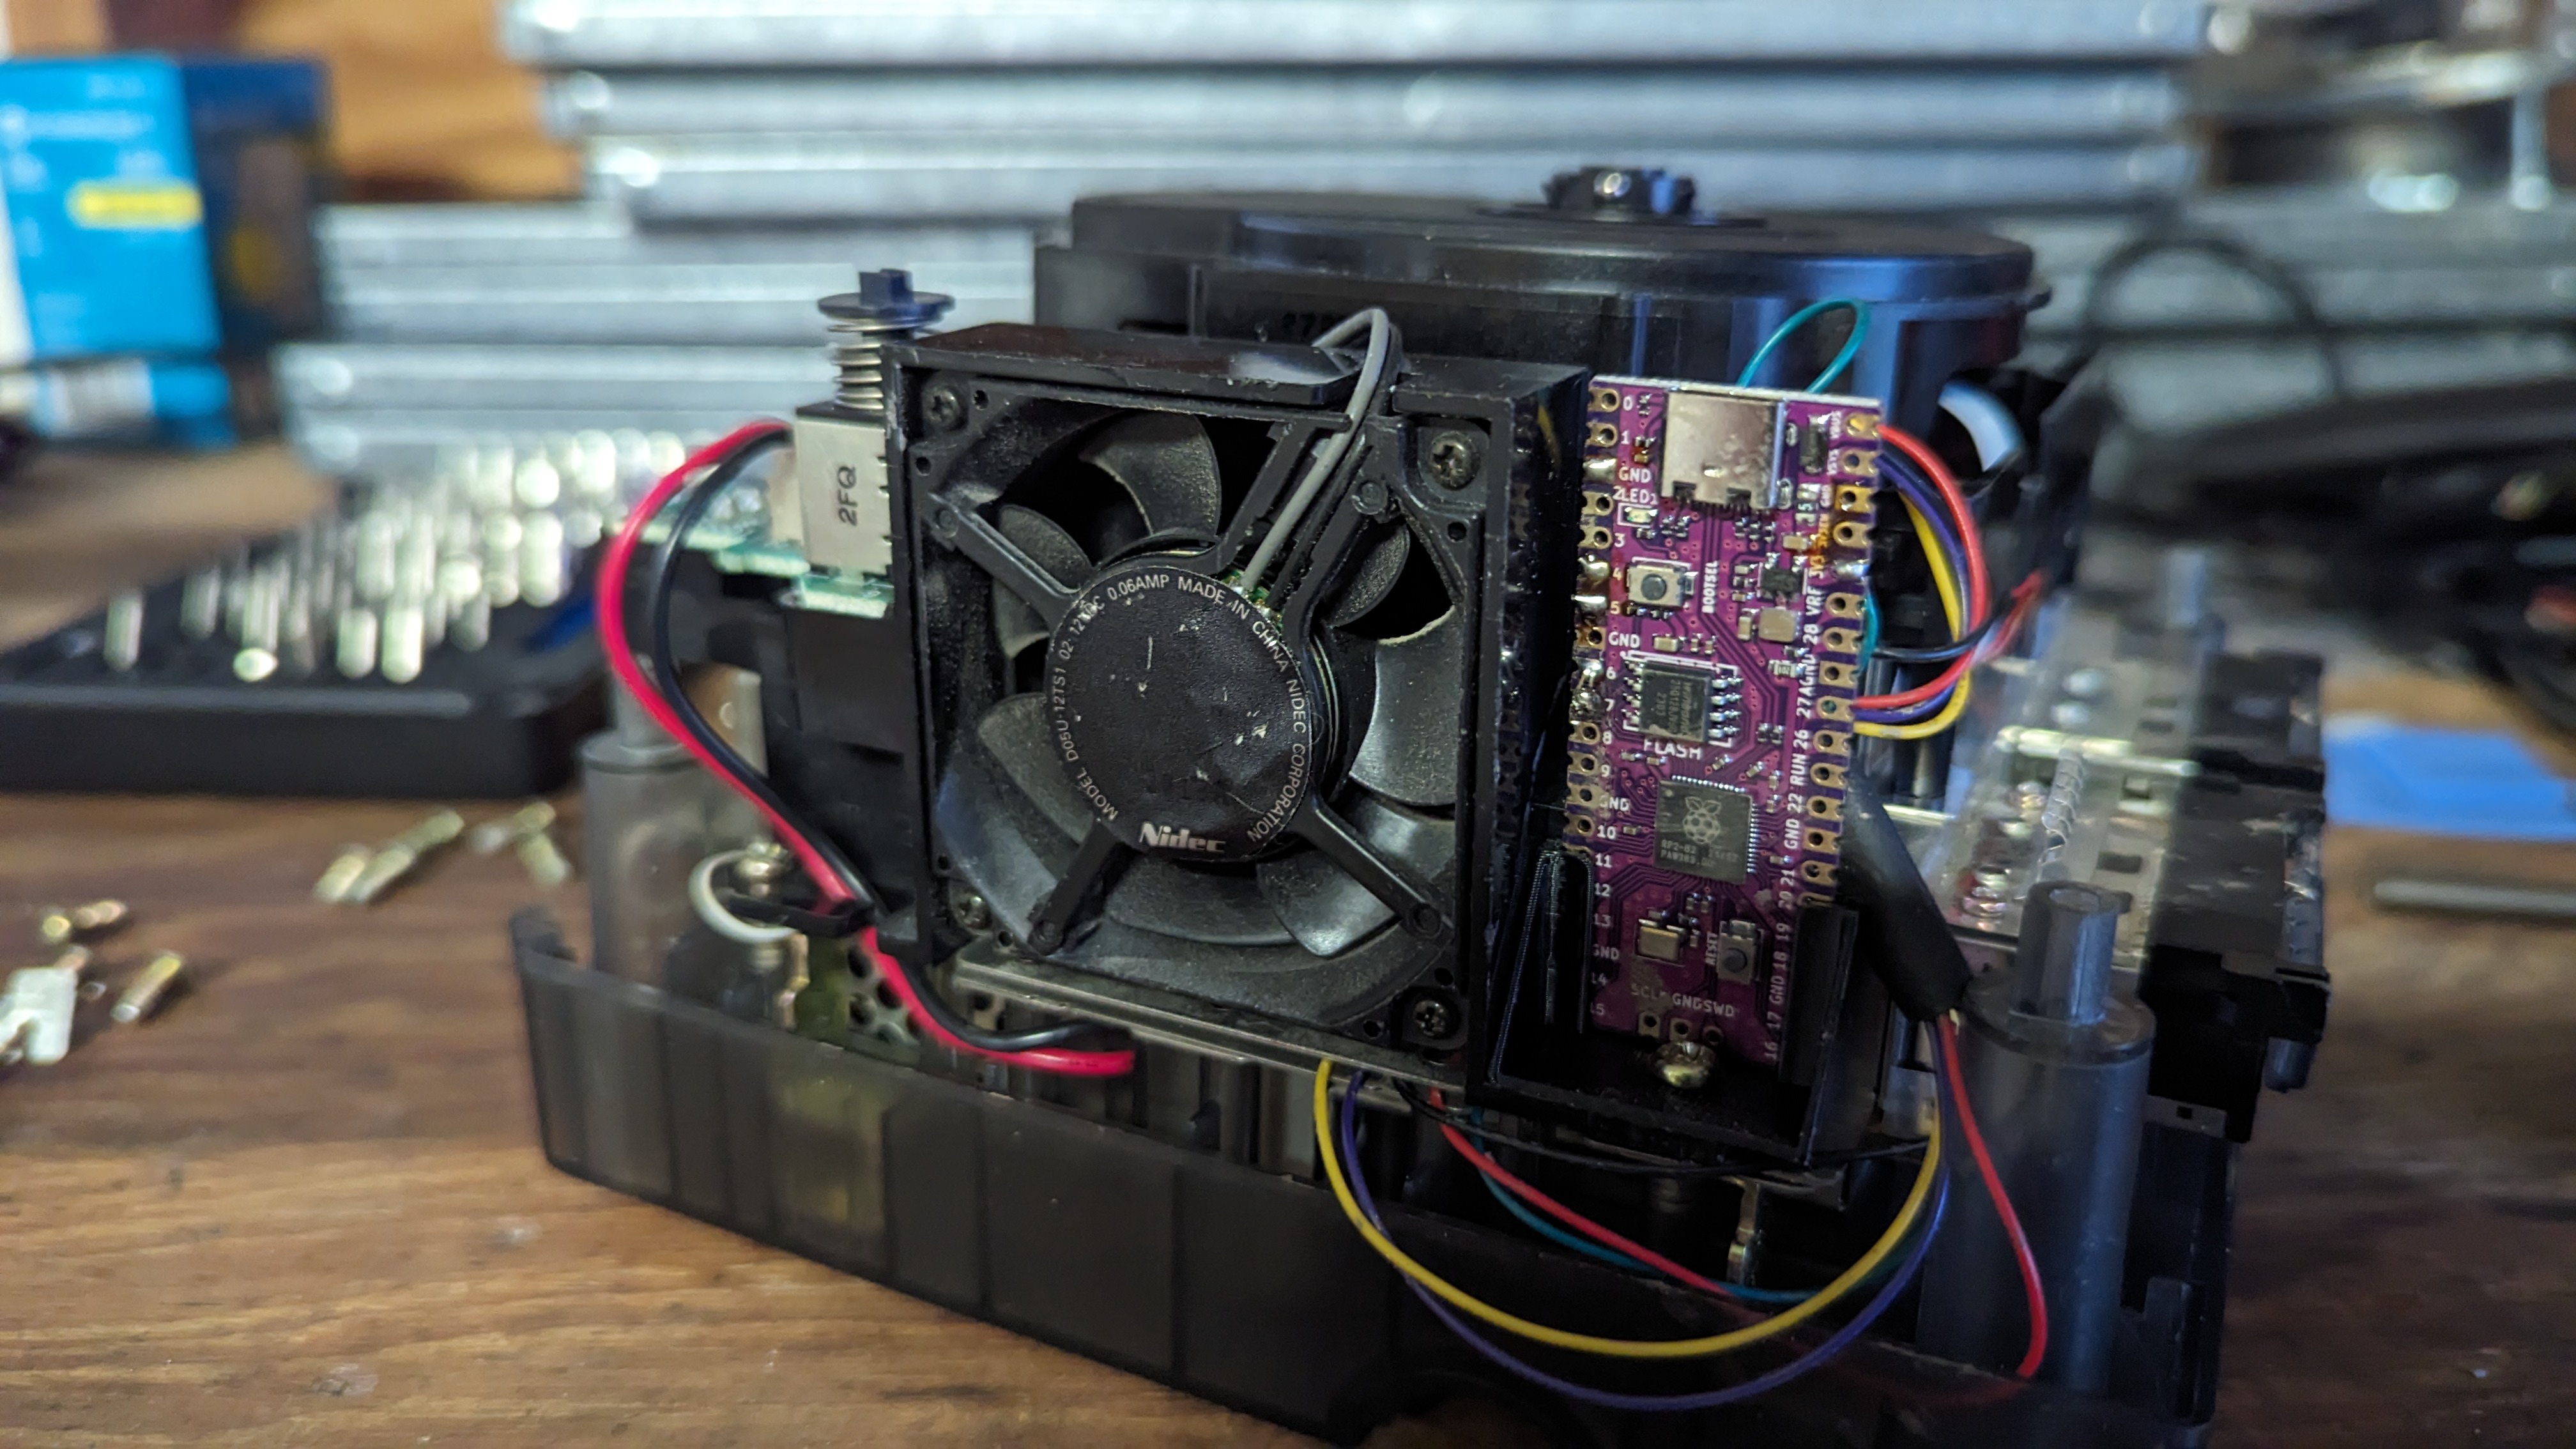
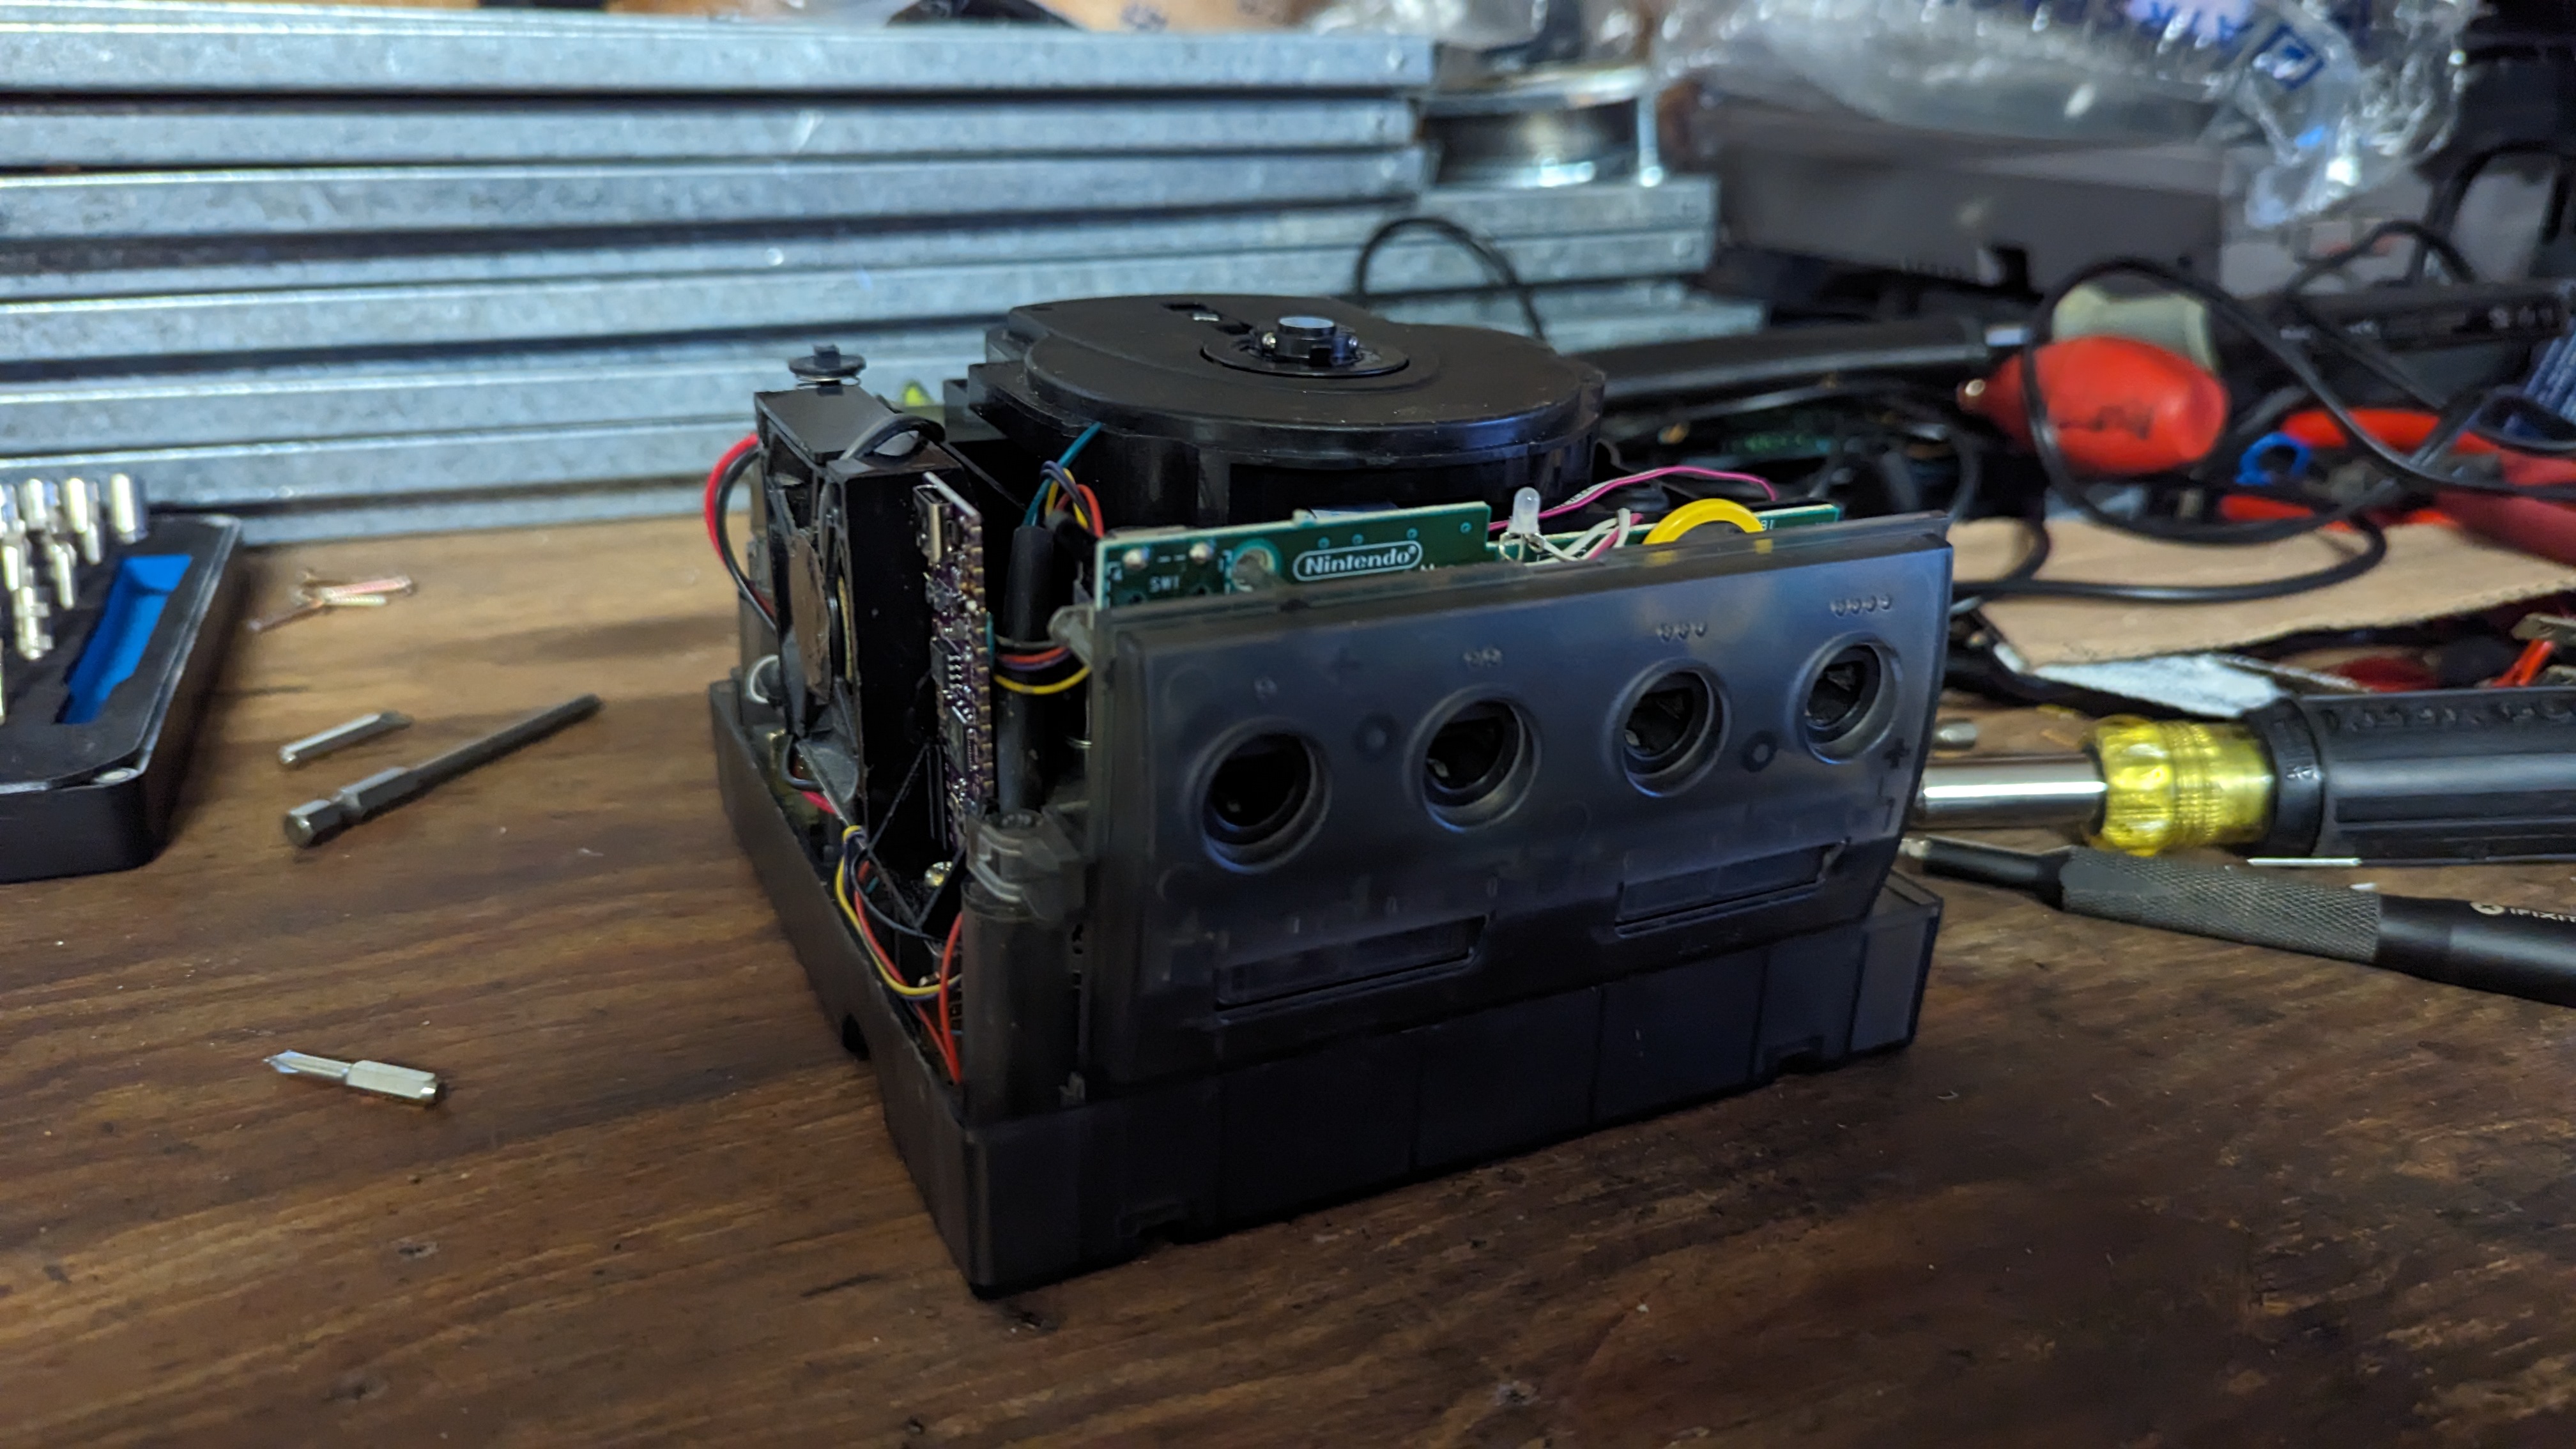
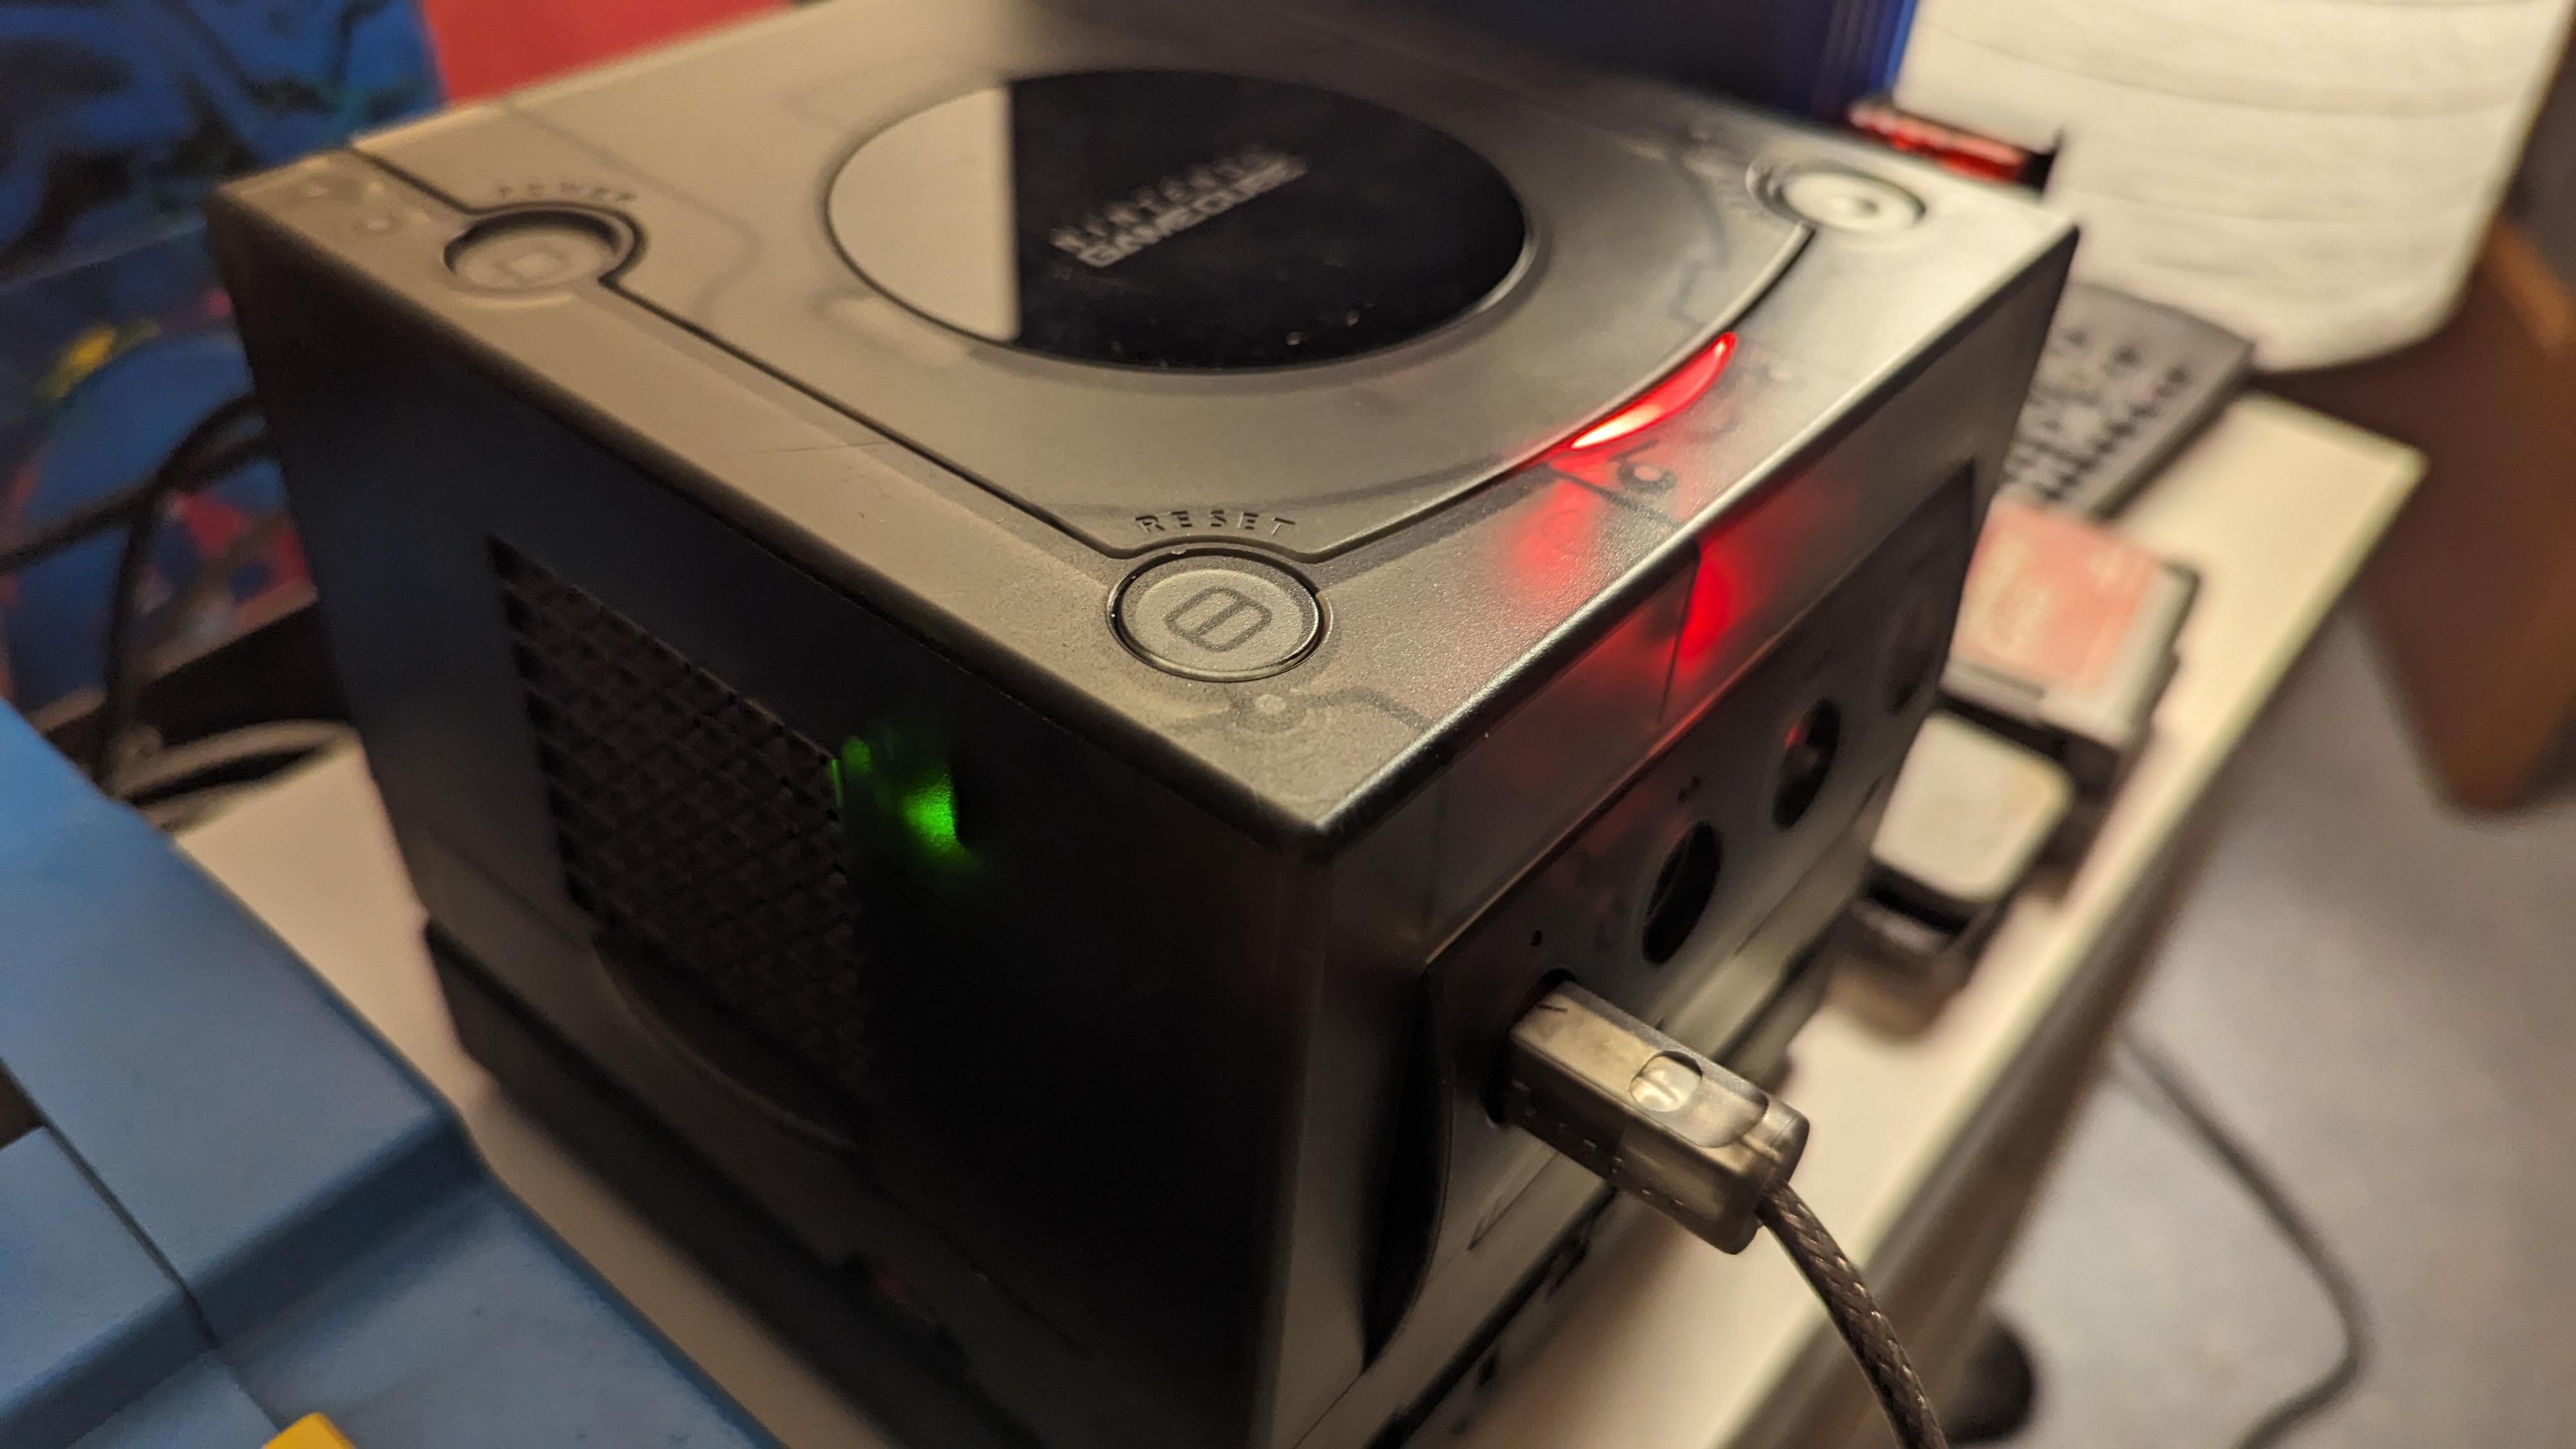
Reassembly is simple...just do the disassembly in reverse! Now you can see the Rasberry Pi Pico board mounted next to the fan assembly.
Now that everything is installed, powering on the system causes it to immediately boot into Swiss. A future version of PicoBoot will allow me to boot into the standard GameCube IPL, so that I can change the system time and date or work with memory card data. Simply ejecting my SD card from the SD2SP2 also causes PicoBoot to fall back to the standard boot process.
As a bonus, I now have a green light on the Pico showing that all is well with the hardware!
Final notes
This mod was challenging, since the solder points are small and very close together, making it very possible to accidentally bridge pins together with a blob of solder. These mods are likely to be the very last mods I will make to my GameCube. At this point I can do everything I need to do, and I am satisfied that even if my disc drive fails I am able to play all of my games without issue.
What's next? I probably will do a reshell and light change on my Nintendo 64, but that's not going to be in the budget for a while. For now, I have some GameCube playing to do! Thanks for reading, and I hope this was interesting!
Related links
- Raspberry Pi Pico
- PicoBoot software
- Bitfunx PicoBoot kit
- Swiss - all-in-one GameCube homebrew solution